Why Won’t My Beats Turn On? 9 Common Causes and How to Fix Them
Introduction
You press the power button on your Beats, wait for the familiar chime or LED light, and nothing happens. No light. No sound. Just silence. When your Beats refuse to turn on, it can feel like the headphones are completely dead, but in many cases the problem is simple and fixable at home.
This guide walks you through the most common reasons your Beats won’t power on and what you can do about each one. You will see how to spot a dead battery, identify charger issues, reset frozen headphones, and decide when it is time to contact Apple or Beats support.
We also cover model-specific quirks that affect Solo, Studio, Powerbeats, Beats Fit Pro, and more, plus practical tips to prevent the problem from coming back. Follow the steps in order, and you will give yourself the best chance to revive your Beats without wasting time or money.
Before digging into the specific causes, it helps to understand how your Beats actually power on and what the lights and buttons are trying to tell you.
Understand How Your Beats Power On
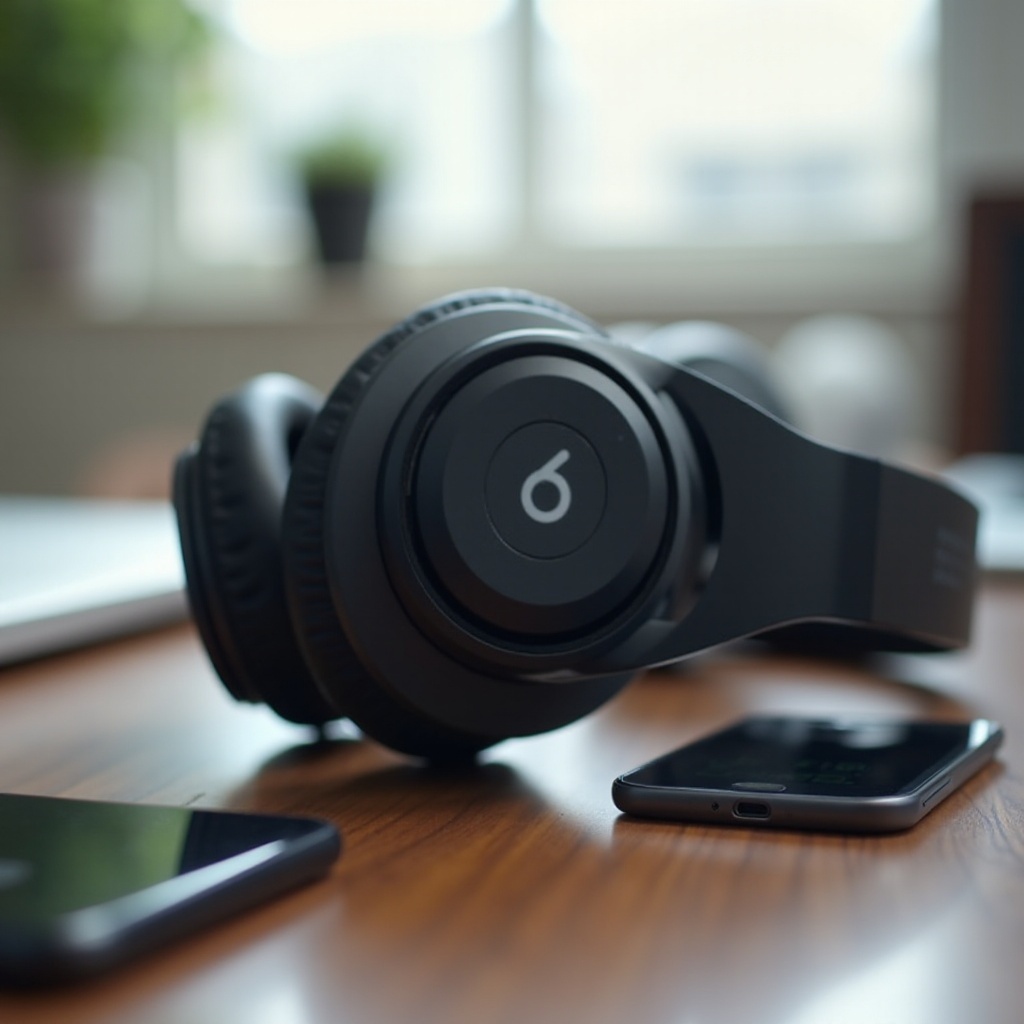
Every Beats model has a slightly different way of turning on, but the basics are the same: a power control, a battery, and status lights. If any of these fail or you misread the signals, it can seem like the headphones are dead when they are not.
Power buttons, auto-on features, and LED indicators
Most over-ear and on-ear Beats, like Solo and Studio, use a dedicated power button. You usually need to press and hold it for a second or two until an LED lights up. Some in-ear models and true wireless models use auto-on features when you take them out of the case or separate magnetic tips.
LED lights show charge level and power status. A solid white or green light often means ‘on’, blinking lights can mean pairing mode or low battery, and red usually signals a problem or very low power. If you are not sure what the lights mean on your exact model, check the official Beats or Apple support page for your headphones.
How long Beats need to charge before first use
Many new or long-stored Beats need a short initial charge before they turn on. Even if the box says they come ‘partially charged’, the battery can drain while the headphones sit on a shelf or in a drawer.
As a rule of thumb:
- Give completely dead or brand-new Beats at least 15–20 minutes of charging before testing.
- Use a wall adapter rather than a laptop USB port for the first charge.
- Watch for the charging LED to confirm that power is flowing.
If you still get no response after a reasonable charge, the battery itself may be the problem.
Now that you know how your Beats should power on and what the lights mean, it is time to look at the most common cause of power issues: the battery.
Cause 1 – Dead or Deeply Drained Battery
A dead or deeply drained battery is one of the most common reasons Beats will not turn on. Lithium-ion batteries lose charge slowly over time, even when you do not use them. Leave Beats unused for months and the battery can drop so low that the headphones seem lifeless.
Signs your Beats battery is completely drained
You can often spot a completely drained battery by a few simple signs:
- No response at all when pressing the power button.
- No Bluetooth connection or pop-up appears on your phone.
- A single red light or no LED activity when you try to power on.
If your Beats worked fine yesterday and now show these signs, the battery likely ran out. If they have been in a drawer for weeks or months, a deep discharge is very likely.
How to revive a deeply discharged battery safely
To give a deeply drained battery the best chance to recover:
- Connect your Beats to a quality wall charger using an original or certified cable.
- Check that the charging LED comes on. It may blink at first.
- Leave them on the charger for at least 30 minutes without trying to power them on.
- After 30–60 minutes, unplug, then press and hold the power button to test.
Avoid ‘jump-starting’ tricks or using very high-power fast chargers that are not approved. Those methods can damage the battery or electronics and make things worse.
When a dead battery usually means replacement
If the battery will not hold a charge, or your Beats only stay on for a few minutes before shutting down, the battery may be worn out. Common signs include:
- Headphones turn off as soon as you disconnect from power.
- They only turn on when plugged in.
- Charge level drops rapidly even with light use.
In these cases, a battery replacement is often the only long-term fix. For many owners, it makes sense to compare the cost of an official battery replacement with the price of a newer model.
If the battery seems fine but your Beats still will not power up, the next likely suspect is the charging cable or adapter you are using.
Cause 2 – Faulty Charging Cable or Adapter
Even a healthy battery cannot charge if the cable or adapter fails. Cables bend, fray, and break internally, and cheap chargers often deliver unstable power. That is why ‘why won’t my Beats turn on’ so often traces back to a simple cable issue.
Spotting damage on USB-C/Lightning/Micro-USB cables
Take a close look at your charging cable:
- Check for frayed or exposed wires near the ends.
- Look for bent or loose connector tips.
- Wiggle the connector gently while watching the LED; flickering can signal a bad cable.
If you see any damage or the cable feels loose in your Beats port, replace it with an original or certified cable before you assume the headphones are dead.
Why cheap third-party chargers can cause power issues
Low-quality third-party chargers may:
- Deliver inconsistent voltage.
- Overheat during use.
- Fail to provide enough current for stable charging.
These issues can prevent the battery from charging fully or at all. In some cases, they can damage the charging circuit inside your Beats. Stick with Apple or reputable brand chargers that meet safety standards.
How to test with a known-good cable and wall adapter
To rule out charger and cable issues:
- Use a cable that you know works well with another device.
- Plug into a stable wall adapter, not a laptop or power bank.
- Try a different wall outlet if possible.
- Leave your Beats charging and watch for consistent LED behavior.
If a different cable and adapter suddenly bring your Beats back to life, you have found the culprit. If not, the problem may be the charging port itself.
When a fresh cable and solid charger do not solve the issue, the next logical step is to look at the physical connection point on the headphones: the charging port.
Cause 3 – Dirty or Damaged Charging Port
Your Beats charging port sits open to dust, lint, sweat, and other debris. Over time, that buildup can block the connector and stop power from reaching the battery, even if the charger and cable are fine.
How dust, lint, and sweat block the charging contacts
Pockets, bags, and gym use expose your Beats to:
- Pocket lint and fabric fibers that pack into the port.
- Dust and tiny particles that stick to metal contacts.
- Sweat and moisture that can dry and leave residue.
These contaminants create a barrier between the charger and the internal contacts, so the battery never receives a proper charge.
Safe ways to clean your Beats charging port in 2024
To clean the port safely:
- Power off your Beats if possible and unplug any cable.
- Use a dry, soft brush or a wooden or plastic toothpick to gently loosen debris.
- Tilt the port downward so particles fall out instead of deeper inside.
- Avoid metal tools, liquids, or high-pressure compressed air directly into the port.
If you are not comfortable cleaning it yourself, visit an Apple Store or authorized service provider and ask them to inspect the port.
When a loose or broken port needs professional repair
If the charging cable:
- Feels loose or wobbly in the port,
- Only works at certain angles, or
- Shows no charge light no matter what you try,
then the port may be cracked, bent, or detached from the internal board. This usually requires professional repair or replacement.
When the hardware connection from the charger to the battery looks fine, the problem often moves from hardware to software. At that point, it makes sense to consider whether your Beats are actually frozen rather than dead.
Cause 4 – Software Glitches and Frozen Beats
Your Beats rely on internal software (firmware) to manage power, Bluetooth, and audio. Sometimes that software can freeze or crash, making the headphones ignore the power button even though the hardware is fine.
Symptoms that your Beats are frozen rather than dead
Signs of a frozen state include:
- LEDs stuck on a single color that never change.
- Headphones appear connected to your phone but play no sound.
- They worked recently and have not suffered any drops or water damage.
If your Beats show some signs of life but do not respond properly, a reset is often the quickest fix.
Soft reset vs. hard reset: what is the difference?
- A soft reset usually means turning your Beats off and on or disconnecting and reconnecting Bluetooth. It clears minor glitches.
- A hard reset (or factory reset) uses a specific button combination to restart the internal firmware and clear many settings.
A hard reset will not fix physical damage, but it can solve many software-level issues.
Model-specific reset combinations for popular Beats
Each Beats model has its own reset method. Typical examples include:
- Beats Solo and Studio: Press and hold the power button and volume down button together for about 10 seconds until the LED flashes.
- Powerbeats and Beats Fit Pro: Place them in the case, then press and hold the system button until the LED flashes.
- Beats Flex and other neckband models: Hold the power button and the button combination listed in the manual.
Always check the latest instructions on the official Beats or Apple support website for your exact model.
If a reset does not help, the next thing to check is the firmware and the way your Beats pair with your devices. Out-of-date firmware and pairing conflicts can make your headphones behave like they will not turn on at all.
Cause 5 – Outdated Firmware or Pairing Conflicts
Firmware updates improve stability, battery management, and Bluetooth performance. When the firmware is outdated or corrupted, your Beats may fail to power on properly or refuse to connect, leading you to think they are dead.
How firmware bugs can stop Beats from powering on
Some firmware bugs can:
- Cause your Beats to get stuck in a boot loop.
- Prevent the LEDs from displaying correct status.
- Interfere with power-saving modes and sleep states.
The result can look like a dead device, even though the battery and hardware are fine.
Updating Beats via the Beats app or Apple devices
To update firmware:
- Install the Beats app on your iOS or Android device, or use a compatible Apple device that recognizes your Beats.
- Connect your Beats and keep them charged.
- Follow the prompts in the app or on your device to install any available update.
- Keep your Beats near your phone or tablet until the update completes.
An up-to-date firmware version reduces many strange power and connection issues.
Clearing Bluetooth pairing lists to avoid conflicts
Sometimes your Beats try to connect to an old device and hang during startup. To avoid this:
- On your phone, ‘Forget’ the Beats in the Bluetooth settings.
- Reset your Beats using the proper button combination.
- Re-pair the headphones as if they were new.
If your Beats still will not power on or stay on, the environment they are used in might be putting extra stress on the battery and components.
Cause 6 – Overheating and Environmental Stress
Heat, cold, and moisture all affect how well lithium-ion batteries and electronic components work. Overheating can trigger safety cut-offs that stop your Beats from turning on until they cool.
Heat, cold, and moisture effects on Beats batteries
- High heat (like a hot car or direct sun) can cause your Beats to shut down to protect the battery.
- Extreme cold can temporarily reduce battery output so low that the headphones will not power on.
- Moisture and sweat can seep into openings, leading to corrosion or short circuits.
These conditions may cause intermittent or complete power failure.
Cooling overheated headphones down safely
If your Beats feel warm or you used them in a hot environment:
- Disconnect them from any charger.
- Turn them off if possible.
- Place them in a cool, dry room away from direct sun or heat sources.
- Wait at least 30 minutes before trying to turn them back on.
Never put your Beats in a fridge or freezer. Rapid temperature changes can cause condensation and more damage.
Safe storage habits for home, travel, and the gym
To protect your Beats:
- Store them in a protective case when not in use.
- Keep them out of hot cars, direct sunlight, and damp bags.
- Let them dry fully after sweaty workouts before charging.
If you have ruled out environmental stress and your Beats still will not turn on, it is time to consider whether physical damage or internal hardware faults are behind the problem.
Cause 7 – Physical Damage or Internal Hardware Faults
Drops, crushing pressure in a bag, and long-term wear and tear can all damage internal components. Even if the outside looks fine, parts inside your Beats can crack or loosen.
Visible damage: cracks, loose hinges, and broken bands
Look for obvious signs of damage:
- Cracks along the headband or earcups.
- Hinges that feel loose or do not lock into place.
- Warped or bent areas where the headphones may have taken a hit.
Visible damage increases the chances that internal boards or connections also suffered.
Hidden internal damage after drops or pressure
Even without visible cracks, internal damage can show up as:
- Rattling or clicking sounds inside when you move the headphones.
- Power cutting out when you adjust the earcups or cable.
- No response even after charging, reset, and firmware updates.
These signs suggest loose components, broken solder joints, or damaged power circuits.
DIY repair risks vs. using authorized service
Opening Beats yourself carries risks:
- You can damage delicate parts or tear flex cables.
- You will likely void any remaining warranty or service coverage.
- Replacement parts from unverified sources may be low quality.
Authorized service centers have the tools and parts to diagnose and fix hardware faults more reliably.
Before you decide how to repair serious damage, you should also make sure your charging setup is not part of the problem. The wrong power source can create confusing symptoms that look like hardware failure.
Cause 8 – Using the Wrong Charger or Power Source
Even if your cable and port are fine, the power source can cause issues. Not all chargers are equal, and some sources do not supply enough stable power to charge Beats correctly.
Matching voltage and amperage for safe charging
Your charger should meet the voltage and current requirements listed by Beats or Apple. Too low, and your Beats may never fully charge. Too high, and you risk overheating or damage.
Most quality phone chargers from reputable brands are safe. Avoid random or unbranded adapters with no clear specifications.
Charging from laptops, power banks, and cars
Alternate power sources can be convenient but sometimes unstable:
- Laptops may limit USB port power, especially when running on battery.
- Some power banks reduce output or turn off automatically with low current draw.
- Car chargers can spike or drop voltage, especially during engine start.
If your Beats only fail to charge on certain sources, switch to a stable wall adapter for testing.
How fast-charging behavior can confuse users
Some chargers support fast-charging modes that turn on only with compatible devices. Your Beats may draw normal power instead, making the charger seem inconsistent.
If you see your Beats charging sometimes but not others on a fast charger, test a simple, standard charger. Consistent behavior helps you separate real power problems from confusion over charging speed.
At this point, if you have checked chargers, cables, ports, and software, your issue might be specific to the model you own. Model-specific quirks can make ‘why won’t my Beats turn on’ a little different for each headset.
Cause 9 – Model-Specific Quirks and Known Issues
Different Beats lines have their own common complaints and quirks. Knowing the exact model helps you search for specific fixes and identify potential known issues.
Common power problems on Solo, Studio, and Powerbeats
Some examples:
- Beats Solo: Button wear and hinge stress can lead to power button failures.
- Beats Studio: Active noise cancelation components can cause power and battery drain issues.
- Powerbeats and Beats Fit Pro: Charging contacts in the case can get dirty, causing the buds to never fully charge.
Searching for ‘why won’t my Beats turn on’ plus your exact model often reveals patterns from other users and official responses.
How to identify your exact Beats model in 2024
You can usually find the model name and serial number:
- Printed on the headband or inside the earcup.
- On the underside or inside flap of the charging case for earbuds.
- In your phone’s Bluetooth settings, under the connected device details.
Once you know the model, check the official Beats or Apple support documentation for model-specific reset steps and troubleshooting.
Where to check for official notices and service programs
Sometimes, manufacturers acknowledge recurring issues and offer service programs or replacements. To check:
- Visit the Beats or Apple support site and search your model.
- Look for support articles that mention known power or battery issues.
- Contact support and ask if any service programs apply to your headphones.
If no known issue applies and you have tried all the earlier steps, it is time to follow a structured troubleshooting checklist and then consider professional help.
Step-By-Step Troubleshooting Checklist
Bringing everything together, use this checklist to methodically tackle ‘why won’t my Beats turn on’ instead of guessing.
Quick checks to try in the first 5 minutes
Start with simple tests:
- Press and hold the power button for a full 10 seconds.
- Try a different cable and wall charger.
- Inspect the charging port for lint or debris.
- Confirm your phone does not still show the Beats as connected.
If you get no response, move on to deeper checks.
Intermediate fixes before you contact support
Next, try:
- Hard reset with the correct button combination for your model.
- Charging for at least 30–60 minutes on a stable wall adapter.
- Updating firmware through the Beats app or an Apple device.
- Testing in a different environment (cool, dry room) to rule out temperature issues.
If your Beats still will not power on, hardware damage or a serious internal fault is likely.
Red-flag signs to stop troubleshooting immediately
Stop DIY attempts and seek help if you notice:
- Swelling, warping, or unusual bulges around the battery area.
- Burning smells, smoke, or visible scorch marks.
- Extreme heat when charging or trying to power on.
These signs suggest a battery or electrical fault that can be hazardous.
Once you reach this point, or if you simply prefer expert help, your next step is to contact official support and see what repair or replacement options are available.
When to Contact Apple or Beats Support
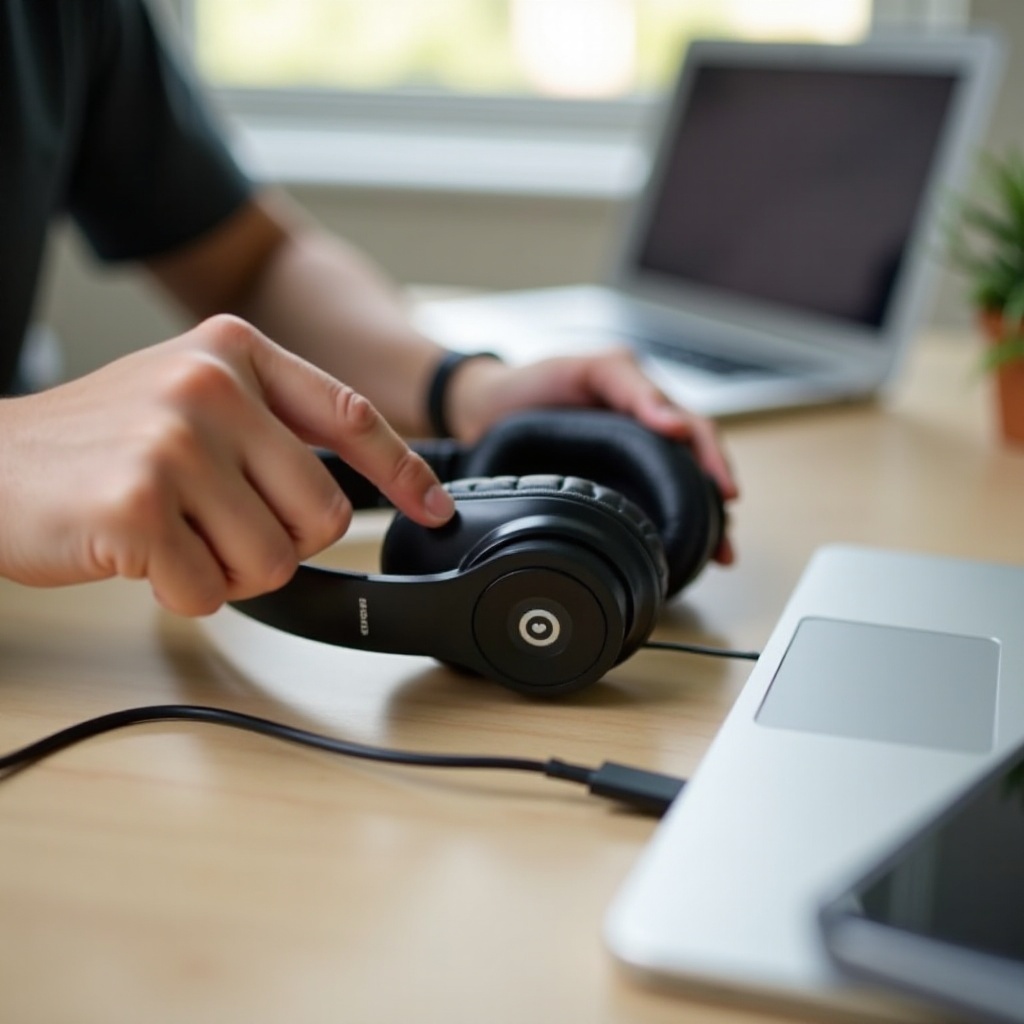
There comes a point where further home troubleshooting brings more risk than reward. If you have followed the checklist and your Beats still will not turn on, professional support is the safest option.
Checking warranty and AppleCare+ coverage online
Before you book a repair:
- Find your serial number on the headphones, case, or in your device settings.
- Visit Apple’s official ‘Check Coverage’ page.
- Enter the serial number to see if your Beats are under standard warranty or AppleCare+.
Warranty status affects your repair options and costs.
What details and proof of purchase you will need
To speed up support:
- Have your serial number ready.
- Gather a receipt or digital proof of purchase if you have it.
- Note when the issue started and steps you have already tried.
Sharing these details helps the technician avoid repeating basic checks and gets you a solution faster.
Repair, replacement, and trade-in options in 2024
Depending on coverage and damage:
- You may get a free repair or replacement under warranty.
- Out-of-warranty repairs come with a set fee.
- In some regions, trade-in programs let you get credit toward new Beats or other Apple audio products.
Compare repair cost against the price of a newer model, especially if your current Beats are several years old.
Whether you repair or replace them, a few habits can prevent the ‘won’t turn on’ problem from returning. That is why you should finish with some simple prevention tips you can use every day.
How to Prevent Future ‘Won’t Turn On’ Issues
Once your Beats work again or you get a replacement, it is smart to change a few habits. Good charging, handling, and storage practices can greatly reduce future power issues.
Healthy charging habits to extend battery lifespan
Try to:
- Use quality, certified chargers and cables only.
- Avoid running the battery to 0% every time; charge before it dies completely.
- Disconnect once fully charged instead of leaving on the charger for days.
If you will not use your Beats for a while, store them with a partial charge and top them up every month or two.
Cleaning and maintenance routines for daily users
Routine care helps avoid port and contact problems:
- Wipe your Beats with a dry, soft cloth after workouts or hot days.
- Check and gently clean the charging port and case contacts regularly.
- Store them in a case instead of loose in bags or pockets.
These small steps keep ports clear and reduce stress on hinges, bands, and internal components.
When it is smarter to upgrade instead of repair
Sometimes, the most practical answer to ‘why won’t my Beats turn on’ is age. If:
- Your Beats are several years old.
- They have had multiple repairs already.
- Battery life is short even when they do turn on.
then upgrading to a newer model can be cheaper and more reliable in the long run. Newer Beats often offer better battery life, improved Bluetooth, and more robust water resistance.
Conclusion
When your Beats will not turn on, it is frustrating, but not always fatal. Most issues come down to a drained battery, bad cable, dirty port, or software glitch that a reset or careful cleaning can fix. By moving through the possible causes step by step, you avoid guessing and give yourself the best chance to bring your headphones back to life.
Check the simple things first: charge level, cable, charger, and port. Then move on to resets, firmware updates, and environmental checks. If none of these work and you see signs of damage or swelling, stop and contact Apple or Beats support for a safe, professional solution.
With the right troubleshooting approach and better charging and care habits, you can keep your Beats turning on reliably and enjoy your music, calls, and workouts without unnecessary downtime.
Frequently Asked Questions
Why won’t my Beats turn on even though they were charging all night?
If your Beats charged all night but still will not turn on, the charger, cable, or port may not have delivered power at all. First, test with a known-good cable and wall adapter, then check the port for lint or debris. Try a hard reset using the correct button combination for your model. If there is still no response, the battery or charging circuit may have failed and you should contact Apple or Beats support.
Can I fix Beats that won’t turn on without going to an Apple Store?
Yes, many power issues are fixable at home. You can try a different cable and charger, clean the charging port carefully, perform a hard reset, and update firmware through the Beats app or an Apple device. If your Beats show signs of physical damage, swelling, burning smells, or still will not respond after these steps, stop DIY attempts and seek professional help to avoid further damage or safety risks.
How long should Beats last before the battery stops turning them on reliably?
Battery life depends on how often and how hard you use your Beats, but many users see solid performance for several years with good charging habits. Over time, lithium-ion batteries lose capacity and may stop holding enough charge to power on reliably. If your Beats are older, need frequent charges, or only work while plugged in, it is likely the battery is near the end of its life and you may need a battery replacement or an upgrade to a newer model.