Ring Doorbell Motion Detection Settings: The Complete 2024 Guide
Introduction
Ring doorbells can either feel like a powerful security upgrade or a constant source of noise. The difference usually comes down to how well you set up the motion detection features. Poor configuration leads to endless alerts from cars, pets, and leaves. Good configuration means you see real visitors and important events without your phone buzzing all day.
This guide walks you through Ring doorbell motion detection settings step by step. You will learn how the technology works, how to shape Motion Zones, how to tune sensitivity and Motion Frequency, and how to use People Only Mode and Smart Alerts. You will also see how to protect battery life, respect neighbors’ privacy, and fix common motion problems.
Each section builds on the last, so you move from basic understanding to practical, reliable settings that fit your home. Once you understand the core motion logic, the Ring app tools become much easier to use.
How Ring Doorbell Motion Detection Works
Before you change any settings, you need to know what your Ring doorbell is actually doing when it detects motion. A clear picture of the motion logic will help every change you make later in the app.
PIR Sensors, Field of View, and Detection Logic
Most Ring doorbells use Passive Infrared (PIR) sensors to detect motion. These sensors look for changes in heat moving across the camera’s field of view. When a warm object, like a person or car, moves through that area, the sensor can trigger a motion event.
Key points about PIR detection:
- It detects side-to-side motion better than straight-on motion.
- Larger and faster movements are more likely to trigger alerts.
- Strong contrast between body heat and the background improves detection.
The PIR sensor works together with the camera’s viewing angle. The combination of both defines where motion can trigger recordings and notifications. That is why the height and angle of your Ring doorbell matter so much.
Motion Zones vs. Privacy Zones
Ring offers two major types of zones that affect how your doorbell behaves:
- Motion Zones tell the doorbell where it should look for motion and trigger alerts.
- Privacy Zones block out parts of the image so they do not record or appear in video.
You rely on Motion Zones to decide which areas in front of your home should cause notifications. You use Privacy Zones to avoid capturing sensitive or private areas, such as a neighbor’s window or parts of the street that do not matter to you.
Motion Zones and Privacy Zones work side by side. Motion Zones reduce false alerts and noise. Privacy Zones support legal requirements and good neighbor relationships.
Battery-Powered vs. Wired Ring Doorbells
Your specific Ring model also affects how motion behaves.
- Battery-powered models aim to conserve energy. They wake up from a low-power state when they detect motion. More frequent or more sensitive detection drains the battery faster.
- Wired or plug-in models draw constant power. They can run more aggressive motion detection and frequent recordings without worrying about battery life.
If your doorbell runs on battery, you will constantly balance detection accuracy and battery life. With a wired doorbell, you can focus more on coverage and security.
Once you understand these basics, you are ready to explore the settings panel where all motion tools live.
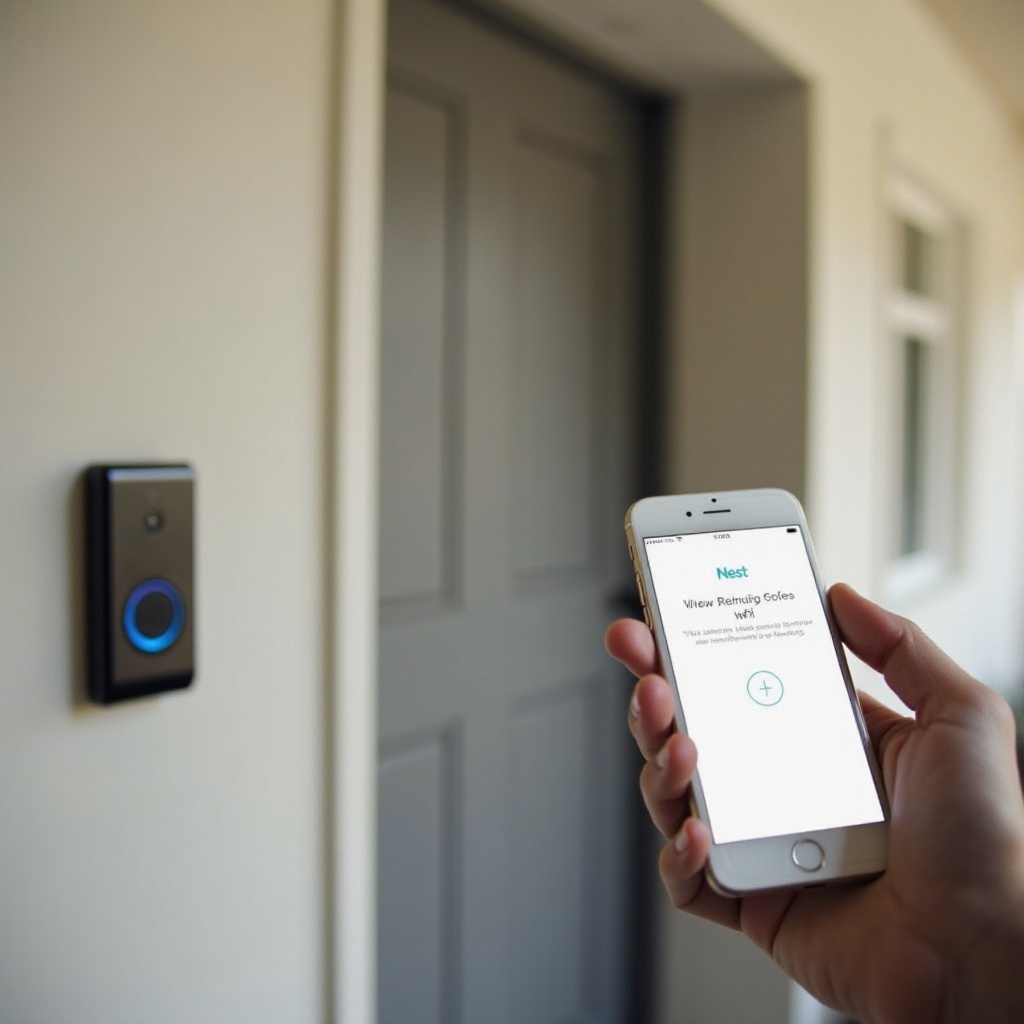
Accessing Motion Detection Settings in the Ring App
Knowing the theory is useful, but the real work happens in the Ring app. This is where you adjust all Ring doorbell motion detection settings and see the impact in real time.
Navigating to Your Ring Doorbell Device
Follow these steps to reach your device controls:
- Open the Ring app on your phone or tablet.
- On the dashboard, look for the tile with your Ring doorbell name and tap it.
- You will see the device home screen, with options like Live View, Event History, and Settings.
This screen is your main hub for managing everything related to that specific doorbell.
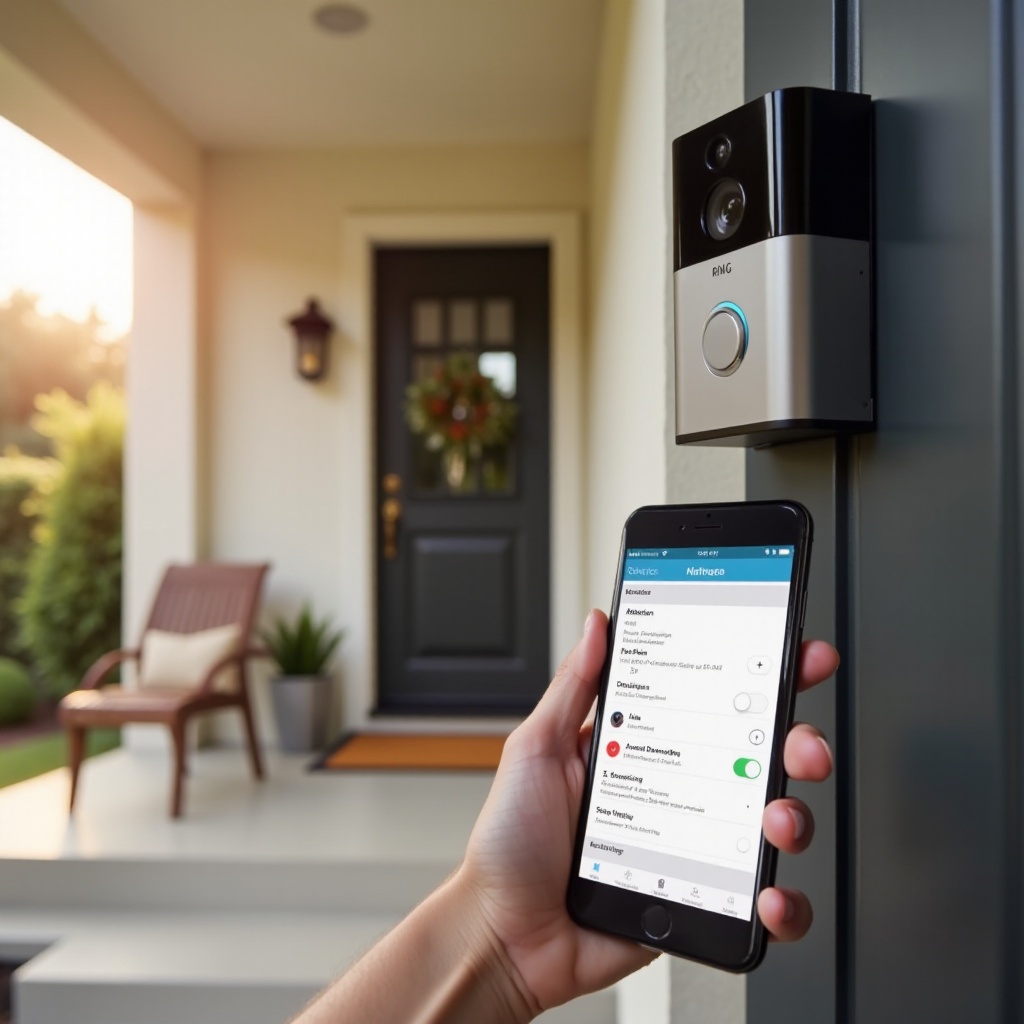
Motion Settings vs. Device Settings
Ring separates controls into different areas:
- Device Settings manage video quality, audio, power, and general behavior.
- Motion Settings focus on detection, zones, sensitivity, Smart Alerts, and schedules.
Tap Motion Settings to reach the core motion tools. This is where you decide what should trigger recordings and notifications.
Running the In-App Motion Setup Wizard
If your doorbell is new or recently reset, the app may prompt you to use a motion setup wizard. This wizard can:
- Suggest a starting motion range.
- Guide you through drawing basic Motion Zones.
- Help you test detection by walking in front of the doorbell.
Use the wizard as a helpful starting point. You will refine the settings based on your actual environment over the next few days.
With basic navigation covered, the next step is to shape what the doorbell sees by building smart Motion Zones.
Setting Up Effective Motion Zones
Motion Zones act as virtual fences. They decide where motion matters and where it should be ignored. Good zones reduce false alerts and make sensitivity adjustments much more effective.
Turning Motion Zones On and Drawing Your First Zone
To set your first Motion Zone:
- Open Motion Settings in the Ring app.
- Tap Motion Zones.
- Make sure Motion Zones are enabled.
- Use the grid overlay to draw a zone over the specific area you want to monitor.
For your first attempt, keep this zone small and focused. Cover:
- The porch area.
- Any steps leading up to your door.
- A small patch where visitors will stand.
This approach ensures that early tests focus on real visitors rather than distant movement.
Best Motion Zone Layouts for Different Home Types
The best Motion Zone layout depends on the type of property you have. Here are common patterns:
- House facing a busy street:
- One compact zone around the porch and doorway.
-
Avoid including the street and public sidewalk in the active area.
-
Suburban home with a front yard:
- A primary zone over the front steps and walkway.
-
A secondary zone that lightly covers the driveway, if you want to see cars entering.
-
Apartment or condo hallway:
- A narrow zone directly in front of your door.
- Try to avoid covering neighbors’ doors across the hall.
Start with these patterns and adjust the shape to fit your exact layout.
Avoiding Streets, Sidewalks, and High-Traffic Areas
Many false alerts come from motion that you never intended to monitor. To avoid them:
- Pull your zones back so they do not touch the street.
- Exclude public sidewalks if foot traffic is heavy.
- Remove trees, flags, or decorations that move in the wind from the active zone.
After each change, walk through the area yourself and watch how the doorbell responds. Fine-tune until you see alerts only for movement in areas that matter to you.
Once zones are in place, you can move on to sensitivity and Motion Frequency. These settings control how easily the doorbell triggers within those zones.
Adjusting Motion Sensitivity and Motion Frequency
Motion Zones define where motion matters. Sensitivity and Motion Frequency decide how often and how easily motion events become alerts and recordings.
How the Sensitivity Slider Really Affects Alerts
The sensitivity slider determines how much motion is enough to trigger an event:
- At high sensitivity, small or subtle movements can create alerts.
- At low sensitivity, the device may ignore smaller or slower movement.
A simple tuning process looks like this:
- Set the sensitivity slider near the middle.
- Use the doorbell for a day or two.
- If you see too many alerts, lower the sensitivity slightly.
- If you miss visitors or important movement, raise the sensitivity.
Avoid extreme settings unless you know you need them. Small changes can make a big difference in alert volume.
Choosing Motion Frequency: Frequent, Standard, Light
Motion Frequency decides how often the doorbell can trigger new motion events after it has already recorded one. Typical options include:
- Frequent:
- Checks for motion more often.
- Captures more complete sequences.
-
Uses more battery and creates more notifications.
-
Standard:
- Balanced for most homes.
-
Good mix of coverage and battery savings.
-
Light:
- Limits how often new events start.
- Best when you want to conserve battery.
If you live on a busy street and use a battery-powered doorbell, start with Standard or Light. If your doorbell is wired and your area is quiet, Frequent can give you more detail.
Balancing Detection Accuracy and Notification Overload
Your goal is a setup that matches your lifestyle:
- You should see people, deliveries, and unusual activity.
- You should not get overwhelmed by constant alerts.
Use this simple workflow:
- Draw tight Motion Zones that avoid obvious sources of false alerts.
- Start with medium sensitivity and Standard frequency.
- Adjust sensitivity and frequency over several days based on what you see.
- If you keep clearing alerts without watching them, reduce sensitivity or move to Light frequency.
- If you hear about visitors you did not see, increase sensitivity or switch to Frequent.
Once this balance feels right, you can further refine alerts with People Only Mode and Smart Alerts.
Using People Only Mode, Smart Alerts, and Rich Notifications
Ring offers extra tools that sit on top of your base motion setup. These tools let you filter movement, group events, and quickly see what triggered an alert.
When to Turn People Only Mode On or Off
People Only Mode uses motion analysis to decide whether a human likely caused the motion. When turned on, it tries to ignore:
- Cars driving by.
- Pets moving through the yard.
- Branches, shadows, and other random movement.
Turn People Only Mode on if:
- Your doorbell faces a busy road.
- You only care about people at your door.
- You want a strong cut in the number of alerts.
Turn it off if:
- You want alerts for cars entering your driveway.
- You need to track animals or pets.
- You monitor a large property and want to see more types of movement.
If People Only Mode causes missed visitors, raise sensitivity slightly or expand Motion Zones.
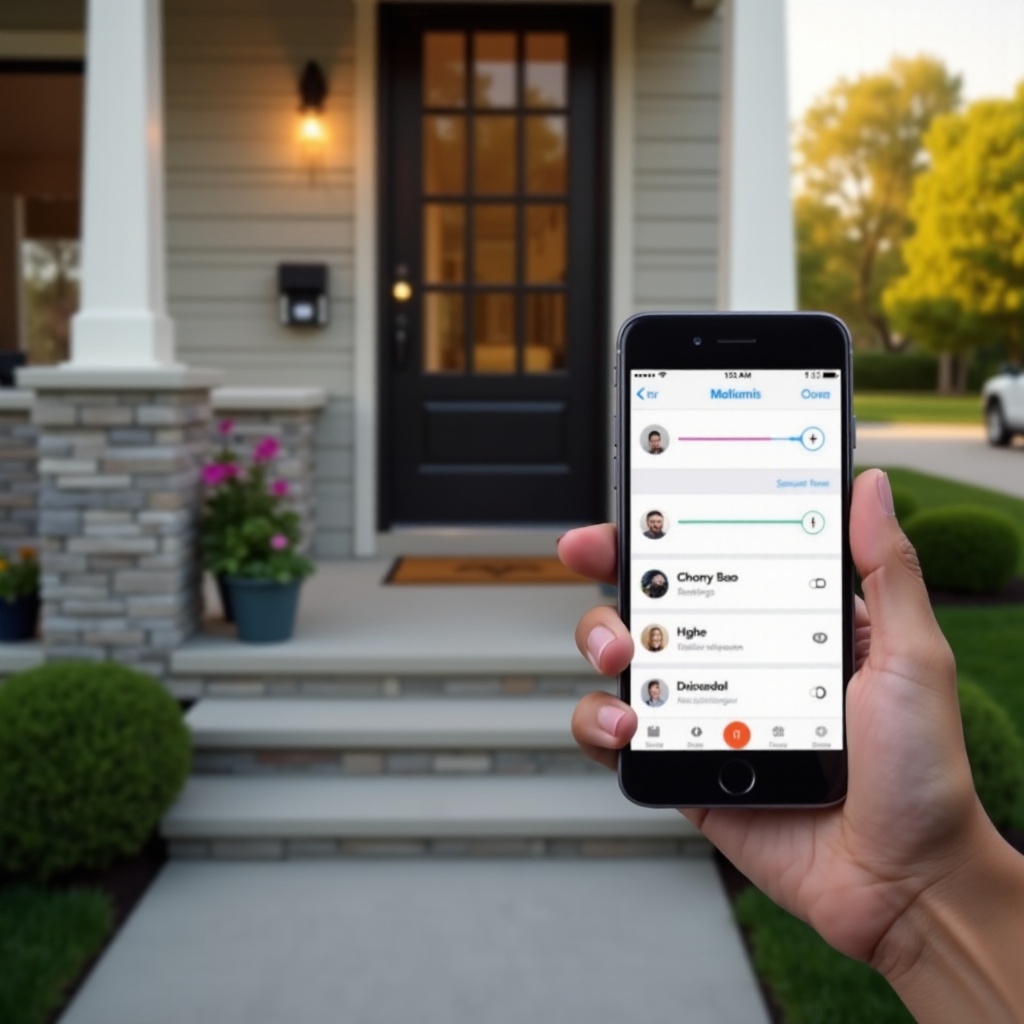
Smart Alerts to Group and Filter Motion Events
Smart Alerts can group similar motion events and let you set different behaviors for people versus other motion types. Depending on your model and plan, you may see options to:
- Choose notification preferences for people and for other motion.
- Reduce or mute notifications for non-human motion.
- Group events that happen close together in time.
Use Smart Alerts to surface the events that matter most while keeping your history clean and easy to review.
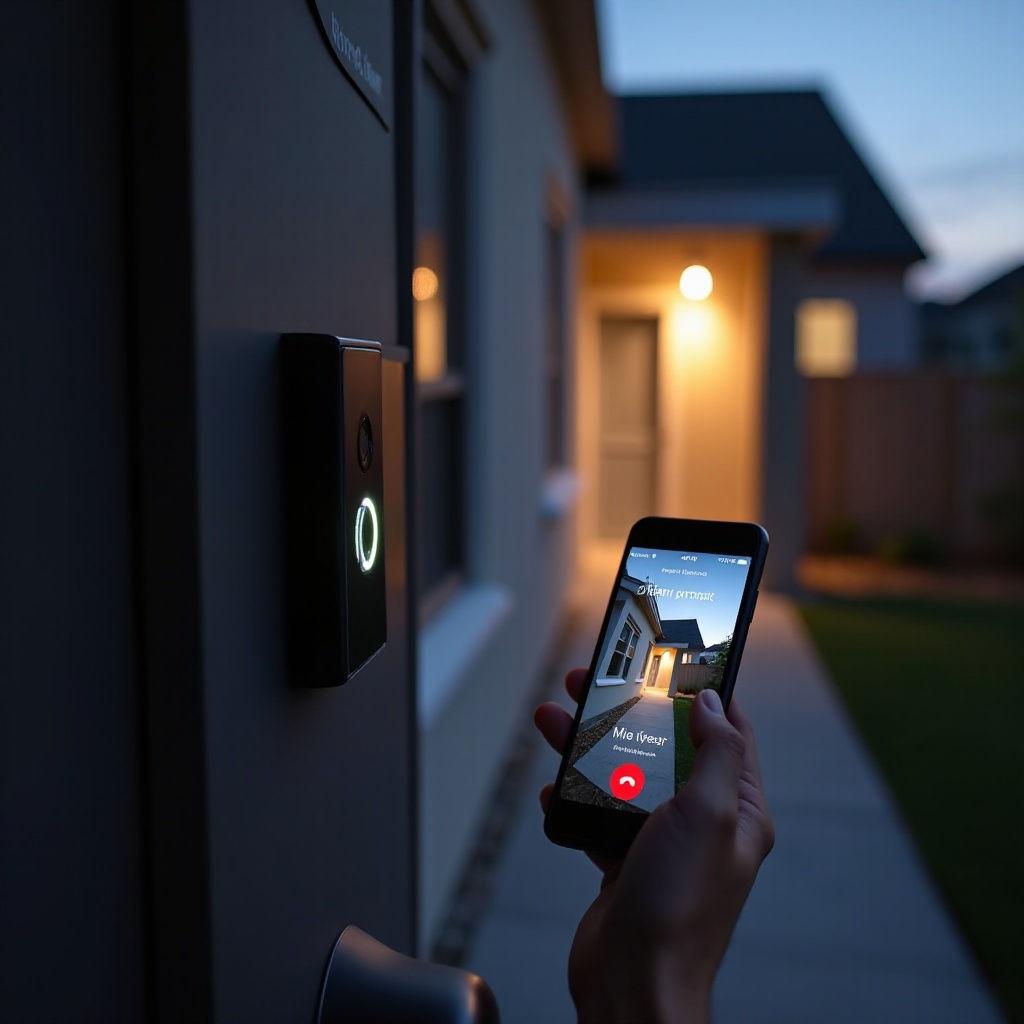
Rich Notifications and Preview Images on Your Phone
Rich notifications include a snapshot or short preview in the notification itself. This lets you see what caused the alert without opening the app.
Benefits include:
- Faster decisions about whether to respond.
- Less time spent loading Live View when it is not needed.
If you want to limit mobile data usage or keep notifications as simple text, you can turn rich notifications off. For most users, the clarity they add is worth keeping them enabled.
Once your alerts are filtered and meaningful, you can control when they arrive using schedules and quiet hours.
Scheduling Motion and Setting Quiet Hours
Even perfect detection can feel noisy if alerts arrive at the wrong times. Motion schedules and quiet hours help you decide when your Ring doorbell should notify you.
Creating Motion Schedules for Day and Night
To set a motion schedule:
- Open Motion Settings in the Ring app.
- Tap Motion Schedule.
- Choose times when you want to block motion alerts.
Common examples include:
- Weekday work hours, if you do not need real-time alerts and only rely on recordings.
- Late-night hours when other security systems cover the area.
Most of the time, schedules affect notifications, not recordings. Check the app notes for your exact model to confirm.
Using Schedules to Avoid Repeated Daily False Alerts
Schedules are especially useful for recurring events that always trigger motion but rarely matter, such as:
- A school bus stopping near your home each morning.
- Regular lawn service or maintenance visits.
- Kids playing in front of the house at predictable times.
Block or limit alerts during these windows so your phone stays quiet, but your doorbell can still record if you want a history.
Combining Do Not Disturb with Motion Settings
Your phone’s Do Not Disturb mode can add another layer of control. You can:
- Silence Ring notifications at night.
- Allow exceptions for calls or specific apps if needed.
This lets your Ring doorbell continue recording motion events while your phone remains silent. Later, you can simply review the event history in the Ring app.
With timing and alert behavior under control, you are ready to optimize for power usage and long-term performance.
Optimizing Motion Settings for Battery Life vs. Maximum Security
Every choice you make in Ring doorbell motion detection settings affects power use. Battery-powered models need extra care, while wired models allow more aggressive settings.
Recommended Settings for Battery-Powered Ring Doorbells
For battery-powered devices, start with this pattern:
- Motion Zones: Small, focused zones that cover only the porch and main walkway.
- Sensitivity: Medium or slightly below medium.
- Motion Frequency: Standard or Light.
- People Only Mode: On, if you only need alerts for people.
Also consider:
- Reducing rich notifications if you get very frequent alerts.
- Avoiding coverage of busy roads and sidewalks.
These changes limit how often the doorbell wakes, which extends the time between charges.
More Aggressive Settings for Wired or Plug-In Models
If your Ring doorbell is wired or uses a plug-in adapter, you have more flexibility:
- Use higher sensitivity if needed.
- Set Motion Frequency to Frequent for more complete coverage.
- Expand Motion Zones to include driveways or larger entry areas.
This configuration works well when you treat your doorbell as a central part of a larger security system and do not worry about battery levels.
Checking Device Health and Battery Impact in the App
Open Device Health in the Ring app to monitor:
- Battery level or power status.
- Wi-Fi signal strength.
- General connectivity and performance.
If you see rapid battery drain:
- Tighten your Motion Zones.
- Lower sensitivity one step.
- Move Motion Frequency to Light.
Small adjustments can bring a noticeable improvement in battery life without sacrificing essential coverage.
Once your device performs well and uses power efficiently, it is important to make sure your settings respect privacy and neighbor expectations.
Privacy, Neighbors, and Legal Considerations in 2024
Smart doorbells capture video and audio around your entryway. That naturally raises questions about privacy and how your settings affect neighbors and passersby.
Using Privacy Zones to Avoid Neighboring Properties
Privacy Zones let you block parts of the video frame so the camera does not display or record them. You can use them to cover:
- Neighboring windows.
- Neighboring doors.
- Portions of the street that do not relate to your property.
Combining Privacy Zones with Motion Zones keeps your monitoring focused on your own space and reduces the chance of complaints.
Orienting the Camera to Respect Shared Spaces
Physical placement is just as important as software settings:
- Mount the doorbell at the recommended height for your model, often around chest level.
- Angle the device slightly downward so it focuses on your walkway and doorstep.
- Use wedge or corner kits to angle the camera away from neighboring properties.
These simple changes, combined with zone settings, keep your camera trained on areas you have a clear reason to monitor.
Basic U.S. Privacy and Recording Etiquette
Practices that help in most U.S. communities include:
- Letting frequent visitors know you use a video doorbell.
- Avoiding sharing footage of neighbors online without their consent.
- Responding calmly and respectfully if someone raises concerns about your camera.
Thoughtful configuration maintains security while also showing respect for those who live and walk near your home.
With privacy concerns addressed, you can focus on solving any lingering motion issues through a structured troubleshooting process.
Troubleshooting Common Motion Detection Problems
Even with careful setup, problems can appear. A simple checklist helps you track down the cause and fix it without guesswork.
Too Many Motion Alerts from Cars, Trees, and Shadows
If you receive constant alerts for motion that does not matter:
- Edit your Motion Zones and remove streets, sidewalks, and trees.
- Lower motion sensitivity one step at a time.
- Turn on People Only Mode if you only care about people.
- Create Motion Schedules during known busy times.
Test after each change. Give the new settings at least a day before making more adjustments.
Not Getting Motion Alerts or Missing Recordings
If visitors reach your door without triggering alerts:
- Check notification settings in both the Ring app and your phone’s system settings.
- Increase sensitivity slightly.
- Expand your Motion Zones toward the path people take.
- Temporarily turn off People Only Mode to see if it is filtering too aggressively.
Also confirm that your Wi-Fi connection is stable. A weak signal can delay or block alerts and recordings.
Fixing Delayed Alerts, Wi-Fi Issues, and Recalibrating Zones
If alerts arrive late or Live View loads slowly:
- Check Wi-Fi signal strength in Device Health.
- Move your router closer to the door or add a Wi-Fi extender.
- Restart both the router and the doorbell.
If your entryway changed, for example because of new furniture or decorations, redraw your Motion Zones so they match the current layout.
When to Reset, Remount, or Contact Ring Support
If issues persist after all tuning steps:
- Reboot the device from the app.
- Perform a factory reset and run through setup again.
- Consider remounting at the recommended height and angle.
When those steps do not solve the issue, reach out to Ring support. They can review logs, check connectivity, and guide you through model-specific fixes.
Once your doorbell behaves as expected, you can lock in your progress with ready-made profiles tailored to common home types.
Recommended ‘Starter’ Profiles for Typical Homes
You do not need to invent your own settings from scratch. You can start with proven profiles and then fine-tune them based on your daily use.
Profile for a House Facing a Busy Street
Use these settings if your front door looks out on a road with regular traffic:
- Zones: One small zone on the porch and steps, with zone edges pulled back from the street and sidewalk.
- Sensitivity: Slightly below medium.
- Motion Frequency: Standard or Light.
- People Only Mode: On.
This profile aims to alert you when someone approaches your door but ignore most passing cars and pedestrians.
Profile for a Suburban Home with a Front Yard
If you have a moderate setback from the road and a front yard:
- Zones:
- Primary zone covering the porch and walkway.
- Secondary zone that reaches the driveway if you want to see vehicles arrive.
- Sensitivity: Medium.
- Motion Frequency: Standard, or Frequent if your area stays quiet.
- People Only Mode: On if you mainly care about people, off if car alerts matter.
This profile balances awareness with noise control for typical suburban layouts.
Profile for an Apartment or Condo Hallway
In shared hallways, you want to focus on your own door while limiting alerts for neighbors:
- Zones: A narrow rectangle just in front of your door, avoiding neighbors’ doors.
- Sensitivity: Medium-low.
- Motion Frequency: Standard.
- People Only Mode: On.
- Schedules: Consider blocking alerts during peak hallway traffic, such as early morning or evening rush.
This setup highlights visitors who pause at your door rather than every person who passes by.
How to Test and Tweak Each Profile Over a Few Days
Once you apply a profile:
- Keep the settings unchanged for two or three days.
- Note times when you get false alerts and times when you miss useful events.
- Adjust one element at a time: zone shape, sensitivity, or frequency.
- Retest until alerts feel meaningful rather than annoying.
Treat these profiles as starting points. Your home layout, local traffic, and personal tolerance for alerts will guide the final tuning.
Conclusion
Well-tuned Ring doorbell motion detection settings turn your device into a calm and dependable security tool. By understanding how motion detection works, shaping smart Motion Zones, balancing sensitivity and frequency, and using People Only Mode and Smart Alerts, you create a setup that fits your property and habits.
Add motion schedules, protect battery life, and respect privacy with thoughtful placement and Privacy Zones. Use the starter profiles as a base, then refine them based on real events around your home. With a bit of testing and adjustment, your Ring doorbell will show you exactly what you need to see, when you need to see it, without overwhelming your phone.
Frequently Asked Questions
Why is my Ring doorbell not detecting motion until someone is very close?
This often happens when sensitivity is too low or Motion Zones do not cover the full approach path. Raise sensitivity one or two steps and extend your Motion Zone outward toward where people walk up. Also check mounting height and angle; a doorbell mounted too high or pointed too far down can miss early motion.
How do I stop my Ring doorbell from detecting cars on the street?
Edit your Motion Zones so they do not include the street or public sidewalk. Pull the zone boundary back toward your porch and walkway. Turn on People Only Mode to reduce alerts from vehicles. If alerts remain frequent, lower the sensitivity and consider using a Motion Schedule during heavy traffic times.
What are the best Ring motion detection settings for saving battery?
For better battery life, use small, focused Motion Zones, medium or low sensitivity, and Motion Frequency set to Standard or Light. Turn on People Only Mode if you only need alerts for people, and avoid covering busy streets or very active areas. Check Device Health regularly and adjust zones or sensitivity if you see the battery draining quicker than expected.