How to Uninstall Messages on Mac Safely in 2024
Introduction
Searching for ‘how to uninstall Messages on Mac’ usually means one of three things: you want more privacy, less clutter, or extra storage. The problem is that Messages is a built-in Apple app, so macOS does not let you drag it to the Trash like a normal application. If you try to force it, you can easily break your system.
The good news is that you can reach almost the same result without touching protected system files. You can turn off iMessage so it stops syncing and receiving new chats, delete existing conversations and attachments that take up space, remove leftover data in the Library folder, and hide Messages so it never gets in your way again.
This guide walks you step by step through how to ‘uninstall’ Messages on Mac in a safe way for 2024. You will see what you can and cannot remove, how to free storage, and how to turn the app back on if you change your mind later. Before you make any changes, it helps to understand how macOS treats built-in apps like Messages.

Can You Really Uninstall Messages on Mac in 2024?
Many users expect Messages to behave like any other app in the Applications folder. You long-press the icon, choose ‘Move to Trash’, and it disappears. That works for third-party apps, but not for most Apple system apps in 2024, including Messages.
Apple protects core apps with a feature called System Integrity Protection (SIP). SIP stops you from removing or altering system files, even if you use administrator rights. Messages is tied to the Apple ecosystem, your Apple ID, and services like FaceTime and iCloud. Because of this, macOS treats it as part of the system, not an optional extra.
So can you fully uninstall Messages on Mac? Realistically, you cannot remove the Messages application bundle itself in a clean, supported way. However, you can stop it from running, syncing, and sending or receiving anything. You can delete its local data and cache files, and you can hide it from your Dock, Launchpad, and search.
In practical terms, that feels like an uninstall for most people. The app remains on disk, but it is silent, empty, and invisible in daily use. To do this safely, you should start by confirming your macOS version and making a backup of your Mac so any mistake can be undone.
Before You Start: Check macOS Version and Back Up Your Mac
Before changing settings or deleting files, you need to know which macOS version you use and make sure you have a recent backup. This helps you follow the right steps and protects you if you remove the wrong data.
How to Check Your macOS Version
To check your macOS version:
- Click the Apple logo in the top-left corner of your screen.
- Select ‘About This Mac’ or ‘System Settings’, depending on your Mac.
- You will see the name and version, for example, macOS Sonoma 14.x or macOS Ventura 13.x.
Knowing the version matters because Apple adjusts menus and options slightly between releases. The core ideas in this guide work on current macOS versions, but button names and locations may move a bit in Sonoma or future updates.
Why You Should Back Up Before Changing System Apps
Even though we will avoid risky system hacks, you will still delete data and change account settings. A backup ensures you can restore important conversations or attachments you later realize you needed, your Library folder content if you remove the wrong data, or even the whole system if you run into issues.
You can back up with:
- Time Machine to an external drive
- A full-disk clone with a reputable backup tool
- iCloud Drive for documents and desktop files (as extra insurance)
Once you confirm your macOS version and have a backup, you are ready to disable Messages so it stops receiving any new chats.
Step 1: Turn Off iMessage and Stop Messages from Syncing
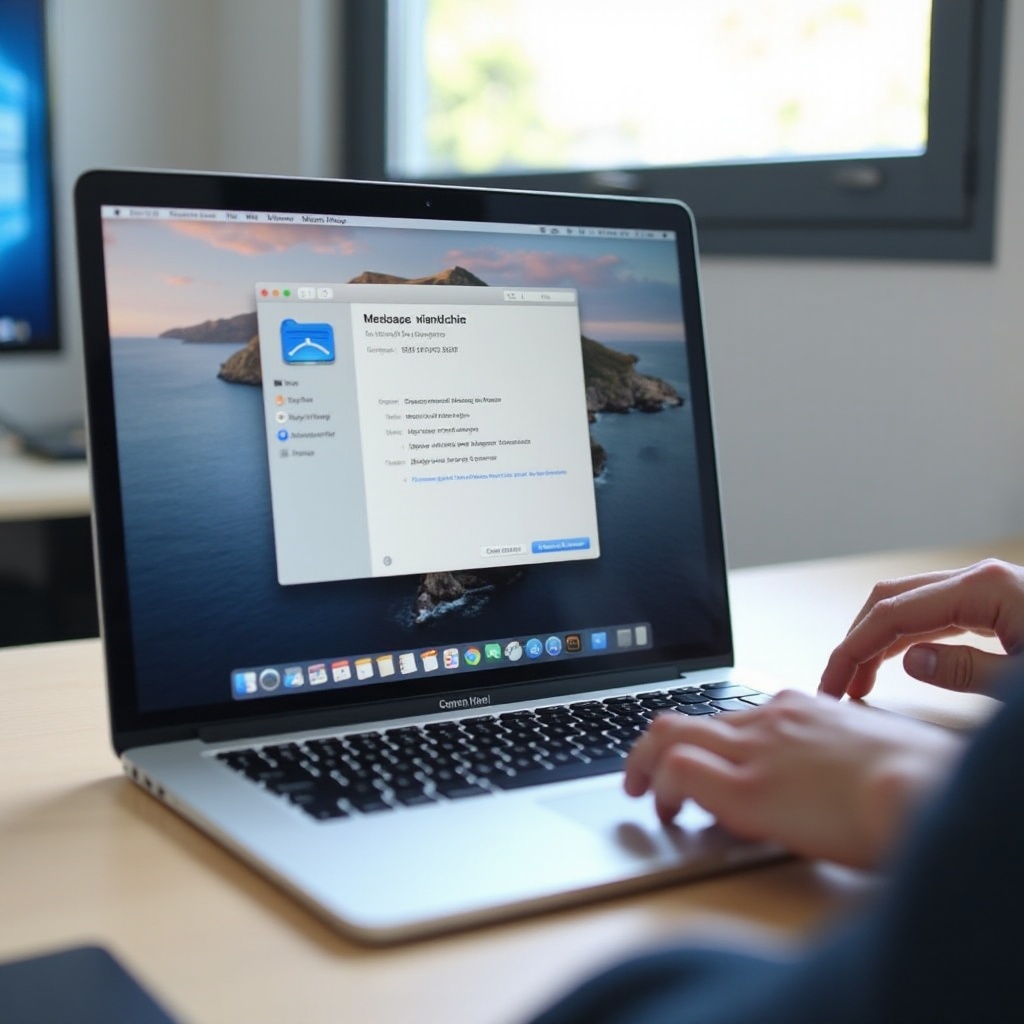
The first real step in ‘uninstalling’ Messages on Mac is to stop it from working at all. That means signing out, turning off iCloud sync, and stopping text forwarding from your iPhone. Once you do this, new messages will no longer arrive on your Mac.
Sign Out of Messages on Your Mac
To sign out of Messages:
- Open the Messages app.
- In the menu bar, click Messages → Settings (or Preferences on some versions).
- Go to the iMessage tab.
- Click Sign Out next to your Apple ID.
- Confirm when macOS asks.
After you sign out, your Mac will stop sending or receiving new iMessages with that Apple ID. Existing conversations will still sit in the app until you delete them, but they will no longer update.
Disable Messages in iCloud on Mac
Next, turn off Messages in iCloud so the app does not sync your chat history from the cloud:
- In the same iMessage tab in Messages settings, find Enable Messages in iCloud.
- Uncheck this box.
- Click Sync Now if you want one final sync before turning it off, or leave it off if you want to stop sync immediately.
Disabling Messages in iCloud stops your Mac from pulling old chats and attachments down from iCloud, which can save a lot of storage.
Turn Off Text Message Forwarding from iPhone
If you also get SMS texts (green bubbles) on your Mac, they arrive via your iPhone's text message forwarding. To stop that:
- On your iPhone, open Settings.
- Tap Messages → Text Message Forwarding.
- Turn off the switch next to your Mac.
Once you do this, your iPhone will no longer send SMS messages to your Mac. With sync and forwarding disabled, Messages on your Mac becomes static, which makes it easier to safely remove stored data in the next step.
Step 2: Delete Messages History and Attachments to Free Space
Now that Messages no longer receives new chats, the next goal is to remove existing conversations and attachments. This step cleans up most of the visible clutter and can free a lot of space, especially if you share many photos and videos.
Clear Individual and Group Conversations in Messages
Start with regular message deletion inside the app:
- Open Messages.
- In the sidebar, control-click (or right-click) on a conversation.
- Select Delete Conversation.
- Confirm when asked.
You can repeat this for one-to-one chats, group messages, and business or verification code threads. If you want to clear several at once, you can select multiple threads by holding Command and clicking each one, then press Delete.
Remove Large Attachments, Photos, and Videos
Many users find that the real storage hogs are attachments, not the text itself. To clean them:
- Open a conversation with large media.
- Click the info (i) button in the top-right of the conversation.
- Scroll down to see Photos, Documents, and other media.
- Control-click on items and choose Delete.
On some macOS versions, you can also manage large attachments from:
- Apple menu → About This Mac → Storage → Manage
- Look for Messages in the sidebar and review large files.
Deleting attachments here can free gigabytes of space, especially if you share or receive videos often.
Adjust 'Keep Messages' Settings for Auto-Deletion
To stop Messages from building up more data if you ever open it again, adjust the auto-delete setting:
- In Messages → Settings → General, find Keep Messages.
- Choose 30 Days or 1 Year instead of Forever.
This does not delete everything right now, but it sets a rule so that old chats will vanish automatically after the chosen time period. Combined with sign-out and disabled sync, this keeps Messages small and less intrusive if it ever gets reopened.
After cleaning up inside the app, you can go one level deeper and remove leftover databases and cache files from the Library folder.
Step 3: Deep Clean Messages Files from the Library Folder
Even after you delete chats and attachments in the Messages app, macOS may leave behind databases and cache files. You can safely clear many of these to reclaim storage and ensure your chat history is gone from the Mac.
How to Find the Messages Folder in Library
The Messages data lives in your user Library folder, which is hidden by default. To reach it:
- Click on the Finder icon in your Dock.
- In the menu bar, click Go.
- Hold down the Option key and click Library when it appears.
- In the Library window, open the Messages folder.
You will see files like chat.db, chat.db-wal, chat.db-shm, and an Attachments folder. These store your conversations and media locally.
Files and Folders You Can Safely Delete
Before deleting anything, confirm you do not need your old chats. If you are sure, you can safely remove local data:
- Delete the Attachments folder to remove stored photos, videos, and files.
- Delete the chat.db files to erase local records of message history.
- Delete any Messages-related .plist preference files if you want to reset settings.
To do this:
- Select the items in the Messages folder.
- Drag them to the Trash or press Command + Delete.
- If Finder says some items are in use, make sure Messages is fully closed and try again.
Avoid deleting anything outside the Messages folder or in system-level Library locations unless you are sure what it does. That way, you protect the rest of macOS while still wiping your chat data.
Empty the Trash and Confirm Storage Is Freed
Files do not leave your drive until you empty the Trash:
- Right-click the Trash icon in the Dock.
- Select Empty Trash.
- Confirm when macOS asks.
To confirm you gained space:
- Click the Apple logo → About This Mac → Storage.
- Wait for the storage bar to calculate.
- Check whether the used space has decreased.
With local messages data cleared, the app is now basically an empty shell. The next step is to hide Messages so you no longer see it or get nagged by alerts.
Step 4: Hide Messages So It Feels 'Uninstalled'
At this stage, Messages is signed out and wiped of its data. To complete the feeling of an uninstall, you should hide it from your Dock, Launchpad, notifications, and search results. This makes it effectively invisible during normal use.
Remove Messages from the Dock and Launchpad
To remove Messages from the Dock:
- Right-click (or control-click) the Messages icon in the Dock.
- Choose Options → Remove from Dock.
If Messages is open, quit it first, then remove it. Launchpad always shows installed apps, but you can move Messages into an app folder or simply ignore it. If you really do not want to see it there, focus on using Spotlight and the Dock as your main app launchers.
Turn Off Messages Notifications and Badges
To stop alerts, banners, and red badges:
- Open System Settings (or System Preferences).
- Go to Notifications.
- Scroll down and select Messages.
- Turn off Allow Notifications.
- Disable Badges, Sounds, and Banners.
Now Messages will not pop up or nag you even if something triggers it in the background.
Hide Messages from Spotlight Search and Suggestions
To keep Messages out of search:
- Open System Settings.
- Go to Siri & Spotlight or Spotlight, depending on your version.
- In the search results list, uncheck Messages.
This prevents Spotlight from showing Messages conversations or the app when you search. With the icon gone from the Dock, no notifications, and no search results, Messages will feel effectively uninstalled, even though the core app stays in place.
Step 5: Advanced Methods and Why You Should Not Force-Uninstall
You might see online guides that claim to show ‘how to uninstall Messages on Mac with Terminal’. They usually involve disabling protections and deleting system app bundles. This approach is risky and not worth the trouble, especially when safer options exist.
System Integrity Protection and Protected Apps
System Integrity Protection (SIP) is a security feature that:
- Blocks changes to system files and apps
- Protects the core parts of macOS
- Requires special steps to disable from Recovery mode
Messages sits inside these protected paths. Apple designed SIP to prevent malware and careless changes, but it also stops well-meaning users from accidentally breaking their system.
Risks of Using Terminal to Delete Messages
If you disable SIP and run Terminal commands like sudo rm -rf on Messages files, you risk:
- Breaking macOS updates and system upgrades
- Causing app crashes or strange system errors
- Losing support from Apple if they detect modified system files
- Needing a full reinstall of macOS to fix the damage
You gain almost nothing compared to the safe method: sign out, delete data, and hide the app. For most users, forcing a full uninstall introduces problems without delivering extra benefits.
Safer Alternatives: Separate User Account or Fresh Install
If you want an even cleaner setup without touching system files, consider these options:
- Create a separate user account without Messages signed in. Use that account for focused work.
- Perform a fresh install of macOS and avoid signing into iMessage or enabling Messages in iCloud at all.
Both options keep the system stable while giving you a Messages-free environment. And if you ever decide you need Messages again, you can enable it without reinstalling anything.
How to Re-Enable Messages on Mac If You Change Your Mind
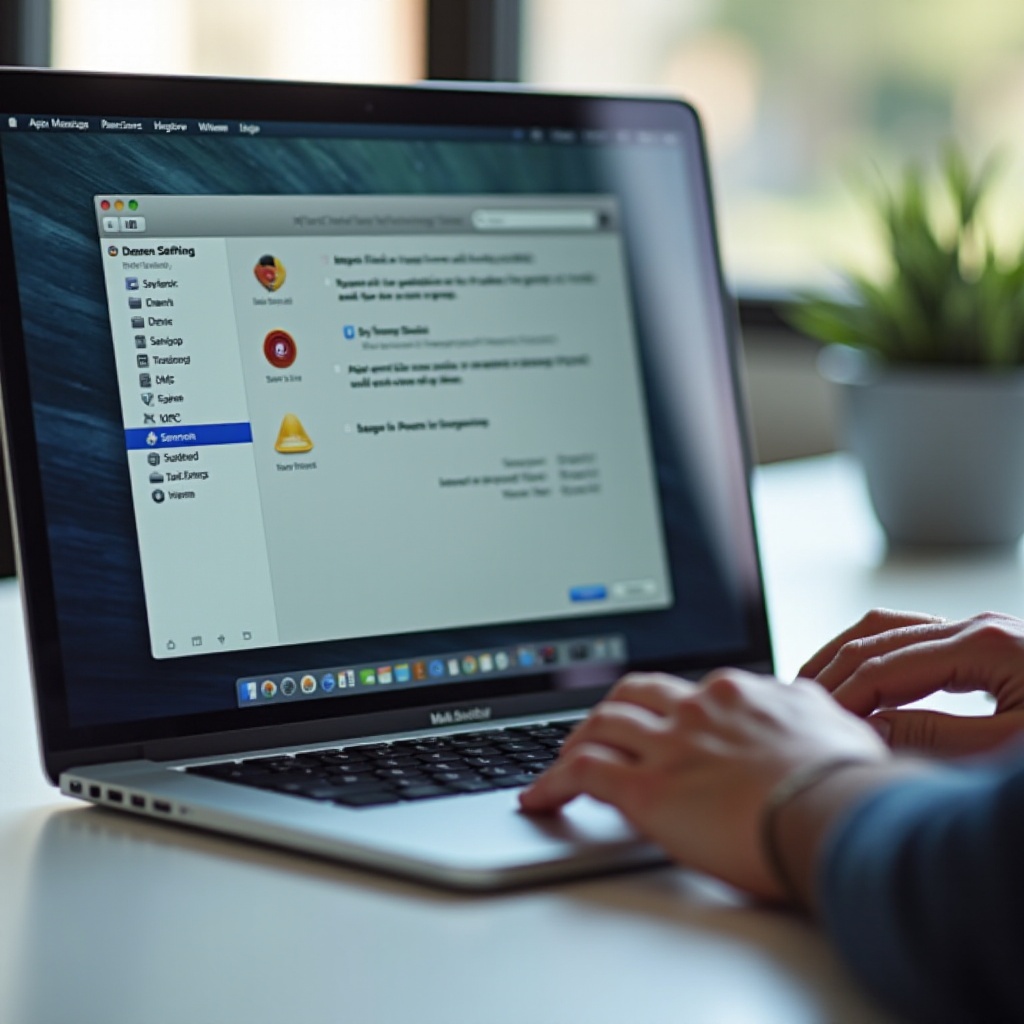
If you ever decide you miss Messages on your Mac, you can restore it easily. The app itself is still installed; you only removed data and disabled features.
Sign Back In and Re-Sync with iCloud
To sign back in:
- Open Messages.
- Go to Messages → Settings → iMessage.
- Enter your Apple ID and password.
- Enable Messages in iCloud if you want your history back on the Mac.
Once you sign in, your Mac will start syncing new messages again. If you left Messages in iCloud turned on for other devices, your recent history may reappear automatically.
Restore Old Chats from Backup
If you deleted your local chat database but kept a backup:
- Restore the ~/Library/Messages folder from a Time Machine backup.
- Replace the current Messages folder with the backup version.
- Reopen Messages and allow it to rebuild the database.
You should then see your older conversations again, as long as they existed at the time of the backup.
Fix Common Re-Sync Problems
If messages do not sync correctly after you sign back in:
- Make sure the same Apple ID is signed in on your Mac and iPhone.
- Check that Messages in iCloud is enabled on both devices.
- Restart your Mac and iPhone to refresh network and iCloud connections.
Most sync issues clear up once all devices share the same settings and are online. If problems remain, you can briefly turn Messages in iCloud off and on again to trigger a fresh sync.
Best Alternatives to Messages on Mac in 2024
Once you have silenced and hidden Messages, you may want another tool for your chats, especially on your Mac. Several strong options work well alongside or instead of Apple's solution, depending on whether you care more about privacy, features, or convenience.
Third-Party Secure Messaging Apps
Popular choices include:
- Signal for strong privacy and end-to-end encryption
- WhatsApp Desktop for users who already rely on WhatsApp on their phone
- Telegram Desktop for fast multi-device chats and large groups
- Slack or Microsoft Teams for work communication and collaboration
You can install these directly on your Mac and keep personal and work chats separate from Apple's ecosystem. Many of these apps also offer better search, media handling, and cross-platform support.
Web-Based Chat in Your Browser
If you prefer not to install more apps, use web versions instead:
- WhatsApp Web in a browser tab
- Facebook Messenger, Discord, or other chat tools online
- Pinned tabs or site-specific browser windows for quick access
This keeps your Mac lighter and avoids extra background processes. You simply open your browser to reach all your main chat services.
Balancing Privacy, Convenience, and Ecosystem Lock-In
When choosing an alternative, think about three key factors:
- Privacy: Who can see your messages? Are they end-to-end encrypted?
- Convenience: Do your friends, family, and coworkers already use the app?
- Ecosystem: Do you rely on Messages for verification codes, family chats, or group events tied to Apple IDs?
Many users keep Messages on their iPhone but move daily chat to another app on Mac. This balance lets you enjoy richer features on your computer while still receiving critical messages on your phone.
Conclusion
You now know that ‘how to uninstall Messages on Mac’ really means ‘how to turn Messages off, clear its data, and hide it safely’. Apple does not let you remove the Messages app itself in 2024, but you can reach the same practical result without breaking macOS.
The key steps are straightforward: sign out of iMessage, disable Messages in iCloud, and stop SMS forwarding so no new chats arrive. Then delete conversations and attachments inside the app, remove leftover files in the Library Messages folder, and empty the Trash to free space. Finally, hide Messages from your Dock, notifications, and Spotlight search so it no longer distracts you.
You should also avoid dangerous Terminal tricks that bypass System Integrity Protection. Those methods can damage your system, block future updates, and create problems that a clean reinstall must fix.
If you ever change your mind, you can sign back in, restore from backup, and sync your conversations again. In the meantime, you can rely on third-party or web-based chat tools that better match your privacy needs and workflow. Handled this way, Messages stops using space, stops disrupting you, and all without harming the stability or security of your Mac.
Frequently Asked Questions
Can I completely remove the Messages app from my Mac in 2024?
You cannot safely remove the Messages app itself because macOS protects it as a system application with System Integrity Protection. However, you can sign out, delete all Messages data in your user Library, and hide the app from the Dock, notifications, and Spotlight. This gives you the same everyday experience as an uninstall without risking system damage.
Will turning off Messages on my Mac affect Messages on my iPhone?
Turning off Messages on your Mac does not delete messages on your iPhone. When you sign out of iMessage or disable Messages in iCloud on your Mac, those changes apply only to that device. Your iPhone continues to send and receive messages as usual unless you change Messages or iCloud settings on the iPhone itself.
Why is Messages still taking up storage after I deleted conversations?
Messages can leave behind cache files and old databases in the user Library folder. If you only delete conversations inside the app, some files remain on disk. To fully free the space, open your user Library, go to the Messages folder, delete its contents such as chat.db and Attachments, empty the Trash, and then recheck your storage in the About This Mac storage overview.