How to Create a Custom Desktop Icon
Crafting custom desktop icons can transform your digital environment, adding a personal touch and streamlining your workflow. This guide will walk you through each step, from design to implementation, to help you create icons that enhance your desktop experience. Embrace creativity and practicality in equal measure as you learn how to make your computer interface uniquely yours.
Introduction
Desktop icons serve not just as shortcuts, but as personal expressions of style and efficiency. Customizing them allows you to bring a personalized flair to your workspace. Think of the joy in seeing a desktop that mirrors your preferences and boosts your productivity by organizing everything just the way you need it. Rather than relying on default icons that come with your operating system, explore how to design icons that speak to your individuality, leading to an organized and visually appealing desktop.
Understanding Desktop Icons
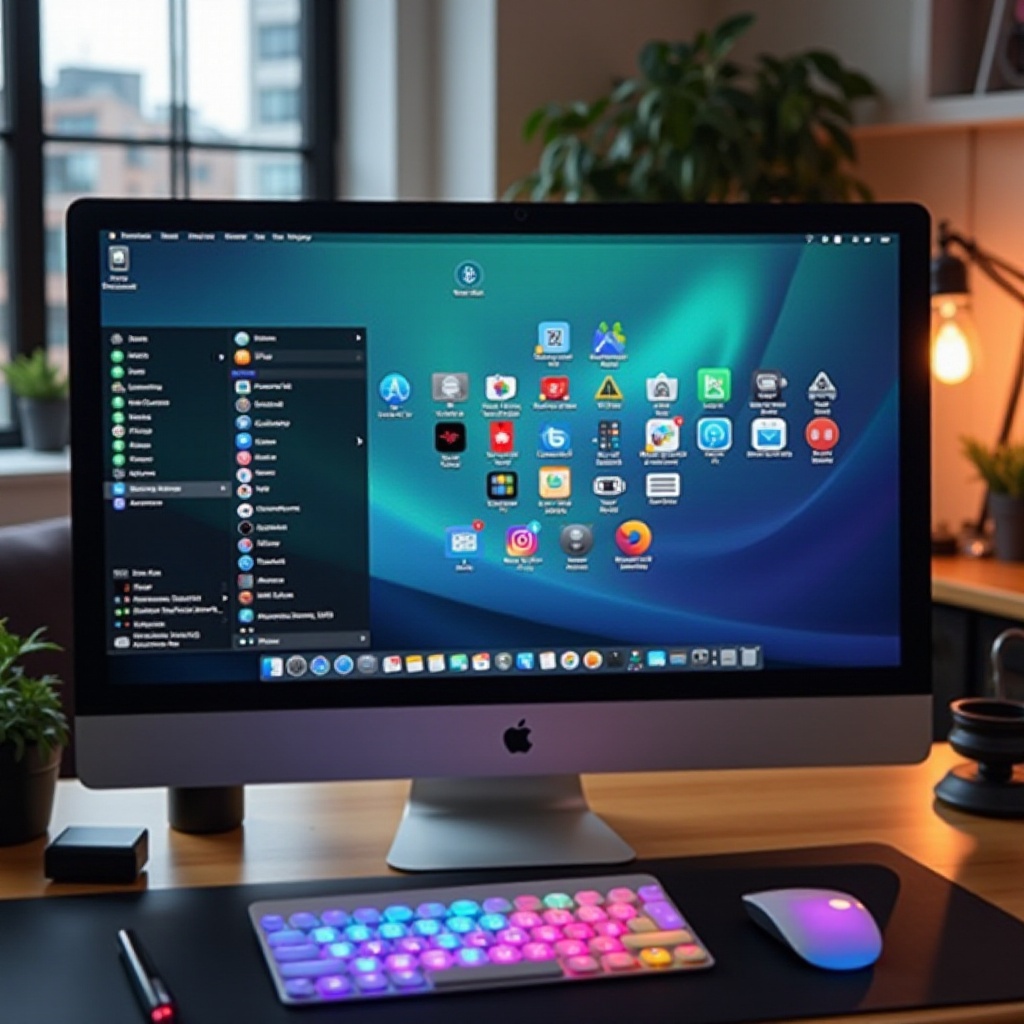
Desktop icons are visual representations of files, programs, and system functionalities, essential for quick navigation and improved user experience. Customizing these icons offers more than just aesthetic enhancement—it allows users to streamline workflows and locate files more intuitively. The connection between familiar visual cues and increased productivity is significant; a personalized desktop not only pleases the eye but also primes the mind for efficiency.
What Are Desktop Icons?
Desktop icons are the images that represent applications, files, and system features. They help users quickly identify what they need, serving as intuitive visual shorthand for complex functionalities. Typically included with your operating system, these icons can be customized to reflect your personal style and improve your desktop interface.
Benefits of Customizing Icons
- Personalization: Make your desktop truly your own.
- Organization: Quickly find and open essential applications and documents.
- Clarity: Simplify your desktop with clear, easy-to-identify icons.
- Efficiency: Improve access to frequently used files and programs.
Preparing to Create Custom Icons
Embarking on creating custom icons involves some groundwork. By gathering the right tools and understanding design basics, you can streamline the creative process. This preparation sets the stage for your artistic journey in crafting icons that enhance both form and function on your desktop.
Necessary Tools and Software
Start by equipping yourself with graphic design software such as Adobe Illustrator, GIMP, or Canva. For converting your designs into appropriate formats, utilize tools like ICO Convert. Source images from libraries like Unsplash or craft your own artwork to use as the base for your custom icons.
Design Principles and Considerations
When designing icons, simplicity and consistency are key. Use clear symbols that are recognizable at a glance, and maintain a visual theme across your icons. Make sure your designs are scalable, allowing them to look good at various sizes, which is vital for clarity and recognition on different screen resolutions.
Designing Your Custom Icon
Now that you’re prepared, it’s time to let your creativity flow as you design unique icons. This process is where personal expression meets practical application, allowing you to tailor your desktop to your individual needs and aesthetic preferences.
Sourcing Images and Graphics
Decide whether you’ll design icons from scratch or modify existing images. Original illustrations can add a creative touch, while stock images provide a quick starting point. Consider using vector graphics for their adaptability in various applications, as they offer perfect scalability without losing quality.
Basic Design Tips for Clarity
- Ensure high color contrast to make icons stand out against the desktop background.
- Use clear and simple symbols to convey each icon’s function effectively.
- Avoid overloading icons with text to maintain simplicity and clarity.
Converting Images to Icon Format
After designing your icons, converting them to a suitable file format is essential for use on different operating systems. Proper conversion ensures your icons function correctly and appear as intended on your desktop.
Recommended File Formats
For Windows, convert your images to the ICO format, which is compatible with Windows desktops. For macOS, use ICNS files tailored for Apple systems. PNG files are versatile and useful for web and Android applications, offering broad compatibility.
Step-by-Step Conversion Guide
- Use a graphic design tool to open your design and export it as a high-resolution PNG.
- Employ an online converter to transform the PNG file to ICO or ICNS, depending on your OS.
- Save the converted icon in an easily accessible location on your computer.
Setting Your Custom Icon on Different Operating Systems
With your new icon ready, the next step is implementation. Your operating system will dictate the final steps required to set these icons on your desktop, ensuring they are displayed correctly and seamlessly blend with your interface.
Customizing Icons on Windows
- Right-click on the desktop shortcut you wish to customize and choose ‘Properties’.
- Click the ‘Change Icon’ button and navigate to your ICO file.
- Select your new icon and click ‘Apply’ to save the changes.
Customizing Icons on macOS
- Click the icon you want to change and press ‘Command + I’ to open the info window.
- Open your ICNS file using Preview and copy it with ‘Command + C’.
- Click the small icon at the top of the info window and paste your new icon with ‘Command + V’.
Troubleshooting Common Issues
Occasionally, you might encounter issues in the customization process. Knowing how to troubleshoot these problems can prevent frustration and ensure smooth sailing as you perfect your icons.
Resolving Resolution Problems
If your icons appear pixelated, ensure the original design is of high resolution before conversion. Resizing the image to the correct dimensions prior to conversion can help maintain the visual quality.
Fixing Display Issues with Icons
For Windows users, a common problem is icons not displaying properly when files are moved. Keeping the icon files in a static location resolves this. MacOS users can reset the icon cache if icons don’t appear immediately as expected.

Advanced Tips for Icon Customization
With the basics covered, explore advanced techniques for a more personalized desktop experience, such as using icon packs and customizing folders. These tips elevate your customization skills, allowing you to further enhance your desktop’s appearance and functionality.
Utilizing Icon Packs
Consider downloading icon packs to ensure a consistent theme across your desktop. Mix and match elements from different packs to suit your style and organizational needs effortlessly.
Customizing Folders and Shortcuts
Beyond standard files and applications, customizing folder icons aids in easier navigation and creates a visually cohesive desktop layout. The steps for changing folder icons are similar to application icons, offering consistency across your desktop environment.
Frequently Asked Questions
How can I revert to default icons if needed?
To revert, select the icon and choose to restore default settings. For Windows, use the ‘Properties’ menu; for macOS, delete the custom icon in the info window.
Are there any safety concerns when downloading icon software?
Only download software from reputable sites to avoid malware. Check reviews and choose well-known software platforms to ensure safety.
Can I create animated desktop icons?
Animated desktop icons are possible using advanced tools like Adobe After Effects, but generally unsuitable for desktop shortcuts in standard OS environments and better for web use.