Blink Camera Armed but Not Recording: Causes and Fixes
Introduction
You open the Blink app, see your system marked as ‘Armed’, but there are no new clips even though people or cars have clearly passed in front of the camera. This ‘Blink camera armed but not recording’ problem is frustrating and can leave your home unprotected exactly when you expect coverage.
The good news is that in most cases, the cause is a simple setting, a storage issue, or a connectivity problem you can fix in a few minutes. You rarely need to replace the camera, and you usually do not need advanced technical skills.
This guide walks you step by step through how Blink recording works, what to check first, and how to fix motion, storage, Wi-Fi, and placement issues. You will also learn when it makes sense to contact Blink support or think about upgrading your system.
By the end, your armed Blink cameras should be recording reliably again, and you will know how to prevent the same problem in the future.
How Blink Motion Recording Works
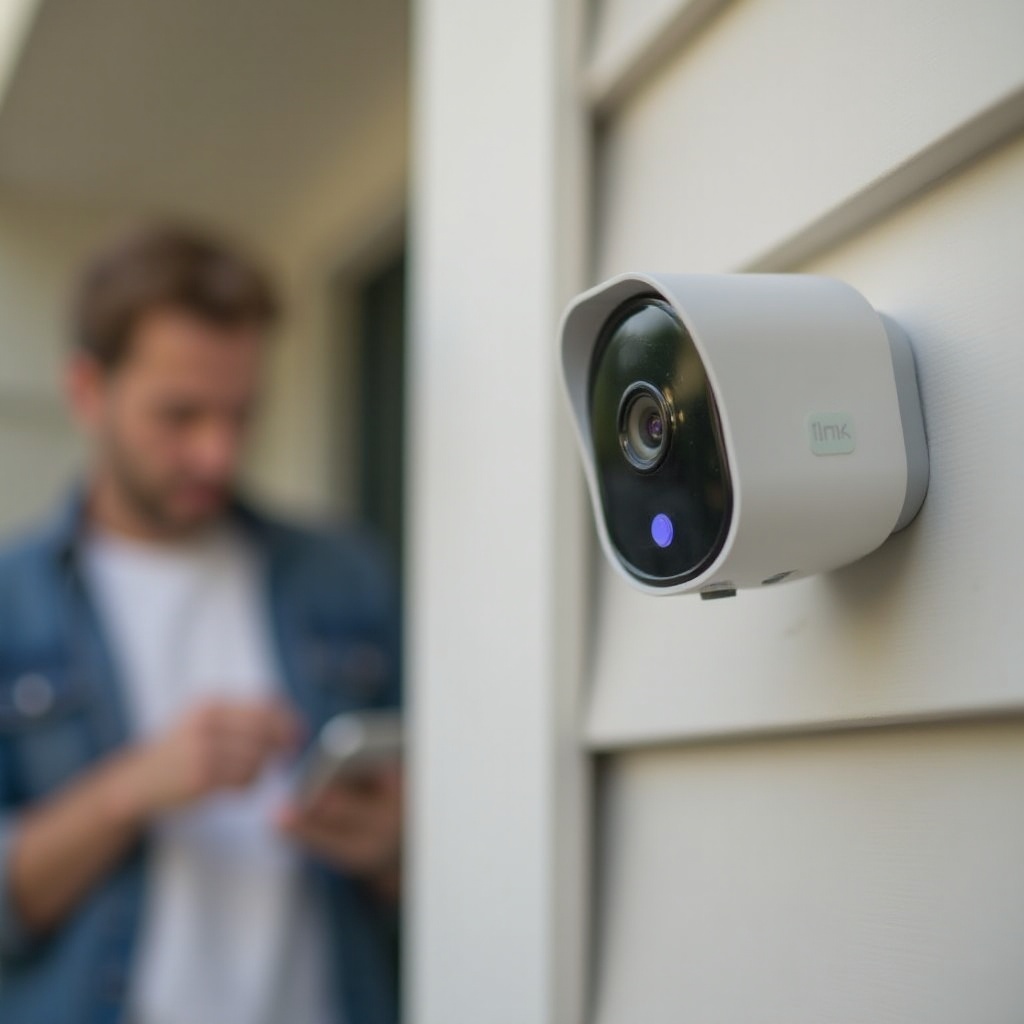
Before changing settings, you need to understand how Blink decides when to record. An armed system does not always mean the camera will save a clip. Recording depends on modes, motion detection, and storage, and each part can block clips even when the camera looks fine in the app.
Armed vs. Disarmed vs. Scheduled Modes
Blink uses three main ways to control whether cameras are watching for motion:
- Armed: The system is active. Any camera with Motion Detection turned on can trigger a recording when it detects movement.
- Disarmed: The system ignores motion. Cameras will not record motion clips, even though you can still open Live View.
- Schedule: You set specific times of day when the system arms or disarms automatically.
A common problem happens when the system shows as Armed, but a specific camera has Motion Detection turned off, or a schedule briefly disarms the system when you expect it to record. This mismatch leads to no clips even when you see ‘Armed’ at the top of the app.
Motion Detection vs. Live View vs. Saved Clips
Blink cameras record in three different ways:
- Motion detection: The camera watches for changes in infrared heat and movement in its field of view. If Motion Detection is enabled and the system is Armed, it saves a clip.
- Live View: You manually open the camera feed in the app. Live View does not always save a clip unless you tap the record icon or your subscription plan supports it.
- Saved clips: Motion or Live View recordings saved to the cloud or local storage appear in your Clip Roll or Clip List.
You might think the camera is not recording when it actually detects motion but does not save a clip because of storage limits or clip settings. Understanding this difference helps you focus on the right fix.
Cloud Storage vs. Local Storage with Sync Module 2
Blink offers two storage paths:
- Cloud storage with a Blink subscription:
- Motion clips and supported Live View sessions save to Blink servers.
-
If your subscription ends, new clips may stop saving to the cloud.
-
Local storage with Sync Module 2 and a USB drive:
- The Sync Module writes clips to the attached USB drive.
- If the drive is full, corrupted, or disconnected, recordings stop.
If your Blink camera is armed but not recording, storage type is a key factor. A lapsed subscription or full USB drive can silently block new clips while everything else looks normal in the app.
Understanding this foundation makes the next section of quick checks much easier and prevents you from chasing the wrong problem.
Quick Checks When Your Blink Camera Is Armed but Not Recording
With the basics clear, start with simple checks. These quick steps often fix the problem without deeper troubleshooting. They also help you figure out whether you face a settings issue, a network issue, or a hardware problem.
Confirm the System and Individual Cameras Are Armed
First, make sure both the system and each camera are active:
- Open the Blink app and look at the top to confirm the system shows Armed.
- On the main home screen, find the camera that is not recording.
- Tap the small running man icon for that camera:
- If the icon is gray, Motion Detection is off.
- If it is blue, Motion Detection is on.
You can have an armed system but a camera with motion disabled. In that case, the camera will not create clips even if people walk right in front of it.
Check Motion Detection Toggles in the Blink App
Next, verify the camera motion settings in more detail:
- Tap the settings gear next to the camera name.
- Scroll to find the Motion Detection toggle.
- Confirm it is turned on.
- Look for any extra toggles like enable/disable motion alerts or recording if present for your model.
Sometimes motion was disabled temporarily during cleaning, maintenance, or while avoiding false alerts and then never turned back on. This is one of the most common reasons a Blink camera is armed but not recording.
Verify Network Status and Camera Online Indicators
If the camera is armed but not recording, it might be offline even though the app still shows it on your list:
- On the home screen, check for any Camera Offline or Sync Module Offline messages.
- Look at the signal strength indicators for:
- Wi-Fi between camera and router.
- Connection between camera and Sync Module.
If the camera is offline, it cannot send motion events or clips. In that case, focus next on Wi-Fi and Sync Module fixes rather than motion settings. Once you confirm the basics, you can safely move to the more detailed motion tuning that follows.
Fix Motion Detection Settings That Block Recording
If basic checks look fine and the camera still does not record while armed, the camera may not see motion clearly enough to trigger a recording. Blink motion settings are powerful but easy to misconfigure, and small changes can make a big difference.
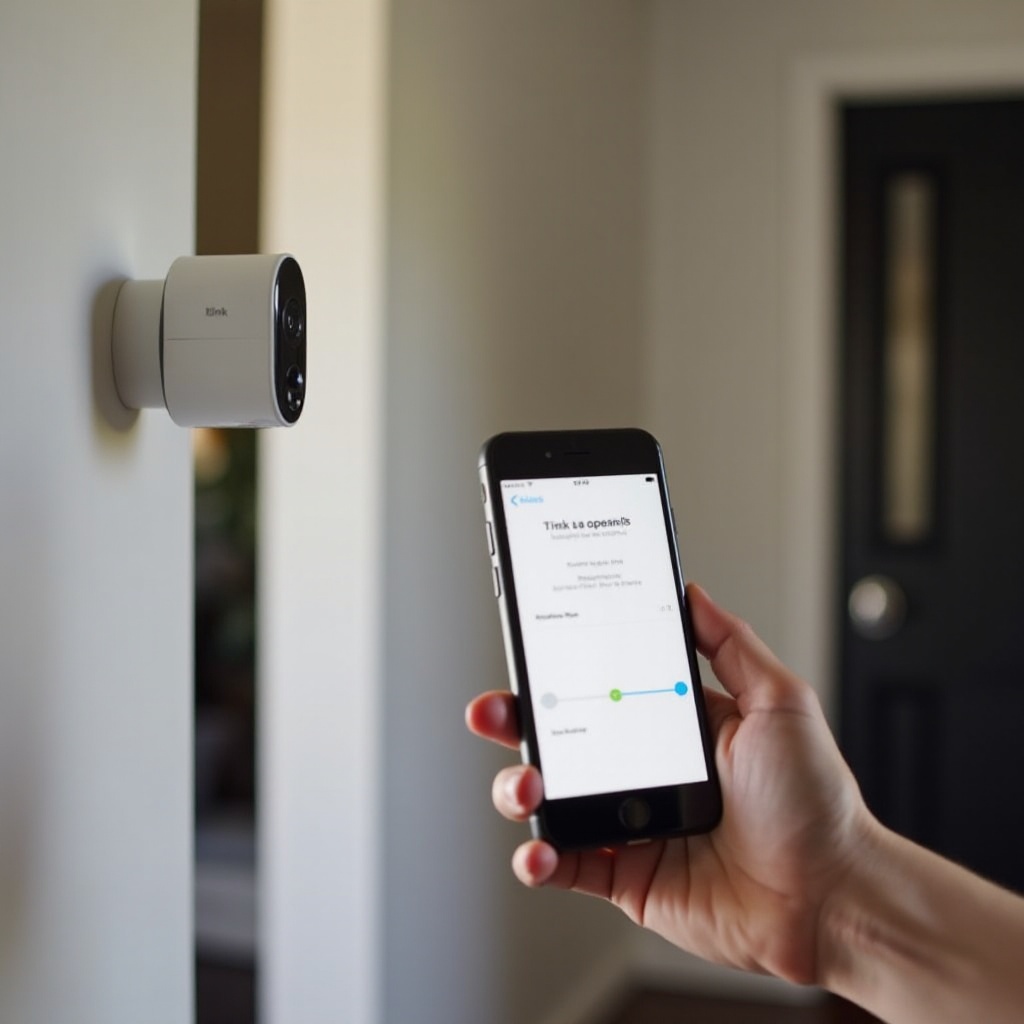
Adjust Motion Sensitivity for Real-World Conditions
Sensitivity controls how much motion triggers a clip:
- If sensitivity is too low, the camera ignores small or moderate movement.
- If sensitivity is too high, you get too many alerts and may drain batteries faster.
To tune it:
- Go to the camera settings.
- Find Sensitivity and move the slider slightly higher.
- Walk through the monitored area and check if the camera records.
- Make small changes instead of big jumps to avoid a flood of alerts.
Test several times at the distance and speed you expect people, pets, or cars to move. Your goal is to trigger real events while ignoring unimportant motion.
Review Activity Zones and Privacy Zones
Activity Zones and Privacy Zones tell the camera which parts of the view to watch or ignore:
- Activity Zones mark areas that should trigger motion.
- Privacy Zones mark areas that the camera ignores entirely.
If the area where people move (for example, your front walkway) falls outside the Activity Zone or partly inside a Privacy Zone, the camera may never record.
To check:
- Open the camera settings and look for Activity Zones.
- Review the grid overlay on the camera view.
- Make sure the main area of interest is enabled, not grayed out.
- If Privacy Zones exist, confirm they do not cover doors, paths, or driveways.
After changes, perform another walk-by test to confirm the camera now records. If motion still does not trigger clips, the Retrigger Time might be blocking repeat recordings.
Optimize Motion Retrigger Time to Avoid Gaps
Motion Retrigger Time determines how long the camera waits before it can record again after a clip. If it is set too high:
- The camera records one clip.
- Then ignores additional movement for many seconds.
To adjust:
- In camera settings, find Retrigger Time.
- Lower it to a shorter delay (for example, from 30 seconds down to 10–15 seconds).
- Test by moving in front of the camera multiple times in a short period.
This change helps when you see occasional clips but miss events that happen soon after another recording. Once motion settings look healthy, turn your attention to how and where your Blink system stores clips.
Resolve Recording and Storage Problems
If motion settings look good and the camera still does not record while armed, the issue might be where Blink stores clips. Storage problems often look like recording issues even when the camera detects motion correctly. Fixing storage ensures that detected events actually become saved clips.
Check Your Blink Subscription Status
Cloud plans control whether Blink saves clips to the cloud:
- Open the Blink app.
- Go to your account or subscription section.
- Confirm that your Blink subscription is active for the system with the problem camera.
If your subscription expired:
- Motion detection may still generate alerts.
- Clips might not save to the cloud at all.
You have two main options:
- Renew or start a subscription plan.
- Switch to local storage with Sync Module 2 and a USB drive.
Checking this first prevents you from chasing connection or hardware issues when the real cause is simply missing cloud storage.
Confirm Cloud and Local Storage Are Not Full
If you use local storage:
- Open the Blink app.
- Check the Sync Module settings.
- Look for storage details about the attached USB drive.
If the drive is full, recordings stop until you free space:
- Remove older clips.
- Replace the USB drive with a larger one.
- Reformat the drive if the app suggests corruption.
For cloud storage:
- Check if you reached your plan clip limit.
- Adjust retention settings to delete older clips sooner.
A full or corrupted storage location is a very common reason a Blink camera is armed but not recording, even when everything else appears normal.
Manage Clip Length and Auto-Deletion Settings
Blink lets you control how long each clip lasts and how long clips stay in storage:
- Clip length: Longer clips use more storage and can hit limits sooner.
- Auto-delete rules: Older clips can auto-delete after a set number of days.
To optimize:
- Lower clip length slightly if you often hit storage limits.
- Enable or shorten auto-delete times to keep storage free.
- Regularly review clips and manually delete ones you no longer need.
With storage behaving correctly, your next step is to verify that your network and Sync Module can reliably deliver those clips from the camera to storage.
Troubleshoot Wi-Fi, Sync Module, and Connectivity Issues
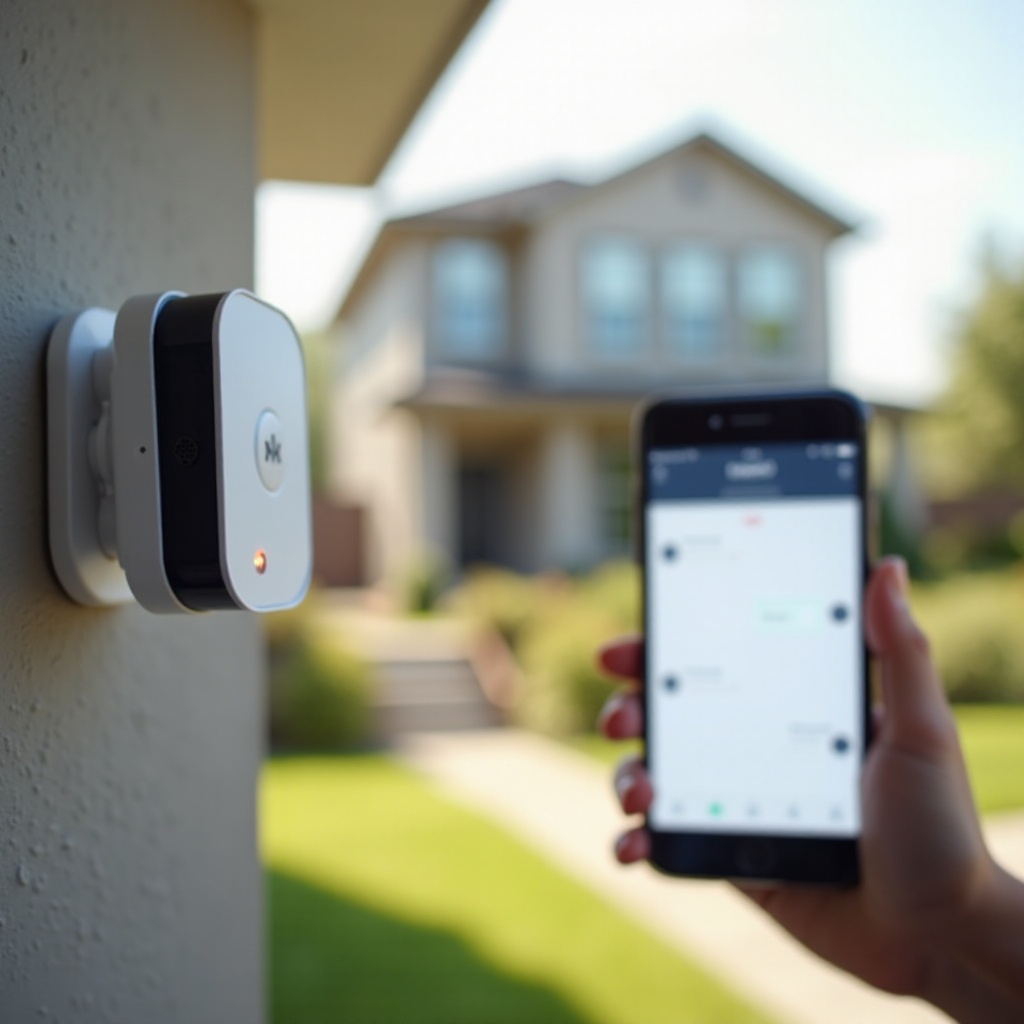
If the camera and storage look fine, but clips still do not appear, focus on the link between the camera, Sync Module, and your router. Weak or unstable connections can stop clips from uploading even when motion triggers correctly.
Diagnose Weak Wi-Fi and Offline Camera Status
From the Blink app:
- Check the camera Wi-Fi signal strength.
- Check the Sync Module signal strength.
- Look for any ‘Offline’ messages.
If the signals are low:
- The camera might detect motion but fail to upload clips.
- You may see delayed or missing notifications.
Simple ways to improve signal:
- Move the router closer to the camera or Sync Module.
- Move the Sync Module closer to the camera.
- Reduce obstacles like thick walls, metal surfaces, or appliances between them.
If improving placement is not enough, a quick reboot often clears temporary network issues.
Reboot Router, Modem, and Sync Module Safely
A restart can resolve hidden glitches that affect recording:
- Unplug your router and modem.
- Wait 30 seconds.
- Plug them back in and wait for all lights to stabilize.
- Unplug the Sync Module from power.
- Wait 10 seconds, then plug it back in.
After everything restarts, open the Blink app:
- Confirm that the Sync Module shows as online.
- Confirm that the camera status returns to normal.
Then test motion again to see whether recordings resume. If problems continue, refreshing device registrations in the app is the next logical step.
Re-add the Sync Module and Cameras in the App
If a reboot does not help and the camera remains unreliable:
- In the Blink app, go to the Sync Module settings.
- Choose to delete or remove the Sync Module from your system.
- Follow the steps to add the Sync Module again using its QR code or serial number.
- Once it is online, re-add any cameras that were linked to it.
This process refreshes connections and clears some deeper configuration issues that can cause ‘armed but not recording’ problems. When connectivity is no longer in doubt, turn to the physical environment and power, which also play a big role.
Fix Camera Placement, Power, and Environmental Factors
Sometimes the camera works, but its position or environment prevents it from seeing motion clearly. Power issues can also interrupt recording even though the camera appears armed.
Position and Angle the Camera for Reliable Motion Capture
For motion to trigger correctly:
- Mount the camera at a height of roughly 7–9 feet where possible.
- Tilt it slightly down so the main area of interest fills the center of the frame.
- Avoid pointing straight at long, empty distances where motion appears too small.
Ideal placement tips:
- Cover entry points like doors and walkways.
- Keep the main action within 5–20 feet of the camera.
- Test motion by walking the exact path you care about and checking whether clips save.
Good placement reduces blind spots and ensures motion falls in the most sensitive part of the image.
Avoid Glass, Reflective Surfaces, and Obstructions
Blink motion detection relies on infrared changes, not just image changes. Glass and some materials can block or distort that:
- Avoid mounting the camera directly behind a window.
- Move it away from shiny surfaces that reflect light.
- Make sure plants, flags, or other moving objects do not constantly wave in front of the sensor.
If your Blink camera is armed but not recording when people walk by, but reacts to big lighting changes, reflections or obstructions might be confusing the sensor.
Handle Night Vision, Lighting, and Temperature Effects
At night or in low light:
- Infrared (IR) LEDs help the camera see, but strong lights may wash out the image and deep shadows can hide movement.
- Extreme temperatures can affect performance and battery life.
Tips:
- Adjust the IR intensity in the camera settings if available.
- Add outdoor lighting to create more even illumination.
- Check Blink operating temperature range and avoid exposing cameras to extremes if possible.
If the camera records fine during the day but rarely at night, tuning night vision and lighting usually helps. When environmental tweaks are not enough, you may need to look at software and firmware.
Update Firmware, Reset, and Reinstall as Advanced Steps
If you have tried settings, storage, network, and placement fixes, it is time to consider software updates and resets. These advanced steps address software glitches that can cause the ‘armed but not recording’ issue.
Update the Blink App and Device Firmware
First, make sure you use the latest software:
- Open the App Store or Google Play Store.
- Search for Blink.
- Check for an available update and install it.
- Open the Blink app and go to device settings to see firmware versions.
- If the app prompts a firmware update for a camera or Sync Module, follow the steps.
Updates often fix bugs related to motion, recording, and connectivity. If updates do not resolve the issue, a reset of specific devices may help.
When and How to Reset a Blink Camera
If a single camera consistently fails to record while others work, a device reset can clear hidden errors.
Steps vary by model, but usually include:
- Locate the reset button on the camera.
- Press and hold it for the time recommended by Blink until the light pattern changes.
- Remove the camera from the Blink app.
- Add it again as a new device and configure settings from scratch.
Only reset after you try simpler fixes, because it removes custom settings and requires you to set up the camera again.
Full Removal and Fresh Setup of Your Blink System
If multiple cameras show the same problem and you suspect a deeper system issue:
- Remove each camera from the Blink app.
- Remove the Sync Module.
- Close and reopen the app.
- Add the Sync Module again and wait for it to connect.
- Add each camera one by one and configure motion, storage, and schedules.
This full reinstall feels like a fresh start and often resolves stubborn problems that do not respond to normal tweaking. If even a clean setup does not help, it is time to get support involved and consider hardware options.
When to Contact Blink Support or Consider an Upgrade
If you reach this point and your Blink camera is still armed but not recording, you might be dealing with hardware failure or a rare system issue. This is when support and possible upgrades become important.
Information to Collect Before Contacting Support
To get faster help from Blink support:
- Note your camera model and Sync Module type.
- Write down the firmware version and app version.
- Take screenshots of:
- Motion settings.
- Storage status.
- Error messages.
- List specific times when motion should have triggered a recording but did not.
Having this information ready helps support quickly rule out common causes and move to deeper diagnostics.
Recognizing Hardware Failure and Warranty Options
Signs of possible hardware failure include:
- The camera frequently goes offline while other devices stay online.
- Motion detection never triggers even after careful testing.
- The camera does not respond to resets or firmware updates.
If your device is still under warranty:
- Contact Blink support with your purchase details.
- Ask for repair or replacement options based on their findings.
Even outside warranty, support can confirm whether the device is likely defective and whether an upgrade makes sense.
When It Is Time to Upgrade Your Smart Home Cameras
If you rely heavily on home monitoring and run into limitations like:
- Insufficient coverage with a single camera.
- Frequent storage issues.
- Features you want that your current model lacks.
It may be time to upgrade:
- Add more Blink cameras to cover extra angles.
- Move to newer Blink models with better motion or night performance.
- Consider mixing Blink with other compatible smart cameras if you need specific features.
Once you have a stable setup that meets your needs, a few simple habits will help prevent the ‘Blink camera armed but not recording’ problem from returning.
Best Practices to Prevent ‘Armed but Not Recording’ Issues
After you fix the issue, you want to keep your system reliable. A handful of sensible default settings and quick monthly checks can avoid most future recording problems.
Recommended Default Settings for Most Homes
For typical home use, a balanced configuration looks like this:
- Sensitivity: Mid to slightly above mid.
- Retrigger Time: 10–15 seconds to avoid long gaps.
- Clip Length: 15–20 seconds for balanced detail and storage use.
- Activity Zones: Enabled for doors, walkways, and driveways; disabled for busy streets or dense trees.
These defaults give you reliable motion detection without overwhelming you with alerts or filling storage too fast.
Monthly Health Checks for Motion, Storage, and Connectivity
Set a monthly reminder to:
- Walk in front of each camera and confirm it records.
- Open the Clip Roll and verify recent events exist.
- Check storage levels, whether cloud or USB.
- Confirm Wi-Fi and Sync Module signal strength is healthy.
- Make sure the Blink app and firmware are up to date.
These quick checks take only a few minutes and catch small issues before they turn into complete recording failures.
Integrating Blink with Other Smart Home Devices
To improve reliability and coverage:
- Pair Blink cameras with smart lights:
- Motion turns on lights.
- Better lighting improves night detection and image quality.
- Use voice assistants like Alexa to view live feeds quickly and verify camera status.
- Create routines that:
- Arm Blink when you leave.
- Disarm when you come home if you want fewer notifications.
Smart integrations support your cameras rather than conflict with them, as long as you avoid automations that accidentally disarm the system when you still expect recording.
Conclusion
A Blink camera armed but not recording can feel like a serious security failure, but most of the time the cause is simple. Modes, motion detection, storage, Wi-Fi, and placement all play a part in whether a clip saves when someone walks by.
You started by confirming that the system and each camera are actually armed and online. Then you tuned motion sensitivity, zones, and Retrigger Time so the camera sees what matters. You checked subscription and storage status, fixed Wi-Fi and Sync Module issues, and adjusted camera placement and lighting. If needed, you updated firmware, reset devices, and learned when to call Blink support or consider an upgrade.
With these steps, your armed Blink cameras should go back to recording important events reliably. Keep using the best practices and monthly checks so the same issue does not catch you off guard again, and your smart home security stays dependable.
Frequently Asked Questions
Why is my Blink camera armed but not recording motion events?
Most often, one of three things causes this: Motion Detection is off for that camera, motion sensitivity or zones are misconfigured, or storage/Wi-Fi issues stop clips from saving. Check the camera Motion Detection toggle, tune sensitivity and zones, confirm the camera is online, and verify that your cloud or local storage is not full.
Do I need a Blink subscription for my camera to record when armed?
You do not always need a Blink subscription. With Sync Module 2 and a USB drive, you can store clips locally without a subscription. However, without an active subscription, cloud recording and some advanced features may not work. If your Blink camera is armed but not recording, confirm whether you rely on cloud storage and that your plan is active.
Why does my Blink camera stop recording at night or in low light?
At night, motion detection can struggle because of poor lighting, IR glare, deep shadows, or the camera being too far from the motion source. To fix this, adjust IR settings, add or improve outdoor lighting, and reposition the camera closer to the area where motion occurs. Running a few night tests after changes helps confirm the issue is resolved.