
Oculus Quest 3 Setup Guide: Complete Step-By-Step Walkthrough for VR Beginners
Introduction
Oculus Quest 3 turns your living room into a virtual playground, but only if you set it up the right way. A clear, step-by-step process helps you avoid blurry visuals, tracking issues, and account problems that can ruin your first VR session.
This guide walks you through every part of Oculus Quest 3 setup, from unboxing to playing your first VR game, and even connecting to a PC for advanced VR. You will learn how to adjust the headset for comfort, create a safe play space, pair controllers, and fix common issues before they become a headache.
By the end, your Quest 3 will be fully configured, comfortable to wear, and ready for games, fitness apps, and mixed reality experiences. Keep your headset nearby and follow along as you go from box to fully set up VR system.
Before you power on the headset, it helps to prepare your devices and play area so that the rest of the setup flows without interruptions.
What You Need Before Setting Up Your Oculus Quest 3
A few minutes of preparation makes the Oculus Quest 3 setup smoother and more reliable. You do not need a lot of hardware, but having the right basics in place prevents most early problems.
Required Devices and Internet Connection
You do not need a PC to use Quest 3, but you do need:
- A stable Wi-Fi connection (preferably 5 GHz)
- A smartphone with Bluetooth (iOS or Android)
- The Meta Quest app (free in the App Store and Google Play)
- A charging outlet near your play area
If you plan to use PC VR later with Quest Link or Air Link, you also need a gaming-capable PC and a strong home network, but you can handle that part after the basic setup is complete.
Space, Lighting, and Safety Checklist
Next, prepare the physical space where you will use the headset:
- Clear at least 6.5 ft x 6.5 ft (2 m x 2 m) for roomscale play, if possible
- Remove obstacles like chairs, cables, sharp edges, and low tables
- Ensure moderate, even lighting (not too dark, not facing bright windows)
- Keep pets and children away from your active play zone
This safe, well-lit area gives the Quest 3 cameras a clear view and reduces the risk of bumping into real-world objects while you explore VR.
With your space and gear ready, you can open the box and start the physical setup of your new headset.
Unboxing Your Oculus Quest 3
Opening the box is the exciting part, but it is also the moment to confirm that you have everything needed for a successful Oculus Quest 3 setup.
What’s Included in the Box
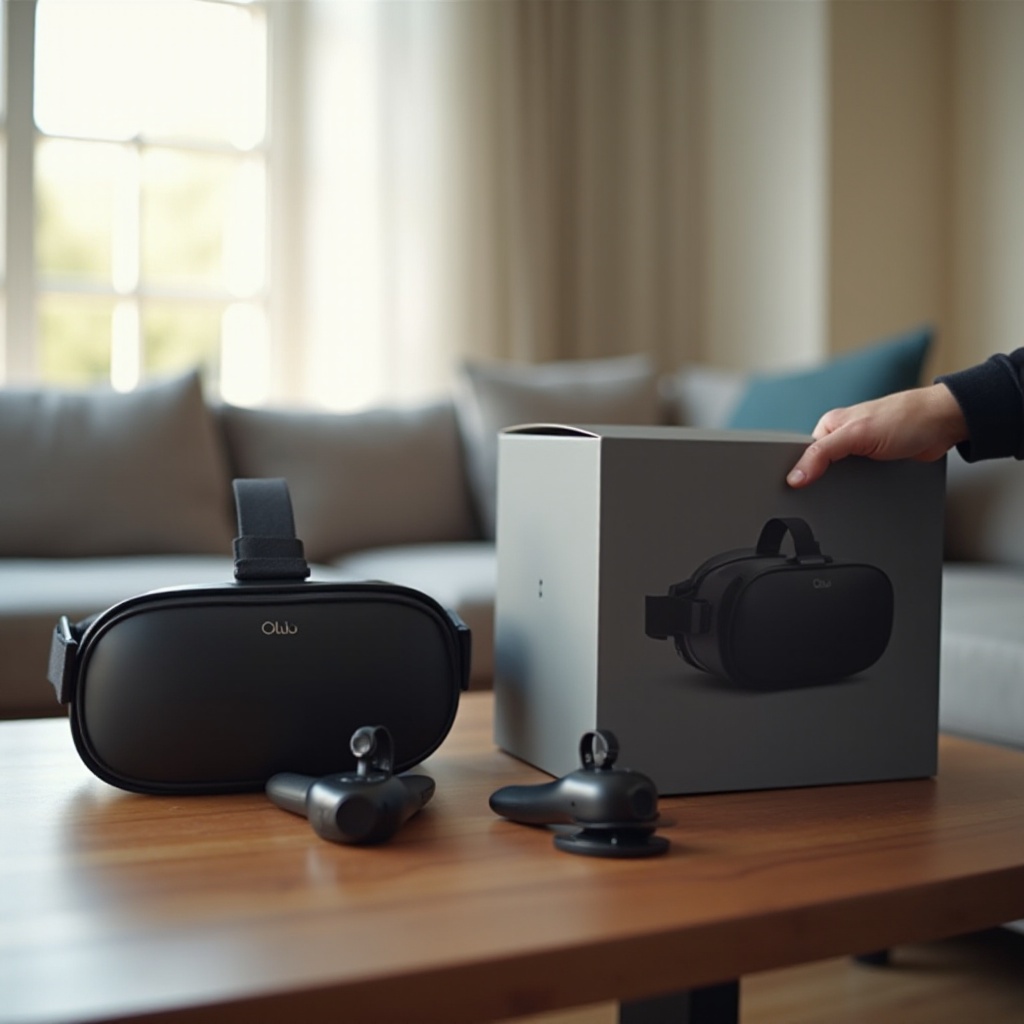
Inside the Quest 3 box, you should find:
- Oculus Quest 3 headset
- Two Touch controllers (left and right)
- Wrist straps for each controller
- Charging cable (USB-C)
- Power adapter
- Quick start or safety guide
Lay the items out on a table. This makes it easier to follow the upcoming steps without losing parts under packing material or furniture.
Inspecting Components and Removing Protective Films
Before you power anything on:
- Inspect the headset shell, lenses, and straps for visible damage.
- Gently remove any plastic films from lenses, cameras, and glossy surfaces.
- Check the controllers for cracks, missing battery doors, or loose parts.
If something looks broken or missing, contact the retailer or Meta support before continuing. Assuming everything looks good, your next step is to charge the headset so it can complete updates without shutting down.
Charging and Powering On for the First Time
A properly charged headset makes the initial Oculus Quest 3 setup smoother and avoids sudden shutdowns during updates or configuration.
Proper First Charge and Battery Indicators
Use the included USB-C cable and power adapter:
- Plug the adapter into a wall outlet.
- Connect the USB-C cable to the headset’s USB-C port.
- Check the LED light on the headset:
- Orange: charging
- Green: fully charged
For the first charge, let it reach at least 70–100%. This may take an hour or more, but it ensures enough battery for updates and configuration without interruptions.
Turning the Headset On and Off
Once it has some charge:
- Press and hold the power button on the side of the headset for a few seconds.
- You will see the Meta logo inside the headset when it turns on.
To turn it off later:
- Hold the power button until a power menu appears.
- Select ‘Power off’ using the controller.
With your headset powered, the setup wizard will appear and guide you through the first essential settings, which you will complete more easily with the help of the next section.
Running the Initial Oculus Quest 3 Setup Wizard
The setup wizard appears the first time you power on the Quest 3 and walks you through several basic settings that define your initial experience.
Language, Region, and Time Zone Selection
When the headset starts:
- Use the controller to point and click on your preferred language.
- Choose your region so the store and content match your location.
- Confirm or adjust time zone if asked.
Accurate language and region options ensure clearer menus and correct pricing and content availability in the store.
Connecting to Wi-Fi and Installing System Updates
Next, connect to Wi-Fi:
- Select your Wi-Fi network from the list.
- Enter your password using the on-screen keyboard.
- Confirm the connection.
Once connected, the Quest 3 may download and install system updates:
- Keep the headset charged or plugged in.
- Let the update complete without interruption.
These updates often include new features, bug fixes, and performance improvements, so do not skip them. When updates finish, the headset will guide you toward logging in with a Meta account, which is the core of your content and purchase management.
Creating and Securing Your Meta Account
Your Meta account unlocks downloads, saves purchases, and syncs your VR content across devices. It is an essential part of Oculus Quest 3 setup.
Setting Up a New Meta Account
On your smartphone:
- Install the Meta Quest app from the App Store or Google Play.
- Open the app and select ‘Sign up’ if you do not already have an account.
- Provide an email address, create a password, and follow the prompts.
You can also sign in with an existing Meta account if you have one. After that, the app will prompt you to pair with your headset, which you will refine later in this guide.
Privacy, Security, and Two-Factor Authentication
Once you have an account, take a moment to secure it:
- Turn on two-factor authentication (2FA) using SMS or an authentication app.
- Review profile visibility and activity sharing options in the Meta Quest app.
- Limit what data apps can access if you prefer more privacy.
These steps protect your purchases and personal information and give you more control over what others see about your VR activity.
With your account ready, you can now focus on making the headset comfortable and visually clear, which is crucial for long and enjoyable sessions.
Adjusting Fit, Comfort, and Visual Clarity
Comfort and clarity make the biggest difference in whether you enjoy long VR sessions or remove the headset after a few minutes. A few small adjustments can transform the experience.
Head Strap and Facial Interface Adjustment
To adjust the fit:
- Loosen the side straps before putting the headset on.
- Place the facial interface gently against your face.
- Tighten the side straps evenly until the headset feels snug but not painful.
- Adjust the top strap so the weight sits around your forehead, not just the nose.
The headset should feel stable when you move but not pinch or create pressure spots.
IPD (Lens Spacing) and Finding the Visual Sweet Spot
Quest 3 lets you adjust the distance between lenses (IPD) to match your eyes:
- Put on the headset and open any clear menu screen.
- Use the lens spacing adjustment (physical or software slider, depending on your model) to move lenses closer or farther apart.
- Stop when text looks sharp and your eyes feel relaxed.
If the image seems blurry, move the headset slightly up or down on your face until you find the visual ‘sweet spot’.
Glasses Use and Reducing Motion Sickness
If you wear glasses:
- Use the glasses-friendly facial interface if included, or adjust spacing so glasses do not press into the lenses.
- Put the headset on front-to-back to avoid scraping your frames against the lenses.
To reduce motion sickness:
- Start with short sessions of 10–15 minutes.
- Avoid intense, fast-moving games at first.
- Use comfort settings (like teleport movement) in supported apps.
Once everything looks and feels good, you can mark a safe area for play so that movement in VR stays safe in the real world.
Setting Up Guardian Boundaries and Play Space
Guardian boundaries prevent you from walking into walls, furniture, or TVs while immersed in VR. This is a key safety feature of the Oculus Quest 3 setup.
Choosing Stationary vs Roomscale Modes
You can pick between:
- Stationary Guardian: Best when playing seated or in a tight space.
- Roomscale Guardian: Ideal when you have a larger, clear play area for moving and walking.
Choose the mode that matches how you plan to use the headset most often.
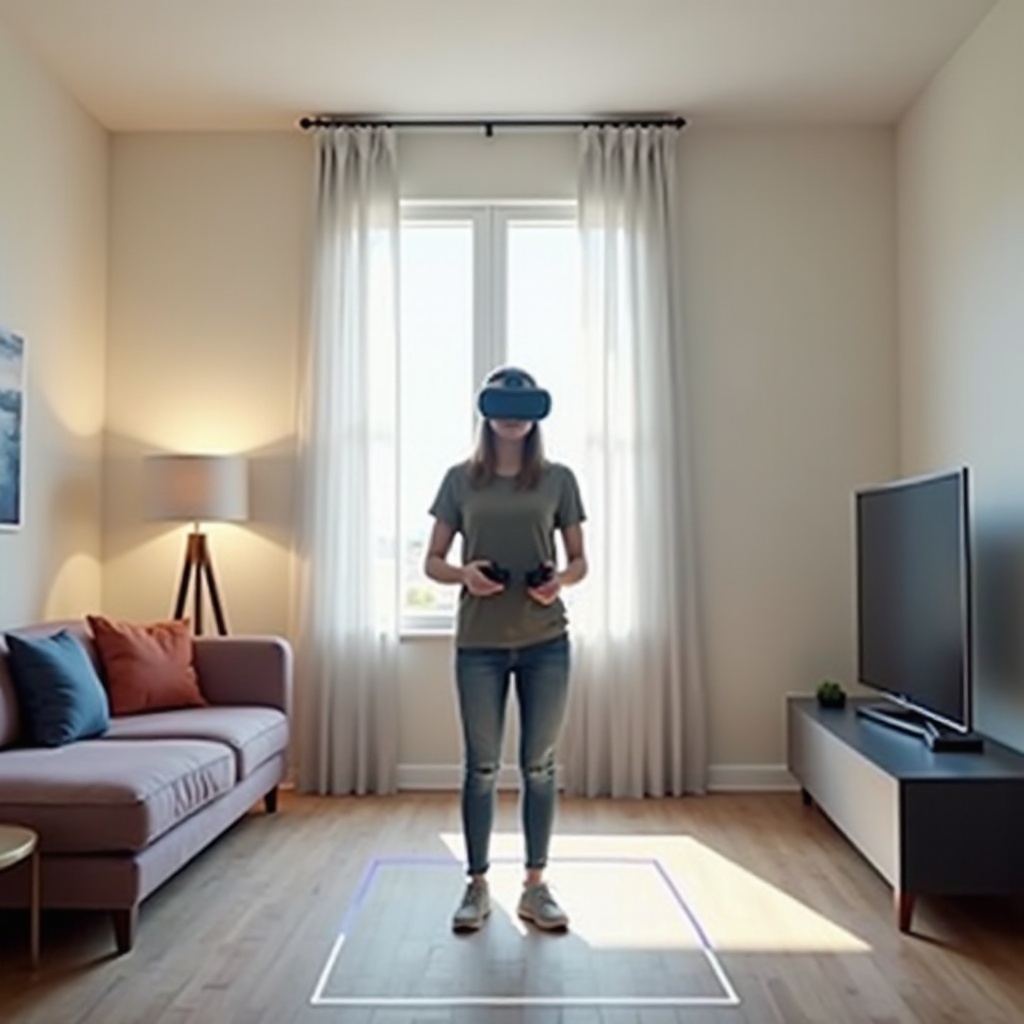
Drawing Your Guardian and Calibrating Floor Height
To set up a Roomscale Guardian:
- Stand in the center of your play area.
- Use the controller to point at the floor and confirm floor height.
- Walk around the edge of your clear area and ‘draw’ the boundary.
The virtual wall appears in VR if you get too close to the real-world edge. For Stationary mode, you only need to set a circle around your position.
Using Passthrough for Safer VR Sessions
Quest 3 supports color passthrough, which lets you see your real surroundings:
- Double-tap the side of the headset (if enabled) or use the menu to enable passthrough.
- Check your room and adjust objects without removing the headset.
Passthrough makes it easier to stay aware of your environment and keeps you safer during longer sessions. With your space defined, the next step is to prepare your controllers and input options.
Pairing Controllers and Enabling Hand Tracking
With the play area ready, you need full control in VR through controllers and, optionally, your hands. Proper pairing ensures smooth interaction in menus and games.
Pairing the Touch Controllers Automatically or Manually
Usually, the Touch controllers pair automatically:
- Insert batteries if they are not already installed.
- Turn on the headset and wait a moment; both controllers should connect.
If a controller does not connect:
- Open the Meta Quest app on your phone.
- Go to ‘Devices’ > your headset > ‘Controllers’.
- Select the controller that will not pair and follow on-screen steps.
Calibrating Controller Tracking and Haptics
For best tracking:
- Use your controllers within the camera’s view; avoid hiding them behind your back.
- Make sure your room has enough light, but avoid bright light directly into the cameras.
You can adjust some controller settings, like handedness and haptics intensity, in the Settings menu. This gives you more comfortable vibration feedback and better control.
Turning Hand Tracking On and When to Use It
Hand tracking lets you use your hands instead of controllers in supported apps:
- Open ‘Settings’ in the headset.
- Look for ‘Hands and Controllers’ or a similar menu.
- Enable Hand Tracking.
Hand tracking works well for system menus, media apps, and some productivity tools. For fast-paced games, controllers still offer better tracking and feedback.
Once your input methods are ready, you can connect your headset to the Meta Quest app for deeper control, casting, and management.
Connecting the Oculus Quest 3 to the Meta Quest App
The Meta Quest app serves as your management hub for settings, purchases, casting, and remote installations. It ties your Meta account and headset together.
Installing the App on iOS or Android
On your smartphone:
- Open the App Store (iOS) or Google Play (Android).
- Search for ‘Meta Quest’.
- Install the official Meta Quest app.
Log in with the same Meta account you set up earlier so the headset and app stay in sync.
Pairing the Headset via Bluetooth and Wi-Fi
To pair:
- Open the Meta Quest app.
- Tap ‘Menu’, then ‘Devices’.
- Select ‘Add a new headset’ and choose Oculus Quest 3.
- Follow the prompts to detect your headset via Bluetooth and Wi-Fi.
Once paired, you can see battery levels, change some settings, and manage installed content from your phone.
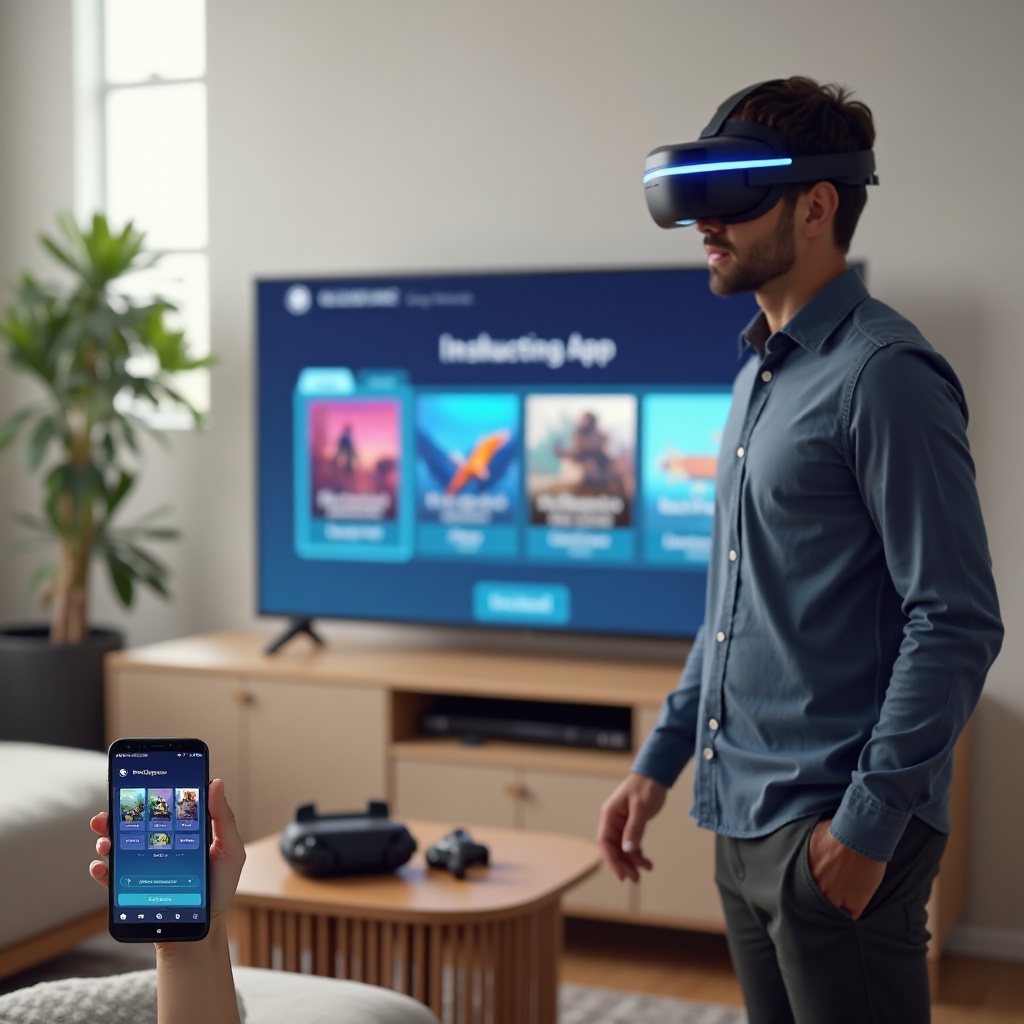
Casting VR to Phone or TV for Others to Watch
Casting lets friends and family see what you see:
- In the headset, open the Share menu and choose ‘Cast’.
- Select your phone or a compatible Chromecast-enabled TV.
You can also start casting from your phone in the Meta Quest app under the casting option. This feature makes party games and demos much more fun.
Now that your headset is fully connected, you can start adding games and apps to explore what Quest 3 can really do.
Installing Your First Games and Essential Apps
With the basics set, you can explore content and build your VR library. This is where your Oculus Quest 3 setup starts to feel rewarding.
Navigating the Store and Library Tabs
Inside the headset, you will mainly use two sections:
- Store: Browse and buy or install apps and games.
- Library: See everything you have installed or purchased.
Use search to find specific titles, or explore categories like Games, Fitness, Productivity, and Entertainment.
Best Free Starter Apps and Experiences
Consider starting with:
- Beginner-friendly VR tutorials and demo experiences
- Free social VR apps to meet other users
- Fitness or rhythm games with free modes
- Media apps like YouTube VR or streaming platforms
These give you a wide taste of what VR can do without spending money right away.
Managing Storage, Updates, and Cloud Backups
To keep storage under control:
- Go to Settings > Storage to see what uses the most space.
- Uninstall apps and games you do not play often.
Quest 3 supports automatic updates and cloud backups for many titles, so your save data stays safe even if you uninstall and reinstall later.
When you are ready for more advanced experiences, you can unlock PC VR through Quest Link or Air Link for higher-end games and apps.
Optional: Setting Up Oculus Quest 3 for PC VR
PC VR is optional but powerful if you have a capable computer and want access to more demanding games or simulation experiences.
PC Requirements for Quest Link and Air Link
Check that your PC meets Meta’s recommended specs:
- A modern gaming GPU
- A compatible CPU and at least 8–16 GB of RAM
- Windows 10 or later
- Reliable 5 GHz Wi-Fi router for Air Link
Install the Meta Quest PC app from Meta’s official site to begin PC VR setup.
Wired Quest Link Setup with USB-C Cable
To use wired Quest Link:
- Use a high-quality USB-C cable (the official Link cable or equivalent).
- Connect the cable to your PC and headset.
- Put on the headset and accept the ‘Enable Link’ prompt.
- Launch VR content from the Meta Quest PC app.
A wired link often gives more stable performance and lower latency than wireless on weaker networks.
Wireless Air Link Setup and Wi-Fi Tips
For Air Link:
- Ensure your PC and Quest 3 use the same fast 5 GHz Wi-Fi network.
- In the headset, go to Settings > System > Air Link (or similar) and enable it.
- Select your PC from the list and pair.
For best results, keep the headset close to the router, avoid crowded networks, and use a modern router with strong 5 GHz performance.
Even with careful setup, you may run into issues. The next section helps you fix the most common problems quickly.
Troubleshooting Common Oculus Quest 3 Setup Issues
Problems during Oculus Quest 3 setup usually involve Wi-Fi, controllers, or visual clarity. Most of them have simple fixes you can try yourself.
Wi-Fi Connection, Update, and Login Problems
If the headset will not connect:
- Restart your router and headset.
- Forget the network on the headset and reconnect.
- Move closer to the router and avoid thick walls.
If updates stall, cancel and retry, or restart the headset and connect again. For login issues, check your email and password in the Meta Quest app and confirm there are no account lockouts or typos.
Controller Tracking, Drift, or Pairing Issues
When controllers misbehave:
- Replace the batteries with fresh ones.
- Make sure the room is not too dark for the tracking cameras.
- Remove any reflective objects or bright lights that confuse the cameras.
If pairing fails, re-pair controllers through the Meta Quest app or the headset’s controller settings menu.
Blurry Image, Comfort, and Motion Sickness Fixes
If the image looks blurry:
- Adjust the headset up, down, and side-to-side on your face.
- Fine-tune IPD (lens spacing).
- Clean lenses with a microfiber cloth (no liquids).
For comfort and motion sickness:
- Loosen straps slightly if you feel pressure.
- Take breaks often to rest your eyes and balance.
- Use comfort modes and teleport movement when possible.
Once your headset feels stable and issues are resolved, keeping it in good shape with regular care will protect both the hardware and your experience.
Care, Maintenance, and Recommended Accessories
Good maintenance keeps your Quest 3 clear, safe, and ready to use at any time. A few simple habits can extend the life of your headset and make everyday use more enjoyable.
Cleaning Lenses and Protecting from Sunlight
To clean lenses:
- Use a dry microfiber cloth in gentle circular motions.
- Never use alcohol, glass cleaner, or wet wipes on the lenses.
Avoid direct sunlight on the lenses or through windows. Focused sunlight can permanently damage the display in a few seconds, so never leave the headset facing a window.
Straps, Cases, and Audio Upgrades Worth Considering
Popular accessories include:
- Improved head straps or elite straps for better weight distribution
- Hard carrying cases for travel and storage
- Clip-on or over-ear audio solutions for better sound
These upgrades can significantly improve comfort and immersion, especially for longer sessions or when you travel with your headset.
Battery Management and Charging Best Practices
To keep your battery healthy:
- Avoid letting the headset sit at 0% for long periods.
- Unplug once fully charged; you do not need to keep it on the charger.
- Store it in a cool, dry place away from direct heat or sunlight.
With your Quest 3 set up, tuned, and protected, you can focus on enjoying games, fitness apps, social spaces, and creative tools without worrying about the basics.
Conclusion
Oculus Quest 3 setup does not need to be complicated. By preparing your space, charging the headset, completing the setup wizard, and fine-tuning comfort and clarity, you create a solid foundation for every VR experience that follows.
You learned how to connect to Wi-Fi, create and secure a Meta account, adjust fit and IPD, set Guardian boundaries, pair controllers, and enable hand tracking. You also saw how to connect to the Meta Quest app, install games, explore PC VR, and fix common problems before they spoil your fun.
Take your time with each step, test a few beginner-friendly apps, and gradually explore more demanding games and experiences. With your Oculus Quest 3 properly set up, you are ready to enjoy immersive worlds, fitness, creativity, and social VR with confidence.
Frequently Asked Questions
How long does it take to fully set up a new Oculus Quest 3?
Most people can complete the basic Oculus Quest 3 setup in 20–40 minutes. This includes charging enough for updates, creating or logging into a Meta account, connecting to Wi-Fi, and setting Guardian boundaries. Installing several games or setting up PC VR will add extra time.
Do I need a powerful gaming PC for Oculus Quest 3 setup?
You do not need a PC at all for basic Quest 3 use. The headset runs games and apps on its own. A gaming PC is only required if you want to use Quest Link or Air Link for PC VR titles. In that case, a modern GPU, enough RAM, and a strong Wi-Fi or USB-C connection are important.
Why is my Oculus Quest 3 blurry even after setup?
Blurriness usually comes from incorrect fit or IPD. Adjust the straps so the headset sits comfortably and does not slide. Fine-tune lens spacing until text looks sharp. Clean the lenses with a microfiber cloth, and try moving the headset slightly up or down on your face to find the visual sweet spot.
