
How to Get Your AirPods to Not Announce Notifications (Complete 2024 Guide)
Introduction
AirPods reading every notification out loud can get annoying fast. You start a workout, sit down in a meeting, or focus on a game, and Siri begins to announce every message, alert, and reminder straight into your ears. If you have been searching for how to get your AirPods to not announce notifications, you are not alone.
Apple designed Announce Notifications to help you stay hands-free and aware. But for many people, it feels more like noise than help. The good news is you can turn this feature off or customize it so that only the alerts you really care about reach your ears.
This guide walks you through every setting you need to check on iPhone, iPad, Apple Watch, and Mac. You will see how to switch off announcements completely, how to silence only certain apps, and how to use Focus modes so your AirPods stay quiet when you want to concentrate. By the end, you will have a calm, controlled listening experience instead of constant interruptions.
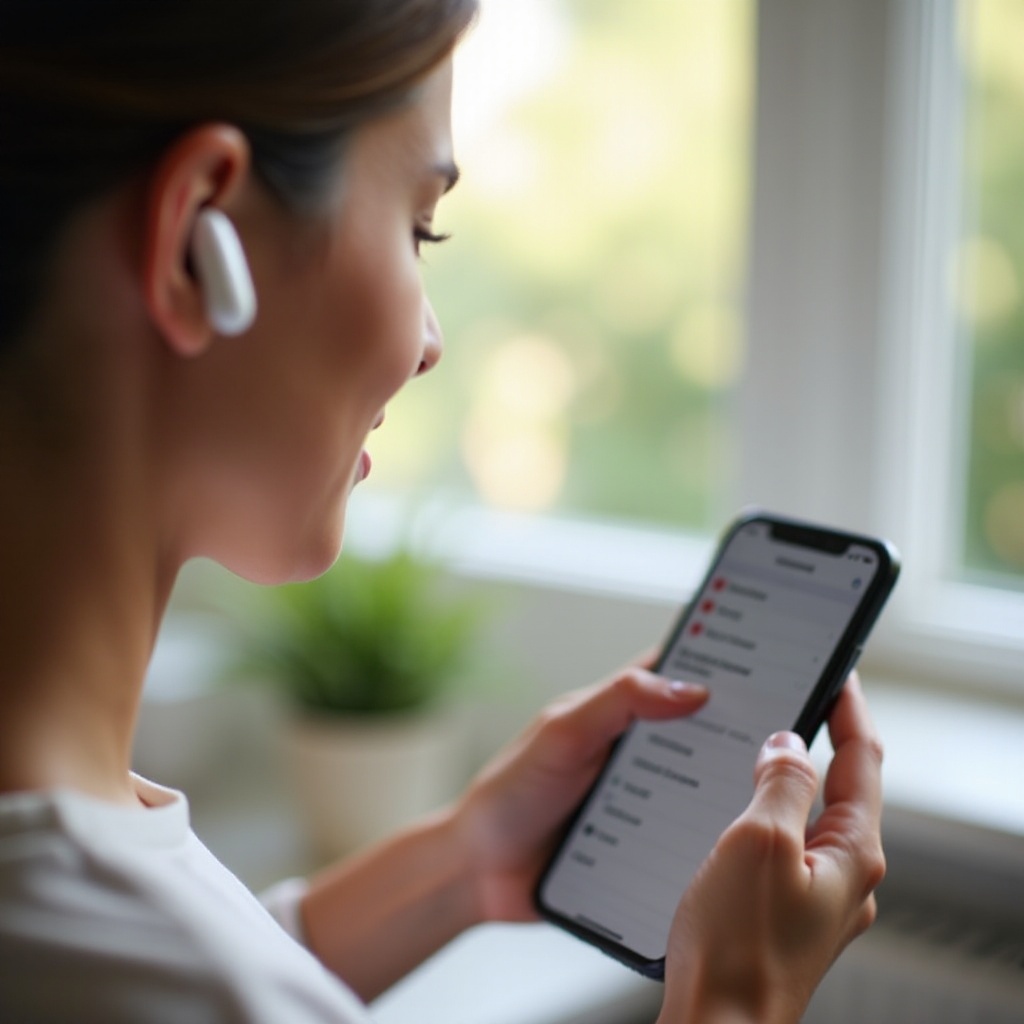
How AirPods Announce Notifications With Siri
To stop AirPods from announcing notifications, it helps to know how the feature works in the first place. Apple uses Siri and system-level notification settings across your devices. If one device is set to announce, it can still push spoken alerts through your AirPods even when another device is quiet.
Understanding the basics of Announce Notifications will make the steps later in this guide feel more logical. Once you know what is happening behind the scenes, you can make clear choices about what to turn off and what to keep.
What ‘Announce Notifications’ Means on AirPods
Announce Notifications is a Siri feature that reads your incoming alerts aloud when you are wearing supported headphones. When it is on, you will often hear something like:
Message from Alex. Are we still on for tonight? Reply?
The system:
- Detects that you are wearing compatible AirPods or Beats.
- Uses Siri to speak notifications that arrive.
- Lets you reply by voice without saying ‘Hey Siri’ if you enable that option.
By default, this can include:
- Messages
- Reminders
- Time-sensitive alerts
- Notifications from certain third-party apps, such as messaging or email apps
For some users, this is helpful while driving or running. For others, it means private messages get read out loud in public, or your music keeps getting interrupted by alerts you do not care about.
Supported AirPods Models and iOS/iPadOS 17+ Requirements
Announce Notifications only works on newer software and devices. To control how your AirPods handle announcements, you need:
- An iPhone or iPad running iOS 17 or iPadOS 17 (or later)
- Compatible AirPods or Beats, such as:
- AirPods (2nd generation and later)
- AirPods Pro (all generations)
- AirPods Max
- Selected Beats models that support Siri and Announce Notifications
If your device runs a recent version of iOS or iPadOS and you use modern AirPods, all the settings in this guide apply. If you updated your software in 2024 and suddenly your AirPods began talking more, it is likely because Announce Notifications turned on or changed behavior after the update.
Now that you know what Announce Notifications is and which devices support it, the next step is to take control on your main device: your iPhone or iPad.
Turn Off Announce Notifications on iPhone and iPad
Your iPhone or iPad is usually the main controller for AirPods. If you want to know how to get your AirPods to not announce notifications, this is the first place you should look. You can disable the feature completely, limit it to certain situations, or choose which apps can speak.
Once you have your iPhone and iPad under control, you can move on to faster ways to toggle announcements on the fly, but it starts here in the core Settings.
Disable Announce Notifications Completely in Settings
To stop AirPods from announcing anything at all, follow these steps:
- Open the Settings app on your iPhone or iPad.
- Tap Notifications.
- Select Announce Notifications near the top.
- Turn off the main Announce Notifications switch.
Once you do this:
- Siri stops reading notifications through your AirPods and other supported headphones.
- You still get banners, sounds, and vibration alerts based on your normal notification settings.
- Siri remains available for other tasks; you are only disabling the announce feature.
This is the fastest way to silence everything if you are tired of hearing every alert out loud through your AirPods.
Turn Off Announce Notifications Only When Using Headphones
If you like Siri announcements on CarPlay or certain devices but not in your ears, adjust the headphones behavior instead of turning the whole feature off:
- Go to Settings > Notifications > Announce Notifications.
- Look for the Headphones option.
- Turn off the Headphones toggle.
With this change:
- AirPods and other supported headphones will not announce notifications.
- Announce Notifications can still work in other contexts, such as compatible speakers or CarPlay if you enable those.
- You keep some hands-free convenience without AirPods interrupting your music or calls.
This option works well if you drive a lot and want announcements only in the car, not through your earbuds.
Stop Specific Apps From Announcing Through AirPods
Maybe you only want to stop certain noisy apps, like social media or emails, from hijacking your AirPods. You can fine-tune announcements app by app:
- Open Settings > Notifications on your iPhone or iPad.
- Scroll and tap the app you want to adjust, for example Messages, Mail, or a social app.
- Look for an Announce Notifications or Announce toggle.
- Turn this toggle off for that app.
This lets you:
- Keep announcements for important apps like Messages.
- Silence less important apps that send frequent alerts.
- Reduce interruptions while still hearing key information.
After you have set your core preferences on iPhone or iPad, the next step is to make it easier to switch announcements on and off without digging into Settings every time.
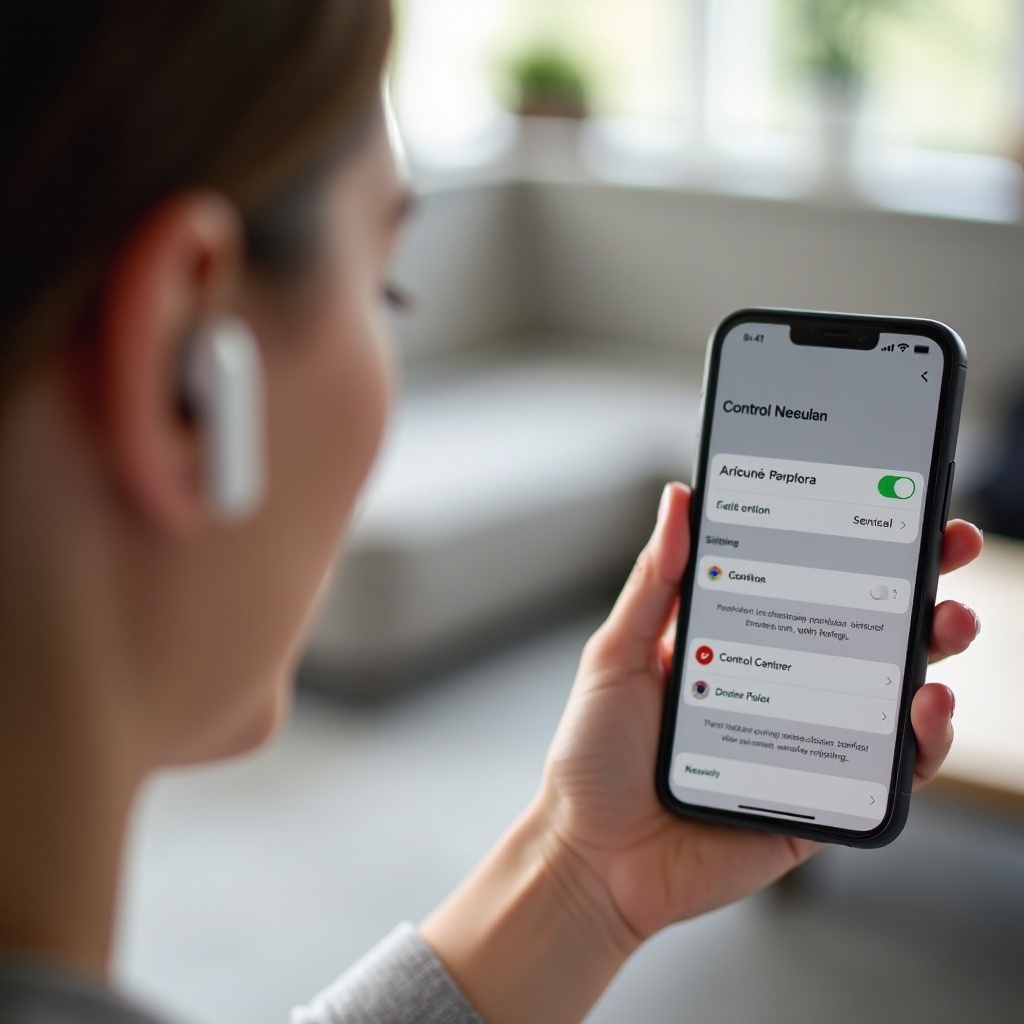
Quickly Silence AirPods Announcements From Control Center
Sometimes you do not want to scroll through menus just to get some quiet. Control Center gives you a fast shortcut so you can turn Announce Notifications on or off with a single tap. This is especially useful if you switch between quiet work sessions and active situations, like workouts or commuting.
Once you add the toggle, you can treat Announce Notifications like a simple on/off switch, instead of a hidden feature buried deep in Settings.
Add the Announce Notifications Toggle to Control Center
First, make sure the shortcut is visible in Control Center:
- Open Settings on your iPhone or iPad.
- Tap Control Center.
- Scroll down to the More Controls section.
- Find Announce Notifications and tap the green + icon to add it.
- Drag it up or down to change its position in Control Center if you like.
After this, you can swipe down from the top-right corner on Face ID devices, or swipe up from the bottom on older devices, to open Control Center and see the Announce Notifications icon.
Use the Toggle to Instantly Stop Siri Reading Notifications
Once the control is in place, turning announcements off or on while wearing AirPods is simple:
- With your AirPods connected, open Control Center.
- Tap the Announce Notifications icon.
- When it is off, AirPods stop announcing notifications.
- Tap again to turn it back on when you want hands-free alerts.
This quick method is ideal if you:
- Want a silent office or study environment.
- Need announcements while walking or driving.
- Do not want to change deep Settings every time.
If you still hear announcements after using Control Center, your Apple Watch might be the culprit. Since many people wear AirPods and Apple Watch at the same time, you also need to check your watch settings.
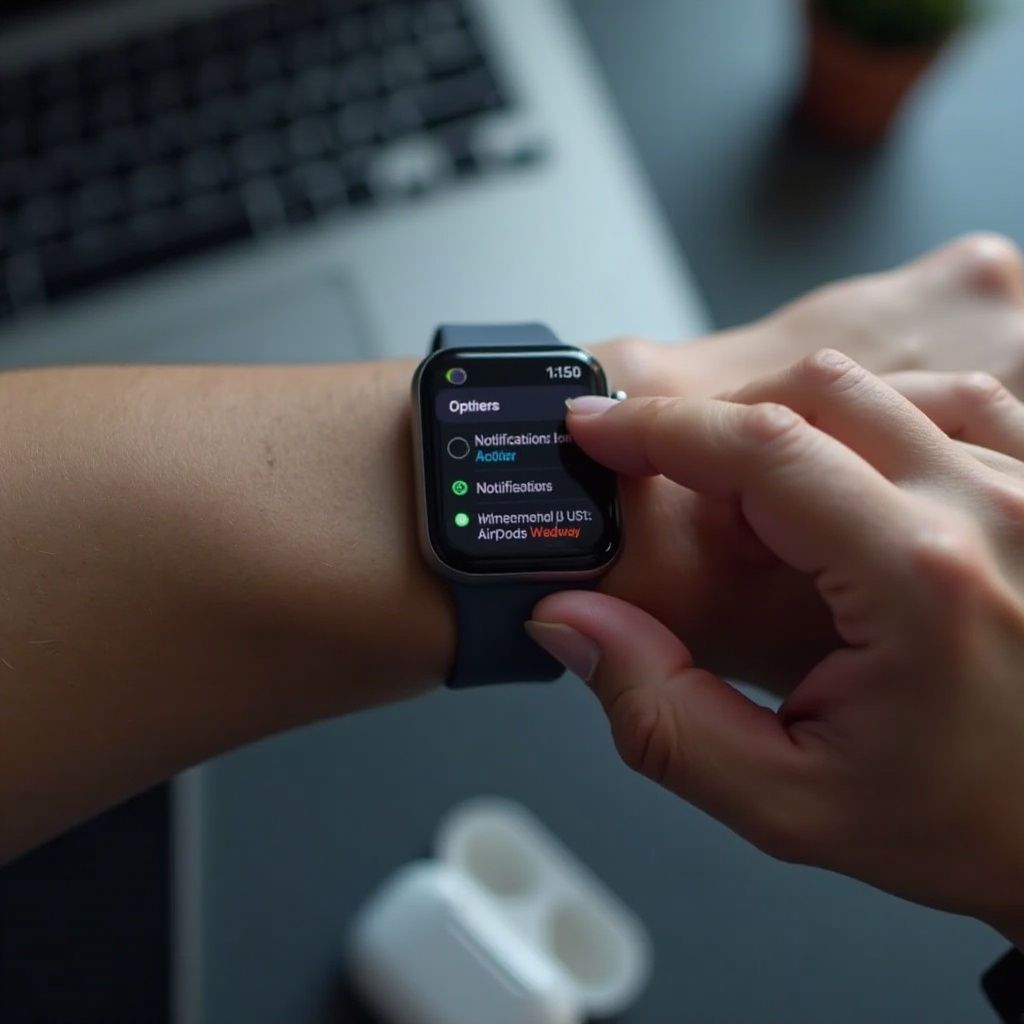
Manage AirPods Notification Announcements on Apple Watch
Many people forget that Apple Watch has its own Announce Notifications settings. If your watch mirrors your iPhone and you wear it with AirPods, it can still send spoken alerts even when your phone seems properly configured. To fully control how to get your AirPods to not announce notifications, you need to check your watch too.
Once you silence announcements on the watch, you will have far fewer surprises when wearing AirPods during calls, workouts, or meetings.
Why Your Watch Still Announces Notifications Through AirPods
Here is what often happens:
- You disable Announce Notifications on your iPhone.
- You still hear notifications read out while wearing AirPods.
- The Apple Watch is paired and using its own announce settings.
Because your watch can route audio to your AirPods, it may still use Siri to read notifications. That is why you need to adjust the watch settings separately, instead of assuming the iPhone controls everything.
Turn Off Announce Notifications on Apple Watch
You can disable or limit this feature directly from your watch or from the Watch app on your iPhone.
On Apple Watch:
- Press the Digital Crown and open Settings.
- Tap Notifications.
- Look for Announce Notifications.
- Turn off Announce Notifications or the specific Headphones option.
On iPhone:
- Open the Watch app.
- Tap Notifications.
- Find Announce Notifications and adjust or disable it.
Once you do this, your watch will stop pushing spoken alerts to your AirPods and will behave more like your iPhone.
Adjust Mirrored Notifications Between iPhone and Apple Watch
You can also reduce what the watch mirrors from your phone:
- In the Watch app on iPhone, go to Notifications.
- Scroll through the list of apps.
- Turn off mirroring for any apps you do not want on your watch.
This limits which apps can send alerts that might get announced, further reducing unwanted interruptions. With the watch now under control, your next step is to make sure your Mac does not introduce new spoken notifications while you use AirPods.
Control Siri Voice Alerts on Mac When Using AirPods
If you sometimes use AirPods with your Mac, you may still hear voice alerts from there, especially if you are logged into the same Apple ID on all devices. To fully master how to get your AirPods to not announce notifications, you should check your Mac’s notification and Siri settings as well.
Once the Mac is in line with your iPhone and Apple Watch, you can focus on which exact apps and people you want to hear from, instead of worrying about surprise announcements from your computer.
Turn Off Siri Voice Notifications in macOS Settings
On your Mac:
- Click the Apple menu and choose System Settings.
- Select Notifications from the sidebar.
- Look for any settings related to Siri or announce-style notifications.
- Turn off options that allow Siri to speak notifications or read them aloud.
You can also limit specific apps:
- Still in System Settings > Notifications, scroll through the app list.
- Click an app, such as Messages or Mail.
- Turn off Play sound, or any options that push prominent alerts, if you want fewer interruptions overall.
This ensures your Mac does not surprise you with spoken alerts while you are on a call or listening to music with AirPods.
Align Mac Notification Settings With Your iPhone
To keep a consistent experience across devices:
- Use the same Apple ID on iPhone, iPad, Mac, and Apple Watch.
- Review which apps send notifications on Mac and turn off anything you do not need.
- Match your ‘quiet’ apps on iPhone with similar settings on Mac so the same apps are silent everywhere.
When all devices follow similar rules, you avoid random spoken notifications from one device that slipped through. With the device-level controls sorted out, you can now fine-tune which apps and contacts can actually trigger alerts.
Fine-tune Notification Announcements by App and Contact
You might not want to shut off all announcements. Often, the best setup is a mix: allow important people and services, but silence everything else. This section shows how to refine which apps and contacts can trigger notifications that might reach your AirPods.
Once you tailor app and contact settings, your AirPods will feel much smarter, because you will hear from the right people at the right times, without constant chatter.
Silence Social, Email, and Non-essential Apps Only
To keep your AirPods quiet from noisy apps:
- Open Settings > Notifications on your iPhone or iPad.
- Tap the app you want to adjust.
- Turn off Announce Notifications for that app, if the option appears.
- Optionally, disable Sounds for the app if you want fewer sound alerts in general.
Good candidates to silence include:
- Social media apps
- Shopping apps
- News apps
- Games and promotional apps
By doing this, you reduce chatter while still allowing alerts from critical apps, such as banking or calendar apps, if you prefer.
Keep Messages Announcements for VIP or Favorite Contacts
You might still want to hear from specific people, like family or close friends. While Announce Notifications does not always tie directly to Favorites for spoken alerts, you can combine several tools:
- Use Favorites or Emergency Bypass in the Contacts app for key people.
- Pair these choices with Focus settings that allow notifications only from those people.
This approach lets you:
- Hear from family in urgent situations.
- Ignore casual group chats and low-priority conversations.
Combined with app-level controls, it gives you a balanced setup where only the most important messages can interrupt your listening.
Use Time-sensitive Notifications Without Siri Reading Them
Some notifications are marked as Time Sensitive, like:
- Delivery updates
- Security alerts
- Calendar reminders and critical app alerts
To use these without having Siri read them out loud:
- Ensure Time Sensitive Notifications are turned on for the most important apps.
- Keep Announce Notifications off or limited for those apps.
You will still get prompt alerts in your notification center, and they can break through certain Focus modes if allowed, but you will not hear them spoken into your AirPods. With app and contact-level controls in place, you can take this even further by automating quiet times with Focus modes.
Use Focus Modes to Automatically Stop AirPods Announcing Notifications
Focus modes in iOS and iPadOS let you create ‘profiles’ for work, study, sleep, gym, and more. Each profile can change how notifications behave, including what gets announced to your AirPods. This is a powerful way to make sure your AirPods stay quiet when you need to concentrate.
When you combine Focus modes with the Announce Notifications settings you have already adjusted, you get a flexible system that reacts to what you are doing without constant manual changes.
Create a Work, Study, or Gym Focus to Mute Announcements
To create a custom Focus:
- Go to Settings > Focus.
- Tap + to add a new Focus, or edit an existing one like Work or Personal.
- Choose the people and apps allowed to notify you.
- Under Options, limit or silence notifications as needed.
When that Focus is active:
- Only allowed apps and contacts can reach you.
- Announce Notifications follow these limits, so AirPods stay quiet for blocked apps.
This is ideal for:
- Deep work or study sessions where you do not want interruptions.
- Gym workouts where you only want key calls or messages.
- Evening downtime with minimal distractions.
Automate Focus When AirPods Connect or at Certain Times
You can make Focus modes switch on automatically:
- Based on time (for example, work hours or late night).
- Based on location (like your office, school, or home).
- When you open specific apps.
- When you connect your AirPods, using Shortcut-based automations.
Use these automations to:
- Start a quiet Focus each time your AirPods connect, if you mostly use them to concentrate.
- Turn on a relaxed Focus in the evening to reduce chatter.
This way, you do not have to remember to change settings every time you put your AirPods in your ears.
Allow Critical People and Apps While Silencing Everything Else
Within each Focus:
- Set Allowed People to include only those you must hear from.
- Set Allowed Apps to vital apps only, such as Calendar or a work chat tool.
- Optionally enable Time Sensitive Notifications to break through for urgent alerts.
Combined with Announce Notifications, this means:
- AirPods stay silent for most alerts and background noise.
- Important messages still arrive, and you control whether they are spoken or just shown as banners.
Even with all these tools, you might run into stubborn issues. The next step is to troubleshoot cases where your AirPods still announce notifications.
Troubleshooting When AirPods Still Announce Notifications
Sometimes, even after you change all the obvious settings, your AirPods keep reading notifications. This usually means one device or feature still has Announce Notifications enabled, or your AirPods need a reset or software update.
A systematic check across all your Apple devices can usually solve the problem and restore the quiet listening experience you want.
Check Each Device: iPhone, iPad, Apple Watch, and Mac
Go step by step:
- On iPhone/iPad:
- Check Settings > Notifications > Announce Notifications.
-
Confirm the main switch or Headphones toggle is off, if that is what you want.
-
On Apple Watch:
- Check Settings > Notifications > Announce Notifications on the watch.
-
Or use the Watch app on iPhone to review the same setting.
-
On Mac:
-
Check System Settings > Notifications and any Siri-related notification options.
-
Confirm all devices use the same Apple ID, so notification behavior is predictable.
One stray setting on one device can keep the announcements going, so it is worth double-checking each one.
Reset AirPods and Re-pair to Your Devices
If settings look correct but issues continue, reset your AirPods:
- Put your AirPods in the case and close the lid for 30 seconds.
- Open the lid, then press and hold the setup button on the case.
- Keep holding until the status light flashes amber, then white.
- On your iPhone, go to Settings > Bluetooth and select your AirPods to reconnect.
A reset can clear glitches that cause strange behavior, including persistent announcements that ignore your settings.
Update iOS, iPadOS, macOS, and AirPods Firmware
Software updates can fix bugs and improve how notifications work:
- On iPhone or iPad, go to Settings > General > Software Update.
- On Mac, open System Settings > General > Software Update.
- To update AirPods firmware, keep them connected to your device, place them in the case, and charge. The firmware updates automatically when conditions are met.
After updating, test your AirPods again to see if announcements behave as expected. Once everything is stable, you can focus on optimizing your everyday setup rather than fighting with the feature.
Best Practices for a Quiet, Personalized AirPods Experience
At this point you have learned how to get your AirPods to not announce notifications across all your devices. The last step is to pull everything together into a simple, reliable setup that matches your lifestyle.
These best practices will help you avoid constant tweaks and make sure your AirPods behave the way you expect, whether you are working, relaxing, or on the move.
Recommended Default Settings for Most AirPods Users
For most people, a good baseline looks like this:
- Turn Announce Notifications off for Headphones in iPhone Settings.
- Disable or limit Announce Notifications on Apple Watch.
- Keep Time Sensitive Notifications on for important apps only.
- Use normal banners and sounds instead of spoken alerts in your ears.
This keeps your AirPods quiet while still allowing your phone and watch to notify you in more subtle, less disruptive ways.
Set Up Different Profiles for Commute, Work, and Home
You can use Focus modes to create different ‘profiles’ for your day:
- Commute Focus: Allow calls and messages from family, and let navigation apps notify you.
- Work or Study Focus: Allow only work apps and key contacts; silence everything else.
- Home or Relax Focus: Allow personal apps, but keep Announce Notifications off for headphones.
Switch between these profiles manually or using automations so you do not have to constantly adjust settings as your day changes.
When You Might Want to Turn Announcements Back On
There are times when Announce Notifications is genuinely helpful and worth turning back on:
- Driving and needing hands-free messaging.
- Running or cycling, when you cannot safely pull out your phone.
- Situations where you expect an urgent message and want to hear it immediately.
With Control Center and Focus modes, you can enable the feature only when it serves you, then turn it off again just as easily once you are done.
Conclusion
AirPods do not have to narrate your life. Once you understand how Announce Notifications works across iPhone, iPad, Apple Watch, and Mac, you can decide exactly when, where, and how Siri speaks to you. You can switch everything off, silence only certain apps, or let a few important people break through the noise.
By using device settings, app-level controls, Control Center shortcuts, and Focus modes together, you get a quiet, personalized listening experience. Your music, podcasts, and calls stay front and center, while your notifications move back to where they belong: your screen, not your ears.
If you ever change your mind, you can turn announcements back on in seconds. The key is that you are in control of how to get your AirPods to not announce notifications, and now you have every tool you need to do it.
Frequently Asked Questions
Why do my AirPods keep announcing notifications even after I turn it off?
This usually happens because another device, like your Apple Watch or Mac, still has Announce Notifications enabled. Check notification settings on iPhone, iPad, Apple Watch, and Mac, and make sure the feature is off everywhere. If the problem continues, reset your AirPods and reconnect them.
Can I stop AirPods from announcing notifications but still get normal sounds and banners?
Yes. Turn off Announce Notifications, or just the Headphones toggle, in Settings > Notifications > Announce Notifications on your iPhone or iPad. This stops Siri from reading alerts in your ears, but apps can still show banners, play sounds, and vibrate based on their usual notification settings.
How do I quickly toggle AirPods notification announcements on and off without going into Settings?
Add the Announce Notifications control to Control Center in Settings > Control Center. Then, when your AirPods are connected, swipe to open Control Center and tap the Announce Notifications icon to turn spoken alerts on or off instantly without digging through menus each time.