How to Install Steam Games on an External Hard Drive
Introduction
For avid gamers, storage space on your computer can quickly become a precious commodity. With the vast library of Steam games available, each enticing new release can eat up valuable internal storage space, leading to constant juggling of what to keep or delete. Luckily, you can bypass this issue by installing games on an external hard drive. This solution not only frees up your computer’s internal space but also offers the advantage of portability. In this article, we’ll walk you through the process of setting up your external hard drive for installing Steam games.
Understanding External Hard Drives
Before you start the installation process, it’s important to understand the type of external hard drives available, and which one suits your gaming requirements best. Generally, your options boil down to SSDs and HDDs.
- SSDs (Solid State Drives): SSDs are known for their speed and durability. They offer faster load times, greatly enhancing your gaming experience. However, they typically cost more, especially as storage capacity increases.
- HDDs (Hard Disk Drives): HDDs are more affordable and offer larger storage capacities compared to SSDs. They are a good option for gamers who prioritize space over speed.
When choosing an external hard drive for gaming, focus on attributes like speed, capacity, and compatibility with gaming systems. A drive with a USB 3.0 connection or higher is recommended to ensure high-speed data transfer rates.
Preparing Your External Hard Drive
Once you’ve chosen your drive, it’s time to prepare it for use. Proper preparation involves formatting the drive, which is necessary to ensure it’s ready for Steam installations.
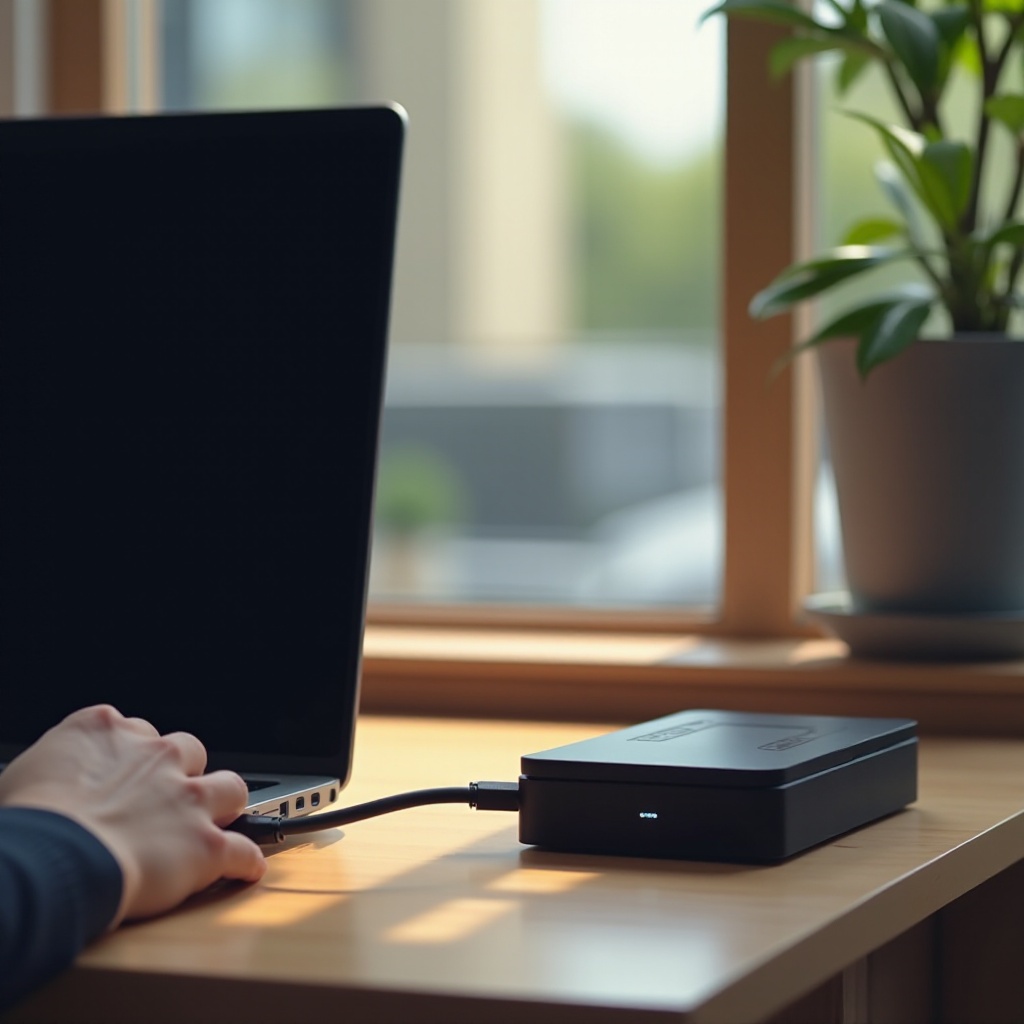
- Connect the Drive: Plug your external hard drive into a computer USB port.
- Open Disk Management: On your PC, right-click ‘This PC’ and select ‘Manage,’ then go to ‘Disk Management.
- Format the Drive: Find your external hard drive, right-click it, and choose ‘Format.’ Ensure it’s formatted with the NTFS file system, which is optimal for Windows and gaming.
- Label Your Drive: Label your drive with an identifiable name, such as ‘SteamGamesStorage,’ to prevent confusion.
Correct formatting optimizes your drive for gaming and ensures it’s compatible with your system, setting the stage for smooth installations.
Setting Up Steam Library Folders on External Hard Drive
With your drive formatted and ready, the next step is to configure Steam to recognize your external hard drive as a library location.
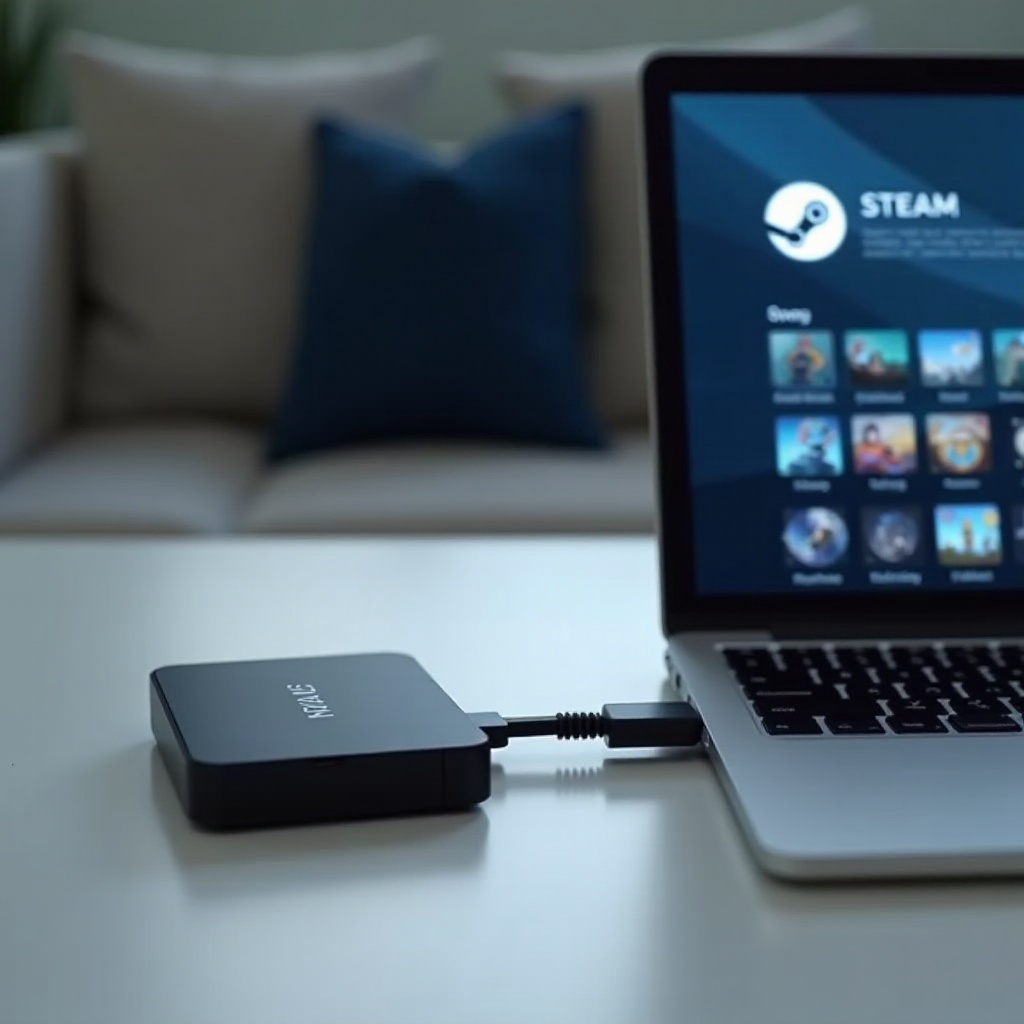
- Launch Steam: Open your Steam client.
- Access Settings: Click ‘Steam’ in the top-left corner, then select ‘Settings.
- Navigate to Downloads: Select ‘Downloads’ from the left-hand menu.
- Steam Library Folders: Click ‘Steam Library Folders’ and add your external drive as a library folder.
- Add Library Folder: Click ‘Add Library Folder,’ select your external drive, and create a folder for your games.
Integrating your external drive with Steam allows you to manage your game installations easily and efficiently.
Installing New Steam Games on the External Hard Drive
With the drive recognized by Steam, you can now install new games directly onto your external hard drive.
- Shop for Games: Browse the Steam store for new game purchases.
- Select Install Location: When you start a game download, choose the installation location on your external drive.
- Monitor Installation: Allow Steam to download the game to your external drive, keeping it connected until completion.
These steps streamline your game installation process, reducing storage usage on your computer’s internal drive.
Transferring Existing Games to the External Hard Drive
Moving games you’ve already installed onto your external hard drive is straightforward.
- Open Library: Go to your Steam game library.
- Select Game: Right-click a game you want to transfer and click ‘Properties.
- Local Files Tab: In the Properties window, select ‘Local Files.
- Move Install Folder: Click ‘Move Install Folder’ and choose your external drive as the destination.
Repeat these steps for any other games you want to move, effectively freeing up internal storage space for other uses.
Troubleshooting Common Issues
As with any technology, issues may occasionally arise when using an external hard drive for gaming. Here are solutions to some common problems:
- Drive Not Recognized: Ensure your drive is properly connected and visible in file explorer. If it’s not showing, reconnect it.
- Slow Load Times: If experiencing slow performance, check that your drive is connected to a high-speed USB port and minimize background tasks that could influence speed.
- Games Failing to Launch: Ensure that the drive is connected before launching games, as Steam requires access to the game’s installation library.
By being proactive, you can prevent disruptions and ensure a smooth gaming experience.
Conclusion
Installing Steam games on an external hard drive is a smart solution for optimizing storage management. The procedure is straightforward and offers great flexibility, empowering you to carry a comprehensive gaming library with you wherever you go. By leveraging this guide, you can expand your storage capabilities and enjoy a seamless gaming experience.
Frequently Asked Questions
Can I run Steam directly from an external hard drive?
Yes, you can run Steam from an external hard drive. Install Steam onto the drive and configure it to recognize your game library location.
What happens if I disconnect my external hard drive while playing a game?
If the drive disconnects during gameplay, the game might crash or freeze. Always keep the drive securely connected while playing.
Do all games support installation on an external hard drive?
Most games are compatible with external hard drive installation, but it’s advisable to check individual game requirements for compatibility.