How to Remove F250 7.3L Extended Cab Rear Speakers
Introduction
Removing the rear speakers of an F250 7.3L extended cab might seem challenging, but it’s a task you can tackle on your own with the right tools and guidance. Whether you’re replacing old speakers or upgrading to a better sound system, this step-by-step guide will walk you through each phase of the process. We’ll cover everything you need from gathering the tools and materials to reassembling the parts once the change is completed. This guide aims to make your experience as smooth and efficient as possible.
Before diving into the instructions, it’s crucial to understand why you might need to remove your rear speakers. Common reasons include improving sound quality, replacing malfunctioning speakers, or upgrading to a more advanced system. Whatever your motivation, the procedure doesn’t have to be daunting. Gather your tools, set aside some time, and follow our detailed steps to get the job done efficiently.
Tools and Materials Required
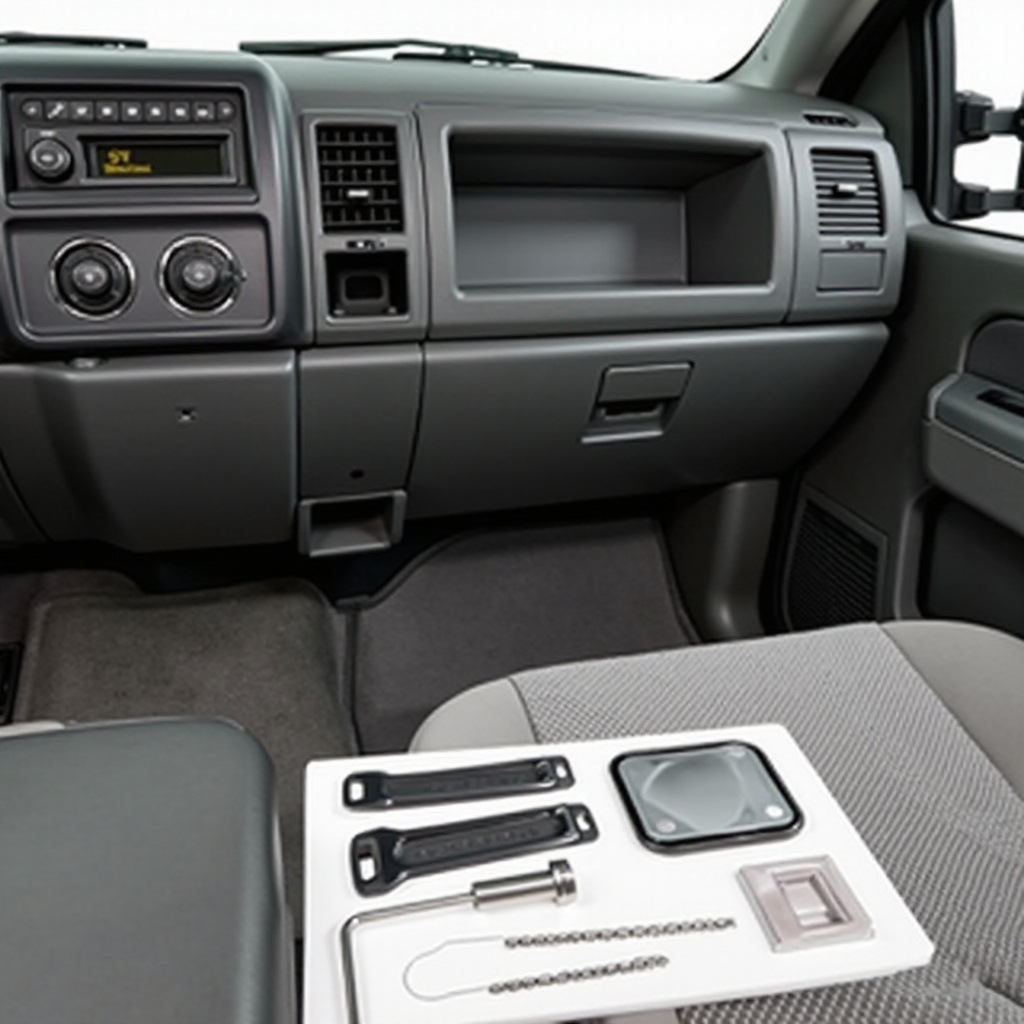
To successfully remove the rear speakers in your F250 7.3L extended cab, having the right tools and materials on hand is essential. This preparation will help you avoid unnecessary delays and ensure a smooth workflow. Here is a list of the tools and materials you’ll need:
- Screwdrivers (both Phillips and flat-head types)
- Socket wrench set
- Panel removal tool
- Wire cutters/strippers
- Electrical tape or wire connectors
- Replacement speakers (if you’re installing new ones)
- User manual (for reference)
Having these items ready before you begin will streamline the process and assist in handling unexpected challenges that may arise. In cases where specialized tools are required, make sure you consult your vehicle’s user manual or seek professional advice. With everything prepared, you’re ready to start removing those rear speakers.
Step-by-Step Instructions
Now that you have your tools and materials ready, let’s delve into the step-by-step instructions for removing the rear speakers from your F250 7.3L extended cab. Follow these steps carefully to ensure you don’t damage any part of your vehicle.
Step 1: Prepare Your Workspace
- Park your vehicle in a safe, well-lit area.
- Turn off the engine and engage the parking brake.
- Disconnect the negative terminal of the battery to prevent any electrical mishaps.
Step 2: Remove Rear Seats (if necessary)
- Check if the rear seats obstruct access to the rear speakers.
- If necessary, unbolt the rear seats using the socket wrench set and carefully remove them from the cab.
- Store the removed seats safely to avoid any damage.
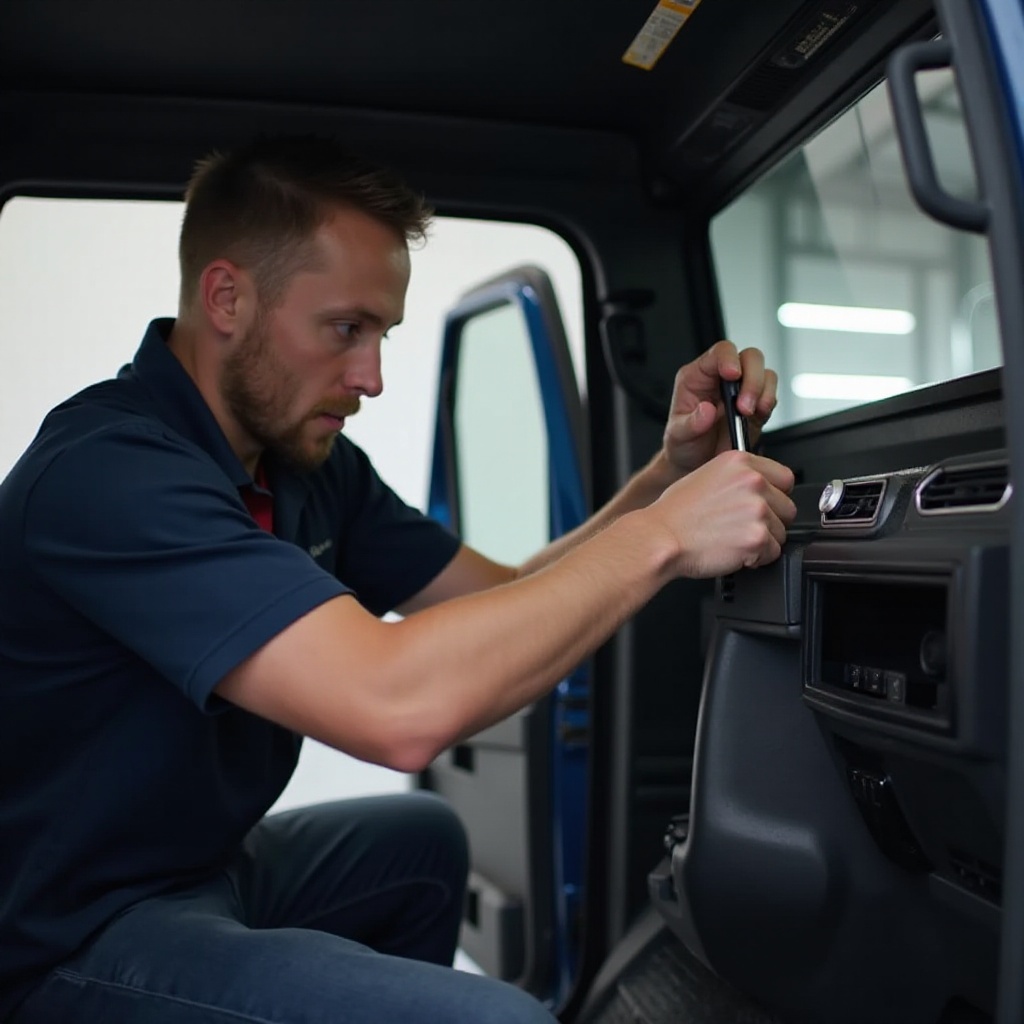
Step 3: Remove Door / Panel Trim
- Use the panel removal tool to carefully pry away the trim panel surrounding the rear speakers. Start from the edges and work your way around the panel.
- Gently pull the panel away, being mindful of any clips or connectors that might still be attached.
- If there are any screws holding the panel in place, remove them using the appropriate screwdriver.
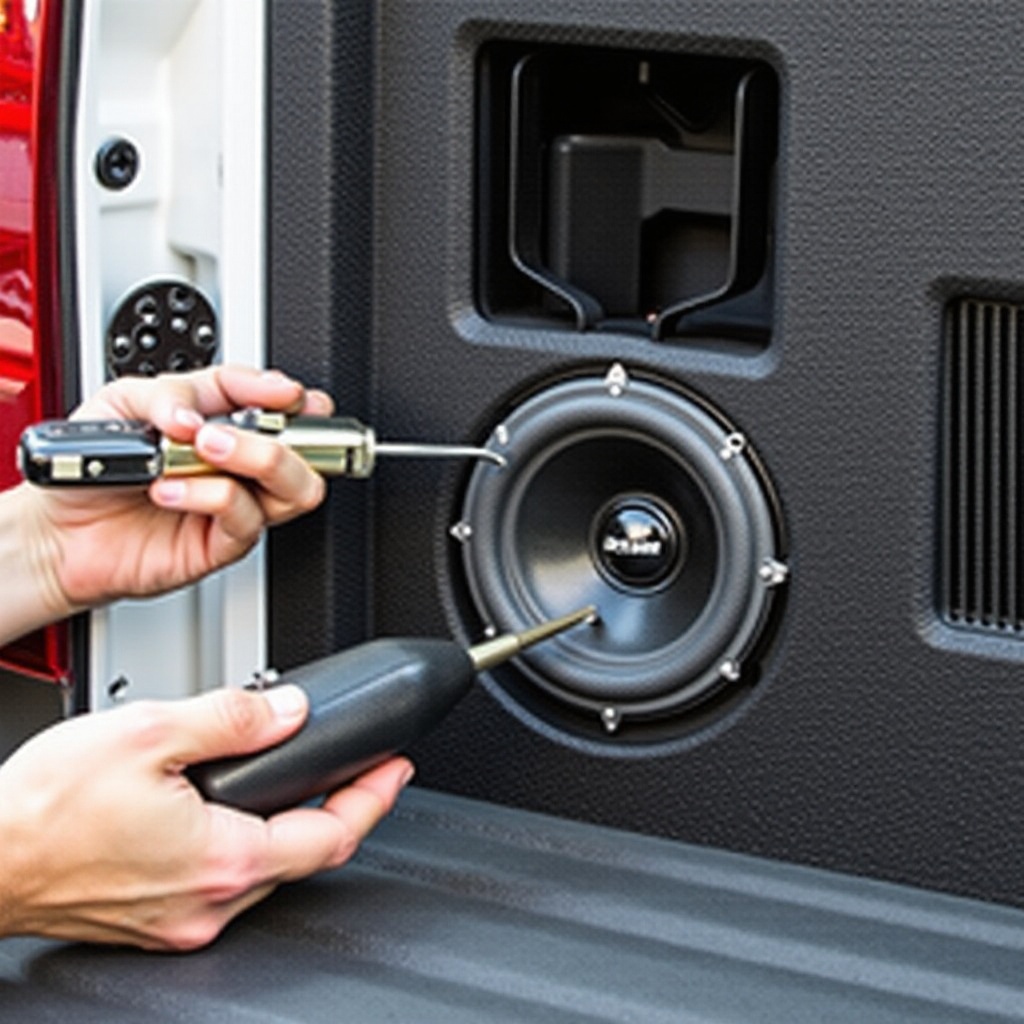
Step 4: Detach the Existing Speakers
- Locate the rear speakers and identify the mounting screws.
- Remove the screws using the appropriate screwdriver and save them if necessary.
- Carefully pull the speaker out and disconnect the wiring harness. Make a note of the wiring connections to ensure proper installation of new speakers, if applicable.
- If the wiring is soldered, use wire cutters/strippers to safely detach the connectors.
Step 5: Installing New Speakers (Optional)
- If you are replacing the old speakers, align the new speakers with the mounting holes and connect the wiring harness. Use electrical tape or wire connectors to secure the connections.
- Position the new speakers into place and screw them in tightly.
- Test the new speakers by temporarily reconnecting the battery and playing music at a moderate volume.
- Once you confirm the new installation works, proceed to reattach all panels and components you removed.
- Reinstall the rear seats if they were taken out during the process.
Tips and Warnings
When removing and replacing rear speakers, always take your time to avoid damaging your vehicle. Patience is key, especially when prying off panels. Using too much force can break clips or trim, leading to additional repair costs. Additionally, when handling electrical components, ensure the battery is disconnected to prevent the risk of short circuits or shocks.
Furthermore, if you aren’t confident in your ability to complete the task, consider seeking the help of a professional. Avoiding shortcuts and following the instructions precisely will save you from potential issues and ensure a cleaner, professional finish to your work.
Conclusion
Removing the rear speakers from your F250 7.3L extended cab may initially seem like a complicated task, but with thorough preparation and careful execution, it is a feasible DIY project. By following the steps outlined in this guide, you can achieve the removal and replacement of your rear speakers without incident. Remember to gather all necessary tools and materials beforehand, follow the instructions attentively, and employ patience throughout the process. Whether you are upgrading your sound system or simply replacing defective speakers, this guide will help you accomplish your task successfully.
Frequently Asked Questions
What should I do if the panel won’t come off easily?
If the panel is difficult to remove, recheck for any screws or clips you might have missed. Using a panel removal tool can offer leverage without causing damage. Often, gently applying consistent pressure will help release stubborn clips.
Can I reuse the same screws for the new speakers?
Yes, typically the screws used for the original speakers can be reused when installing new ones. However, ensure they are in good condition and appropriate for the mounting holes of your new speakers.
How can I improve the sound quality of my new speakers?
To enhance sound quality, consider using sound-deadening material behind the speakers to reduce vibration and noise. Ensure all connections are secure and consider upgrading your audio system’s amplifier for better sound output.