How to Make a Hacky Sack: A Complete Guide
Introduction
Creating your own hacky sack is not only fun but also allows for customization that you won’t find in store-bought versions. Whether you are a beginner or a seasoned crafter, this guide will walk you through each step of the process. From gathering materials to injecting personality into your creations, learn how to make a hacky sack that stands out. Dive into the world of DIY with our comprehensive guide and enjoy the satisfaction of kicking around your handmade hacky sack.
Materials Needed
Before starting the crafting process, gathering all necessary materials ensures you won’t be interrupted mid-project. Here’s what you’ll need to make your very own hacky sack:
– Fabric: Choose a durable fabric like canvas or denim.
– Needle and thread: Match the color to your fabric.
– Scissors: Sharp enough to cut through fabric cleanly.
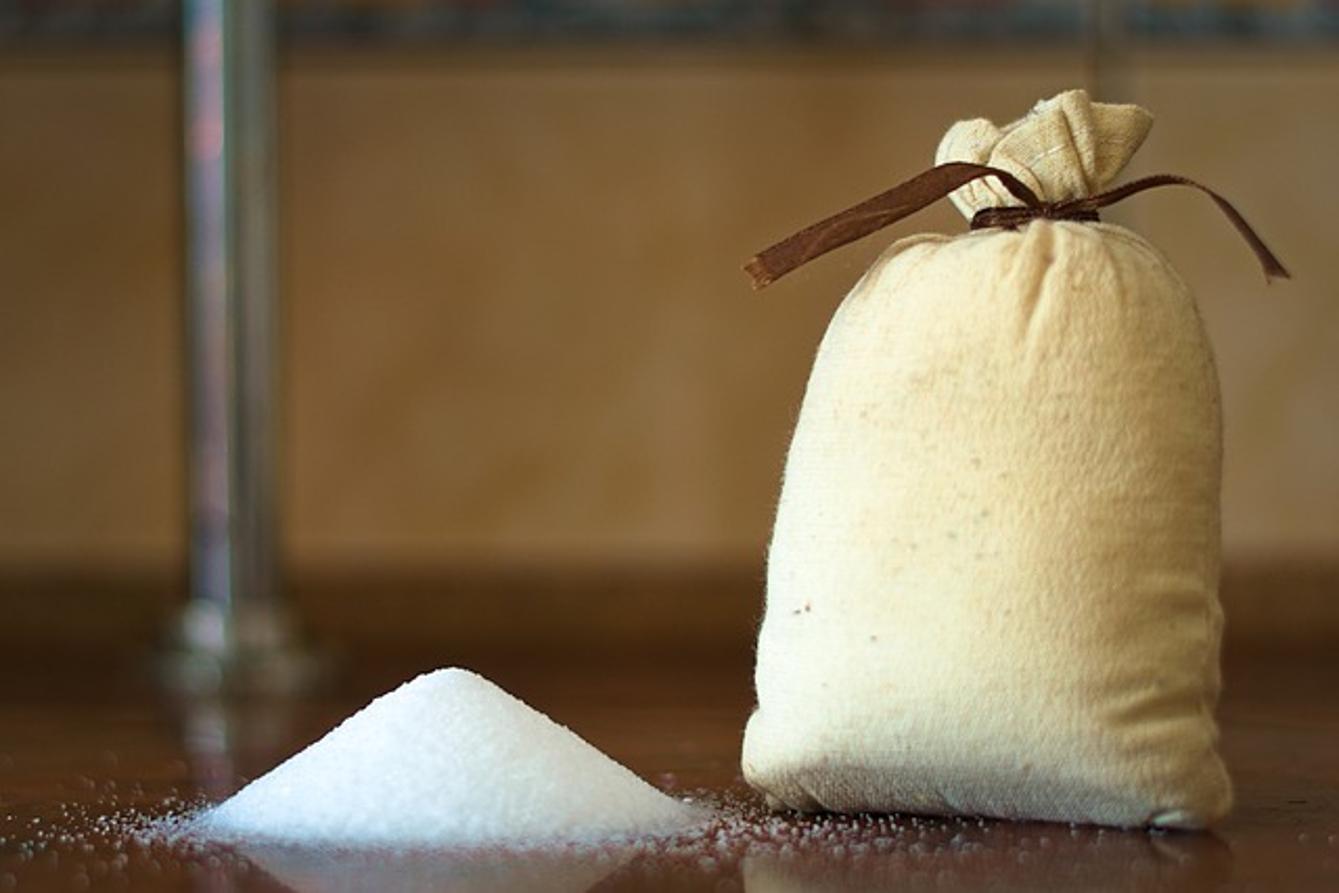
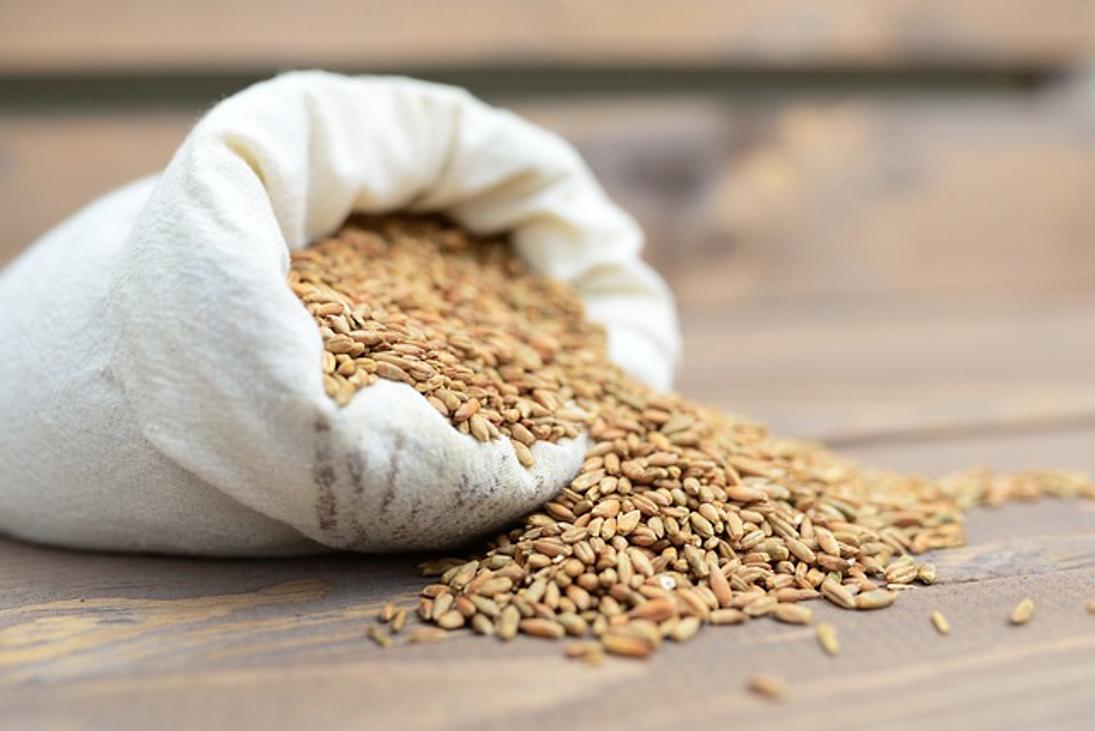
– Filling material: Plastic pellets or dried beans work best.
– Ruler or measuring tape: For accurate panel creation.
– Fabric marker or chalk: To outline your shapes before cutting.
– Pins: To hold fabric in place while sewing.
Having everything ready beforehand will make the process smoother and more enjoyable. Now, let’s get into the nitty-gritty of making a hacky sack.
Step-by-Step Instructions
Crafting your hacky sack involves several stages, each requiring a bit of patience and precision. Follow these instructions to create a high-quality, custom hacky sack.
Cutting the Fabric
- Choose the shape for your hacky sack panels. A traditional hacky sack uses eight small rectangular panels.
- Measure and mark the fabric using your ruler and fabric marker. Each panel should be about 2 inches by 4 inches.
- Cut out the panels using the scissors, making sure the cuts are straight and clean.
Accurately cutting your fabric is essential for a well-shaped hacky sack. Ensure all panels are of equal size to avoid uneven seams.
Sewing the Panels Together
- Pair two fabric panels together with the right sides facing each other.
- Sew along one long edge, leaving about 0.25 inches from the edge for your seam allowance.
- Open and flatten the seam. Then, take another panel and sew it to one of the free edges of your initial pairs.
- Repeat this process until you’ve sewn all panels together, forming a tube-like shape.
- Finally, sew the two free edges of the last panel together, creating a flattened, spherical shape.
Making sure your seams are neat and secure will make your hacky sack durable and long-lasting.
Filling the Hacky Sack
- Turn your sewn fabric inside out to hide the seams.
- Fill the sack up to about 80% capacity with your selected filling material. This could be plastic pellets or dried beans. Avoid overfilling, as it will make the hacky sack too hard and difficult to use.
- Arrange the filling evenly to ensure a balanced weight distribution.
Achieving the right amount of fill is crucial for the hacky sack’s performance. Too much filling will make it hard and unmanageable; too little and it won’t hold its shape well.
Sealing the Final Seam
- Fold the raw edges of the final opening inward to create a neat edge.
- Pin the edges together to hold them in place.
- Using a needle and thread, stitch the opening closed with a whip stitch or ladder stitch to ensure it is securely sealed.
Properly sealing the final seam ensures that the filling stays inside the hacky sack, making your creation durable and ready for play.
Customization Options
One of the joys of making your own hacky sack is the opportunity for customization. Here are a few ideas:
- Embroidery: Add your initials or a simple design to the panels before sewing them together.
- Dyeing: Use fabric dyes to create a multi-colored or tie-dye effect.
- Mix Fabrics: Combine different textured fabrics for a unique feel and look.
- Patterns: Instead of rectangles, try using different shapes for a completely different look.
Customization not only adds a personal touch but can also make your hacky sack a great gift option.
Tips and Tricks
- Use a thimble to protect your fingers while sewing through thick fabrics.
- A seam ripper is handy for fixing mistakes without damaging the fabric.
- Practice makes perfect. Don’t be discouraged by initial setbacks; your skills will improve with time.
Conclusion
Making a hacky sack from scratch can be a rewarding experience. With the steps outlined above, you have all the information needed to create a unique, functional hacky sack. Gather your materials, follow the instructions, and let your creativity soar!
Frequently Asked Questions
What is the best fabric for making a hacky sack?
Durable fabrics like canvas, denim, and leather are ideal since they withstand the wear and tear of play. Choose a fabric that’s both tough and flexible.
How much filling should I use for a hacky sack?
Fill your hacky sack to about 80% capacity using plastic pellets or dried beans. This ensures the right balance of firmness and flexibility for a good bounce.
Can I machine wash my hacky sack?
While some hacky sacks made from sturdy, colorfast fabrics can be machine-washed, it’s generally best to spot clean them to avoid damaging the seams or filling.