How to Make a Choker Necklace with Beads: A Step-by-Step Guide
Introduction
Crafting your jewelry can be incredibly rewarding. Creating a choker necklace with beads allows you to express your creativity and personal style. Whether you’re a novice or a seasoned jewelry maker, this guide will take you through the steps to create a stunning beaded choker necklace.
Materials Needed
Before diving into the crafting process, gathering all the necessary materials is crucial. Here’s what you’ll need:
- Beads (various colors and sizes)
- Beading wire or cord
- Jewelry clasps
- Jump rings
- Crimp beads
- Beading needle (optional)
- Scissors and pliers
- Tape measure or ruler
Having these materials on hand ensures a smooth crafting process. Now, let’s move on to the step-by-step instructions to create your beaded choker necklace.
Step-by-Step Instructions
Creating a beaded choker necklace is easier than you might think. Follow these steps for a seamless crafting experience:
Preparing Your Workspace
- Ensure your workspace is clean and organized.
- Lay out all your beads and tools within easy reach.
- Consider using a bead mat to keep beads from rolling away.
A tidy workspace minimizes distractions and makes the crafting process more enjoyable.
Measuring and Cutting the Cord
- Measure your neck to determine the choker length, usually 14-16 inches.
- Add an extra 4 inches to allow room for tying and securing the ends.
- Cut the beading wire or cord to the appropriate length using scissors.
Accurate measurement ensures a comfortable fit for your choker necklace.
Stringing the Beads
- Lay out your beads in the desired pattern.
- String the beads onto the wire or cord, leaving about 2 inches on each end.
- Use a beading needle if it’s easier to string the beads.
Experiment with different patterns and colors to make the design uniquely yours.
Adding the Closures
- Slide a crimp bead onto one end of the cord.
- Thread the end of the cord through a loop on the jewelry clasp, then back through the crimp bead.
- Use pliers to flatten the crimp bead securely.
- Repeat the process for the other end of the cord with the other half of the clasp.
- Attach jump rings to the clasp if needed for added length.
Securing the closures properly ensures your choker stays in place when worn.
Tips for Customizing Your Choker
Personalizing your choker makes it stand out and match your style. Here are some ideas:
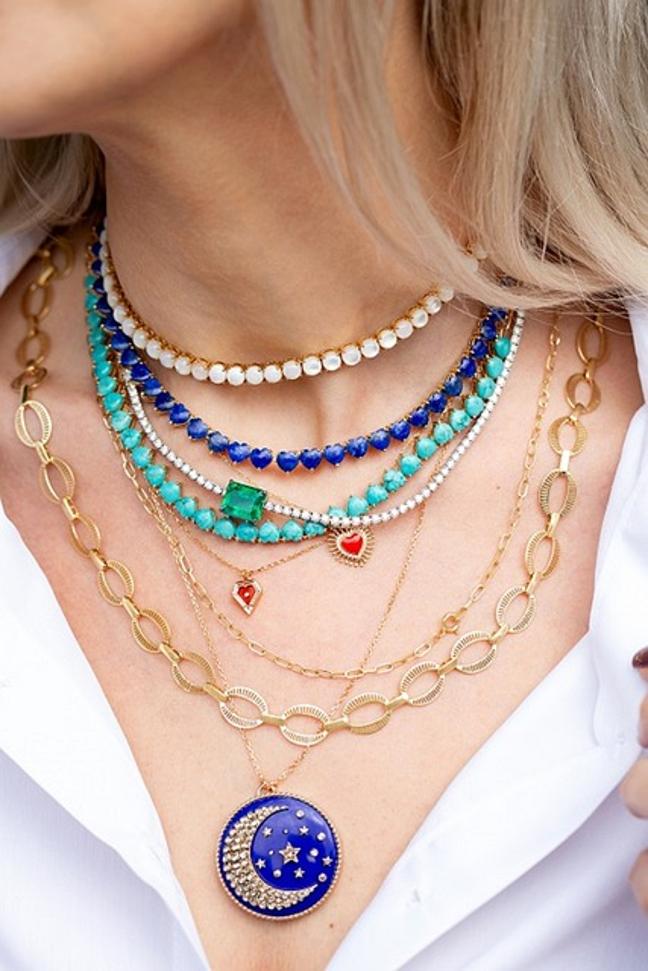
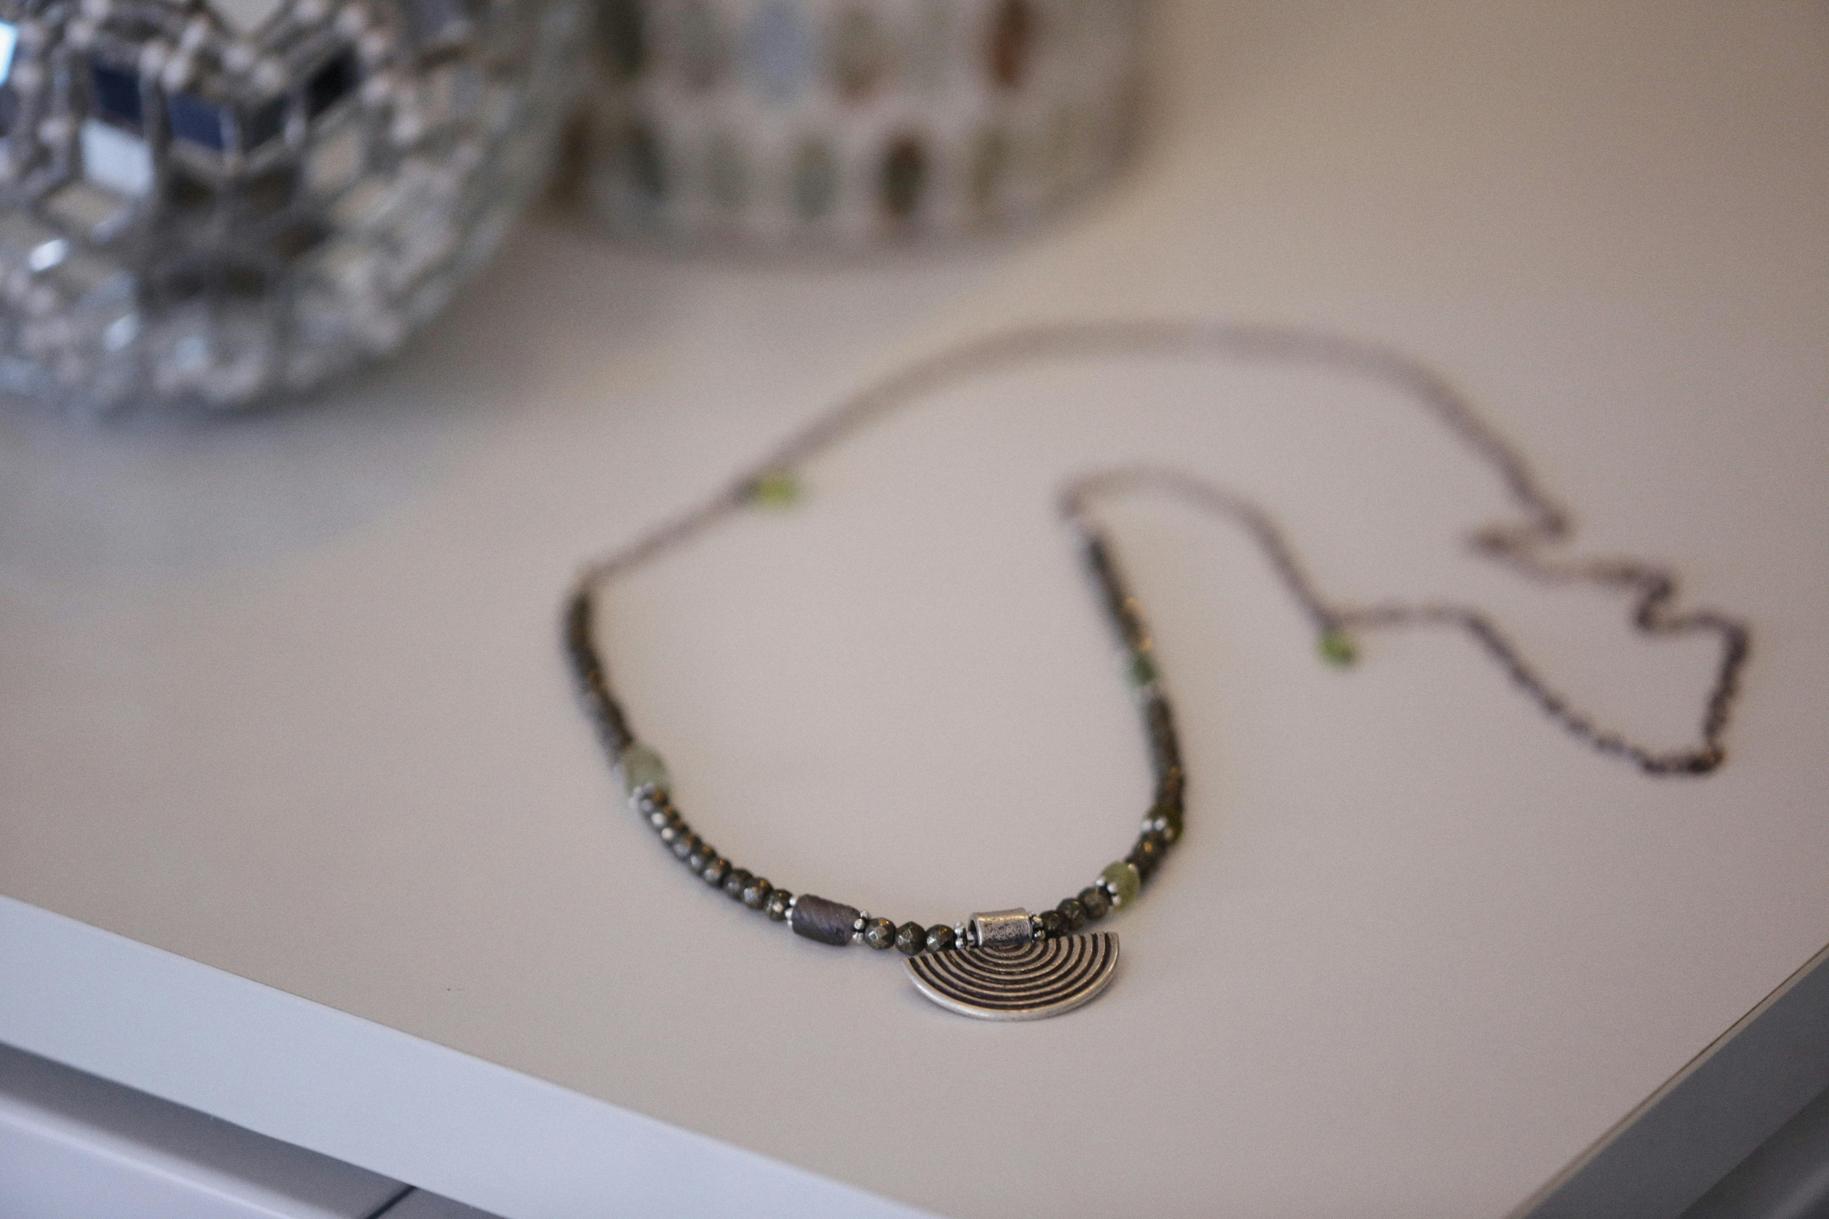
Using Different Bead Types and Sizes
- Combine glass, wooden, and metal beads for a unique look.
- Mix small and large beads to create a dynamic design.
- Experiment with color gradients or contrasting shades.
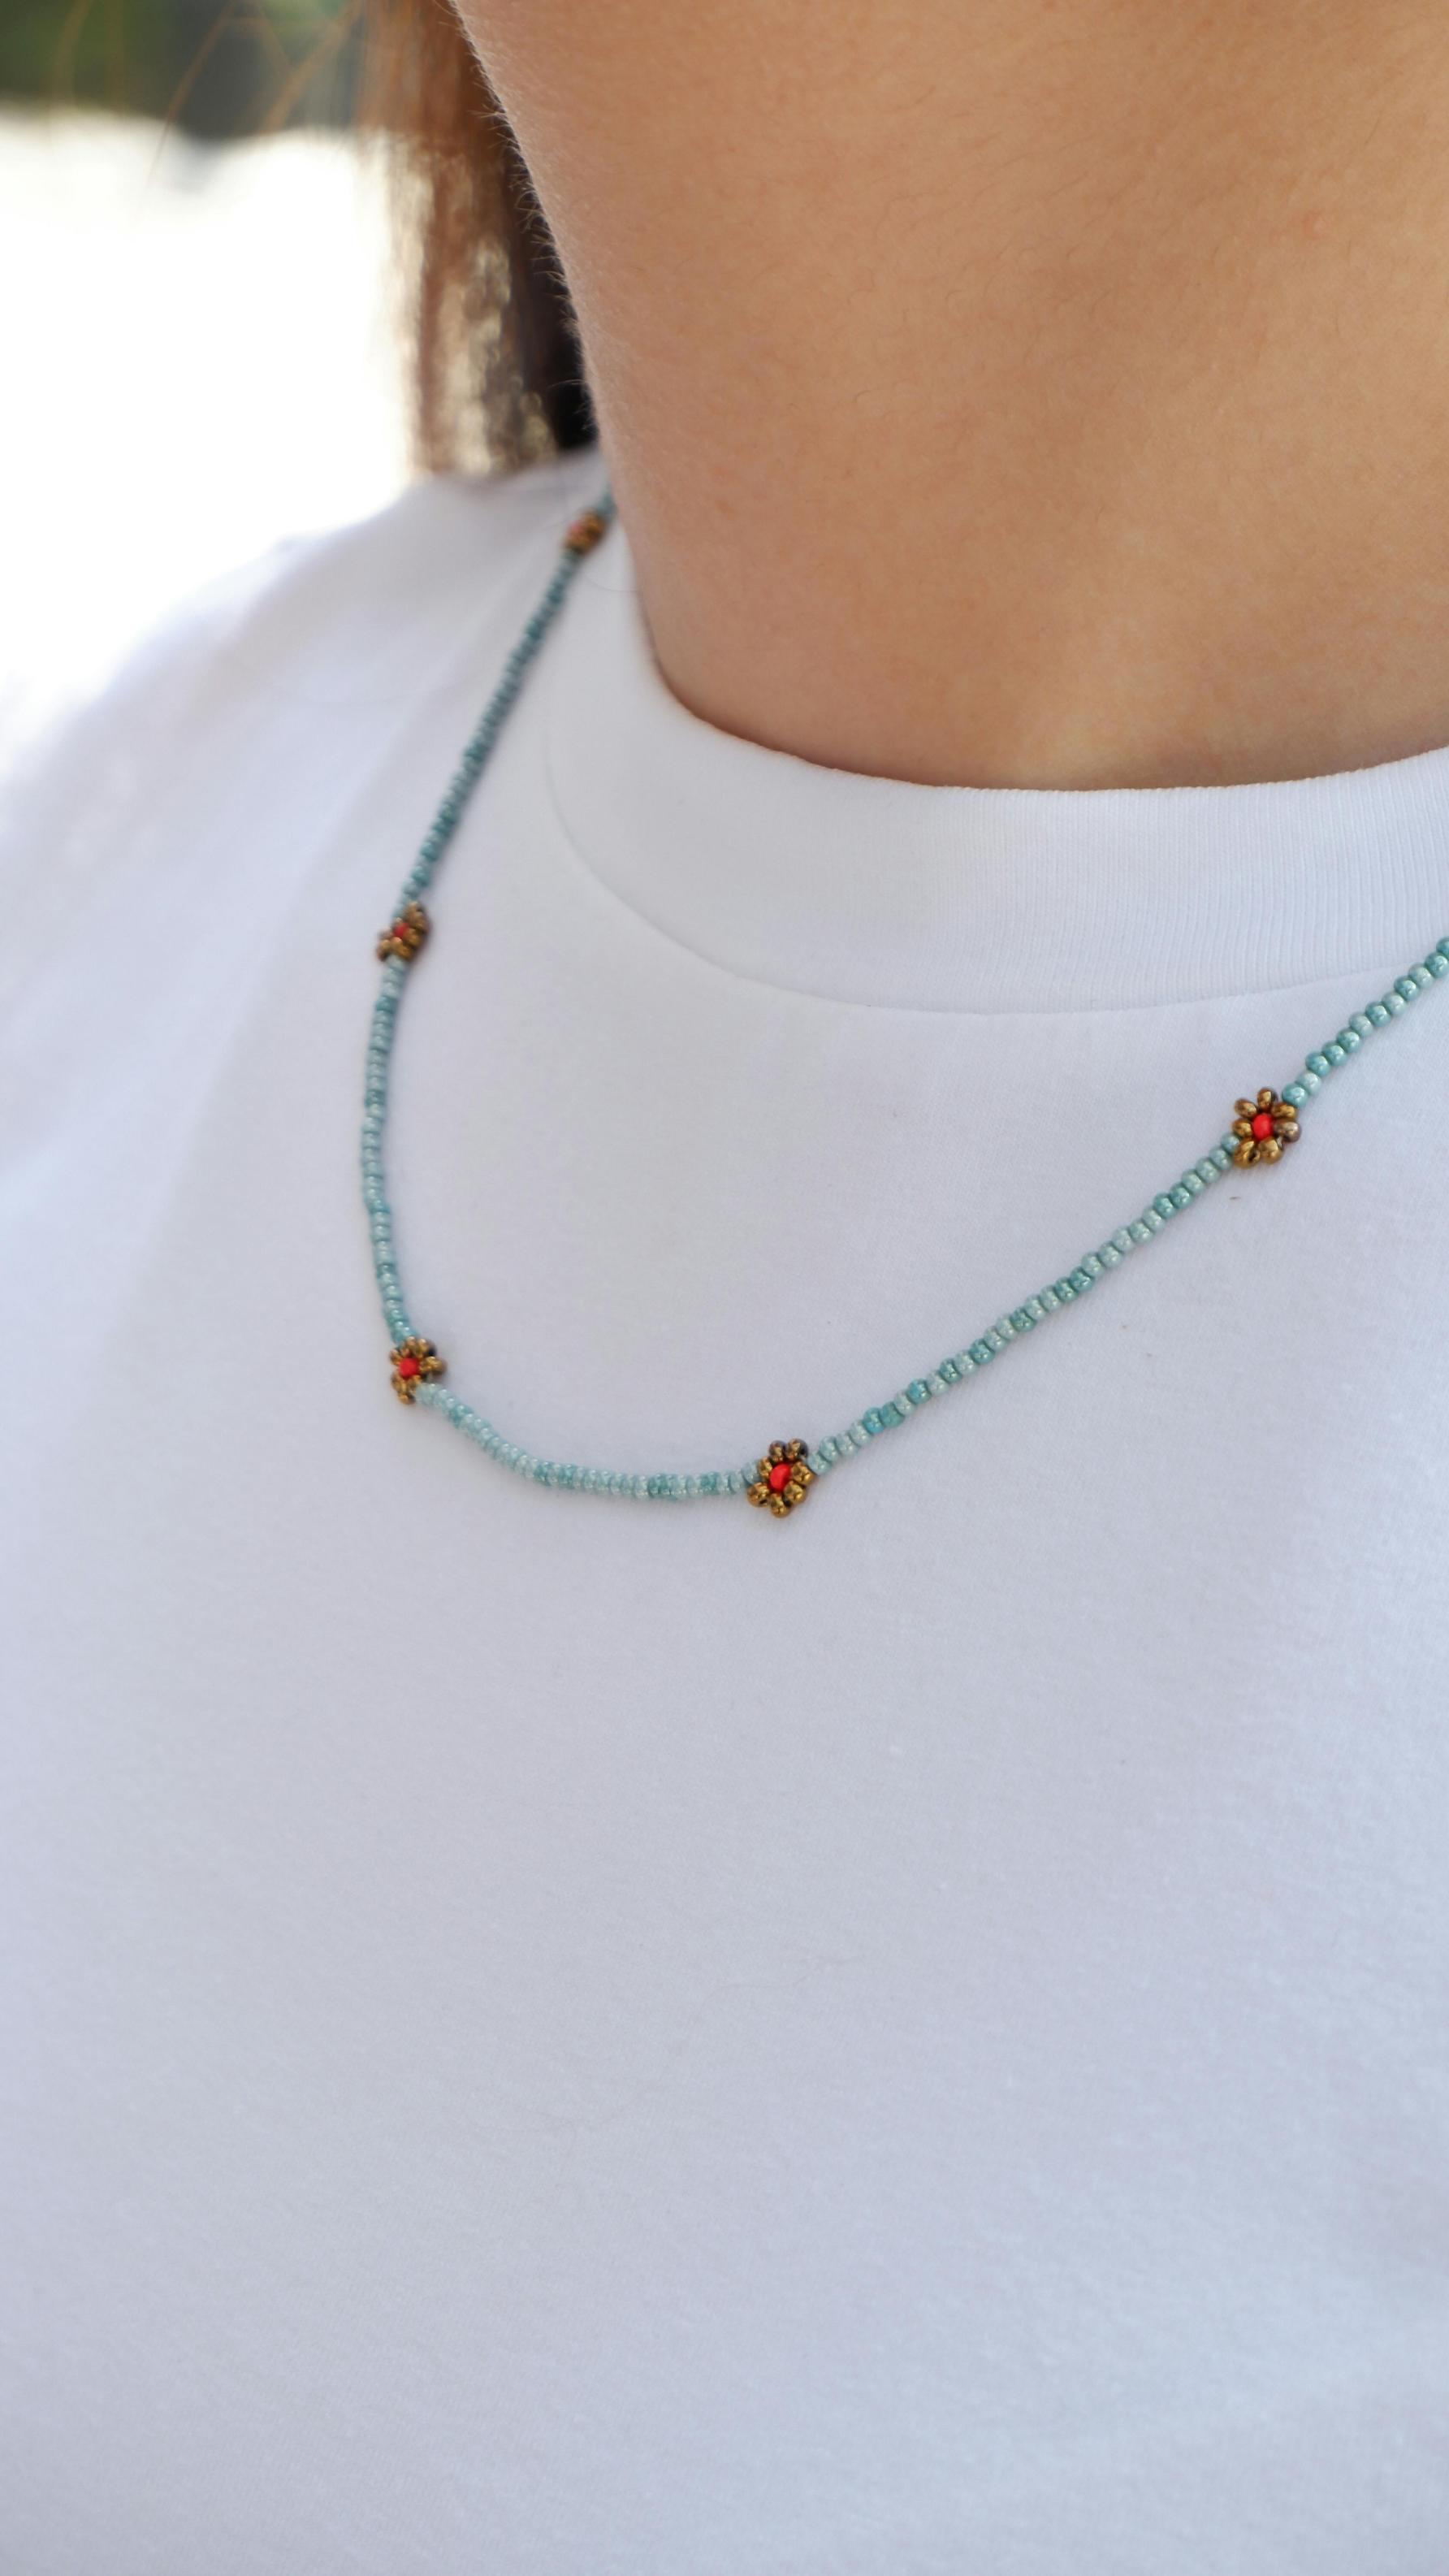
Incorporating Charms and Pendants
- Add a charm or pendant as a focal point in the center of the choker.
- Use jump rings to attach small charms between beads.
- Consider thematic charms like stars, hearts, or initials.
Customizing your choker with various elements makes it truly one-of-a-kind.
Troubleshooting Common Issues
Crafting can sometimes come with challenges. Here are quick fixes to common problems:
- If the beads won’t stay in place, ensure the crimp beads are secure.
- Struggling with tangled cord? Keep it taut while stringing.
- For uneven spacing, lay out the design on a bead mat before stringing.
These tips will help you create a flawless beaded choker.
Conclusion
Making a beaded choker necklace is a fun and creative activity. With the right materials and following these steps, you can craft a beautiful accessory that reflects your style.
Frequently Asked Questions
What is the Best String for Making a Choker Necklace with Beads?
Beading wire or nylon cord is ideal because it’s strong and flexible.
How Can I Ensure My Beads Are Evenly Spaced?
Plan your design on a bead mat before stringing and use a beading needle for precision.
Can I Make a Beaded Choker Necklace Without Using Clasps?
Yes, you can tie the ends together to create a continuous loop, but clasps offer a more polished finish.